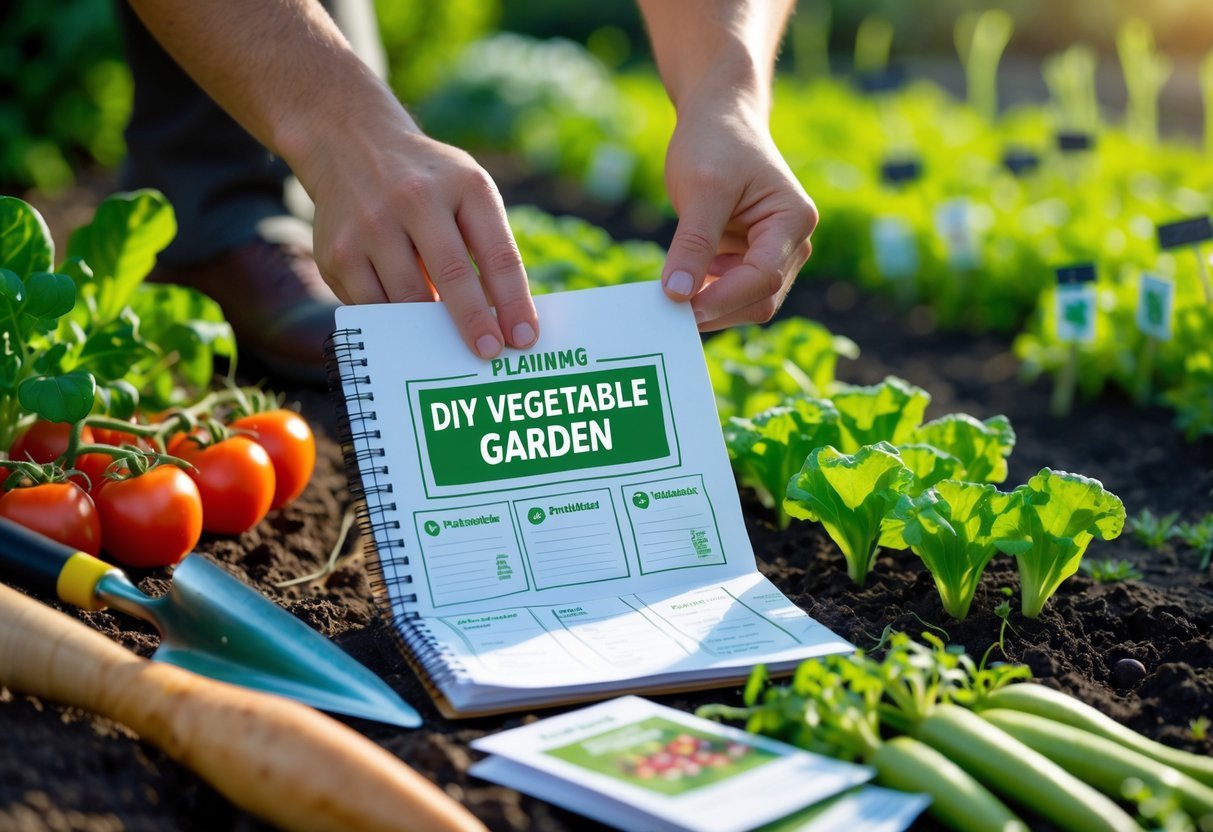
vegetable garden diy: Practical Steps for Compact Urban Plots
You can build a productive vegetable garden with simple tools, a clear plan, and a little time each week. With basic raised beds or containers, the right plant choices for your space, and a straightforward planting schedule, you’ll start harvesting fresh vegetables in one growing season.
This project fits any yard size and skill level, and you’ll learn easy techniques for bed building, soil prep, and pest control as you go. Stay focused on what grows well in your area and spend small, regular amounts of time caring for your plants to keep things manageable and rewarding.
Key Takeaways
- Start with a clear plan and choose the right spot and plants for your space.
- Build simple beds or use containers and prepare soil that supports healthy growth.
- Maintain your garden weekly and adjust care to improve yields over time.
Planning Your DIY Vegetable Garden
Decide where to put your garden, how you’ll lay it out, and which vegetables fit your space and season. Think sun, soil, and the time you can spend each week.
Choosing the Right Location
Pick a spot with at least 6–8 hours of direct sun for most vegetables. Observe the area over a few days to see morning vs. afternoon sun and note any shade from trees or buildings.
Check drainage by digging a small hole and filling it with water; it should drain within 24 hours. If it stays soggy, raise the bed or choose a sandier spot. Keep the garden close to a water source to make watering quick and easy.
Aim for level ground or build raised beds on a gentle slope. Place paths at least 18–24 inches wide so you can move tools and harvest without stepping on beds. Avoid areas near tree roots or heavy foot traffic.
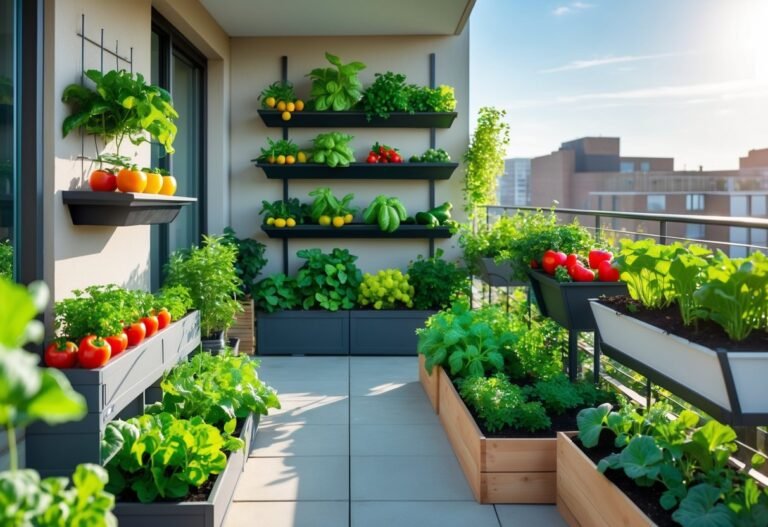
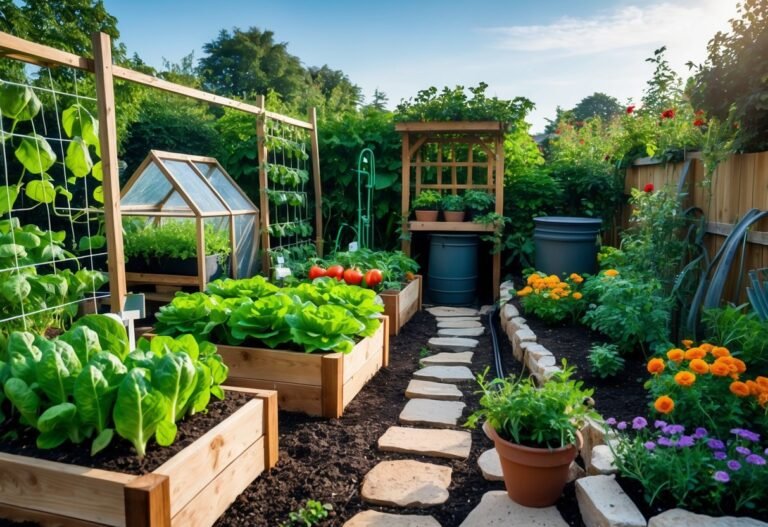
Garden Design Ideas
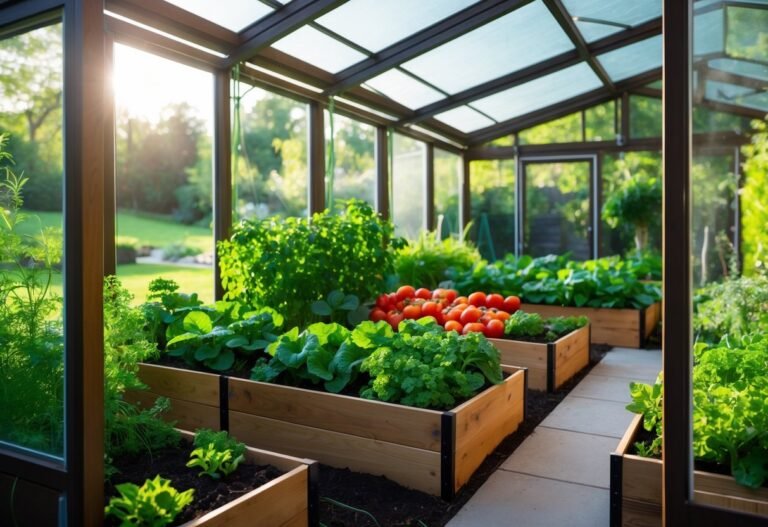
Decide between in-ground rows, raised beds, containers, or a mix. Raised beds warm faster, have better drainage, and make weeding easier. Containers suit patios and small spaces.
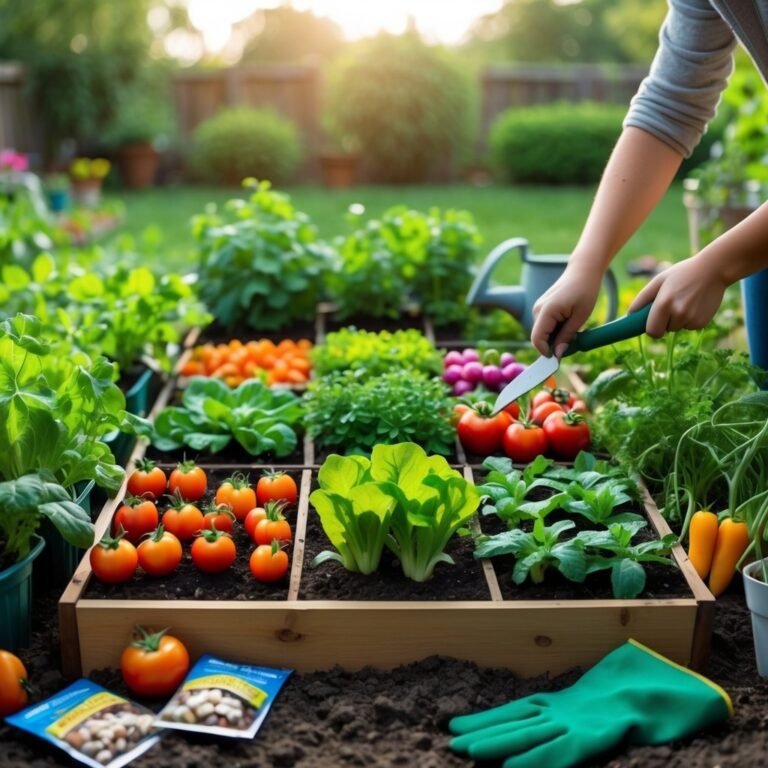
Use square-foot gardening or grid layouts to maximize yield in small beds. Leave 18–24 inches for walking paths and 12–18 inches between raised beds for narrow spaces. Stagger tall plants on the north side to avoid shading short crops.
Consider vertical support for vining plants like peas, beans, and cucumbers. Trellises, cages, and A-frames save space and improve air flow. Sketch a simple plan showing bed sizes, paths, and where tall crops will go.
Selecting Suitable Vegetables
Choose vegetables that match your climate, sun, and soil. Tomatoes, peppers, and eggplant need full sun and warm temps. Leafy greens, radishes, and peas tolerate partial shade and cooler weather.
Start with easy crops if you’re new: lettuce, spinach, bush beans, radishes, and cherry tomatoes. Check days to maturity on seed packets to time planting for your frost dates. Succession plant quick crops every 2–3 weeks for steady harvests.
Group plants by water needs. Put thirsty crops like cucurbits together and drought-tolerant herbs at the edge. Use a simple table to plan spacing and sun needs:
| Vegetable | Sun | Spacing |
|---|---|---|
| Tomatoes | Full | 18–24 in |
| Lettuce | Partial–Full | 8–12 in |
| Bush beans | Full | 3–6 in |
| Cucumbers | Full | 12–18 in |
This layout helps you pick the right mix for your space and schedule.
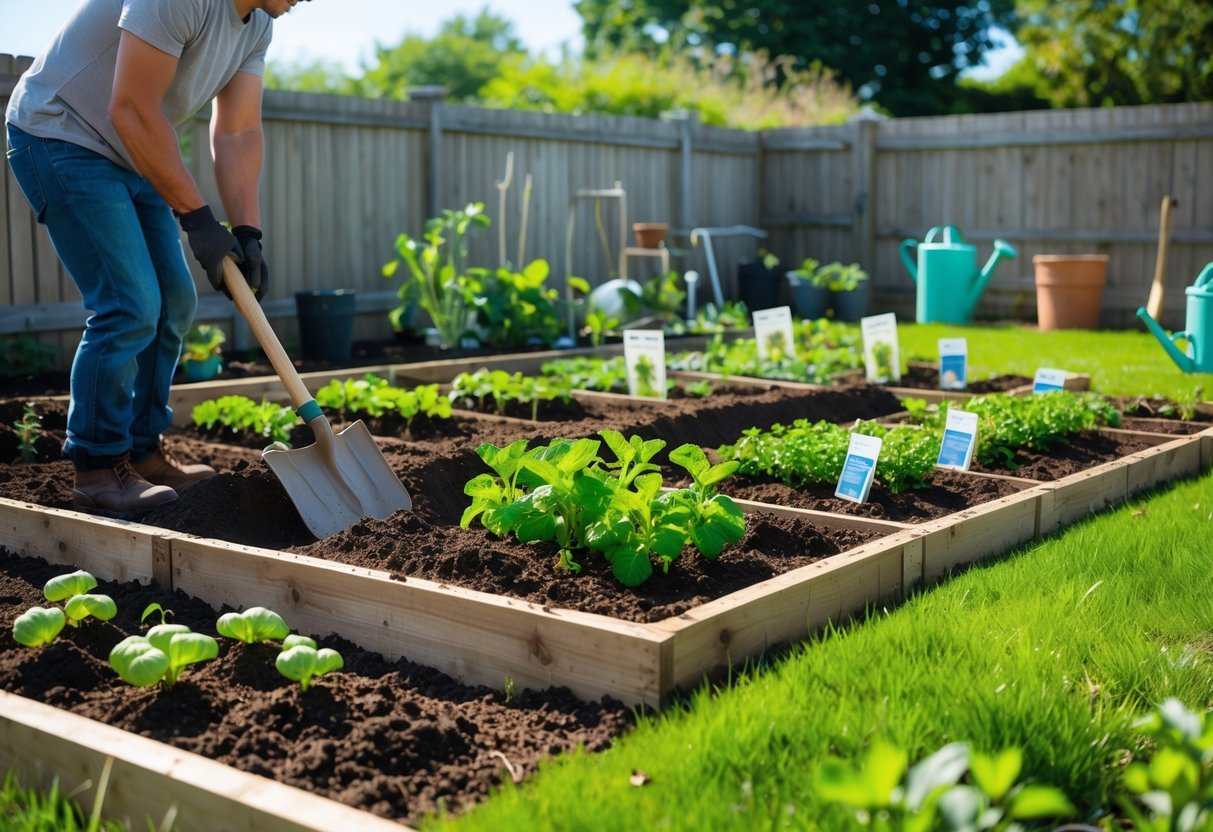
Building and Preparing Garden Beds
You will decide how high your plants sit, what soil mix you use, and how water will move through the bed. These choices shape plant health, ease of work, and how much time you spend maintaining the garden.
Raised Beds vs. In-Ground Planting
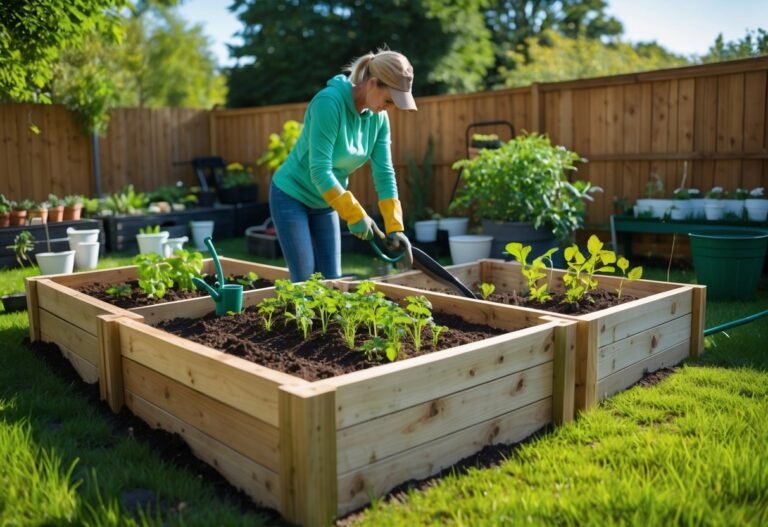
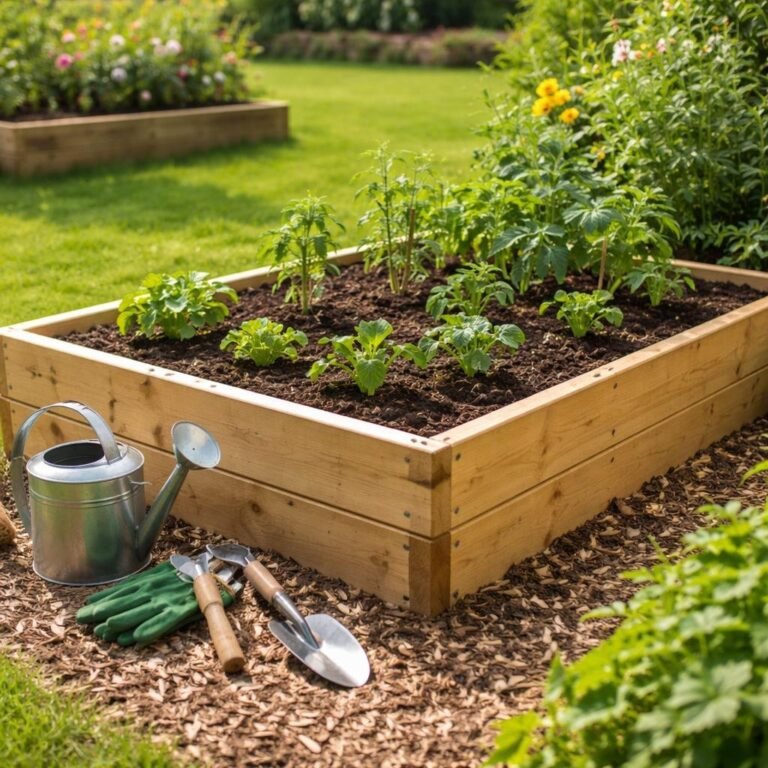
Raised beds use framed boxes (wood, metal, or composite) that sit above the soil. They warm faster in spring, drain better, and let you control soil mix. A common size is 4 feet wide so you can reach the center from either side; 6–12 inches deep suits most vegetables, while root crops need 12–18 inches.
In-ground beds require less material and fit large spaces. You must amend heavy clay or sandy soils more to reach the same fertility and drainage as raised beds. Use paths at least 18 inches wide to avoid compacting planting areas.
Choose raised beds if you need better drainage, easier access, or shorter setup time. Choose in-ground if you have good native soil and want lower upfront cost.
Soil Preparation and Amendments
Start by testing your soil pH and nutrients with a simple kit. Most vegetables prefer pH 6.0–7.0. For raised beds, mix 60% topsoil, 30% compost, and 10% coarse sand or perlite for drainage as a basic blend.
Work 2–4 inches of compost into in-ground beds and loosen soil to 8–12 inches with a fork. Add 1–2 pounds per 100 sq ft of balanced organic fertilizer if the test shows low nitrogen. Avoid over-fertilizing leafy greens to prevent excess leaf growth over fruiting.
Add slow-release amendments like bone meal or rock phosphate for root and flower development only if tests show deficiencies. Replenish compost each season with a 1–2 inch top-dressing.
Installing Drainage Solutions
Assess drainage by digging a 12-inch hole and filling it with water; if it drains within 24 hours you have decent drainage. For raised beds, line the bottom with 1–2 inches of coarse gravel only on very clay sites, then add your soil mix.
Install perforated drain tile along low spots for larger beds that collect water. Slope the trench 1/8–1/4 inch per foot toward an outlet. Use landscape fabric under gravel to stop soil washout but keep fabric breathable.
Add mulch (2–3 inches) on top of beds to slow surface runoff and reduce compaction from heavy rain. For containers or very wet sites, consider adding vertical drainage channels or building beds on sleepers to raise them a few inches above grade.
Essential Tools and Materials
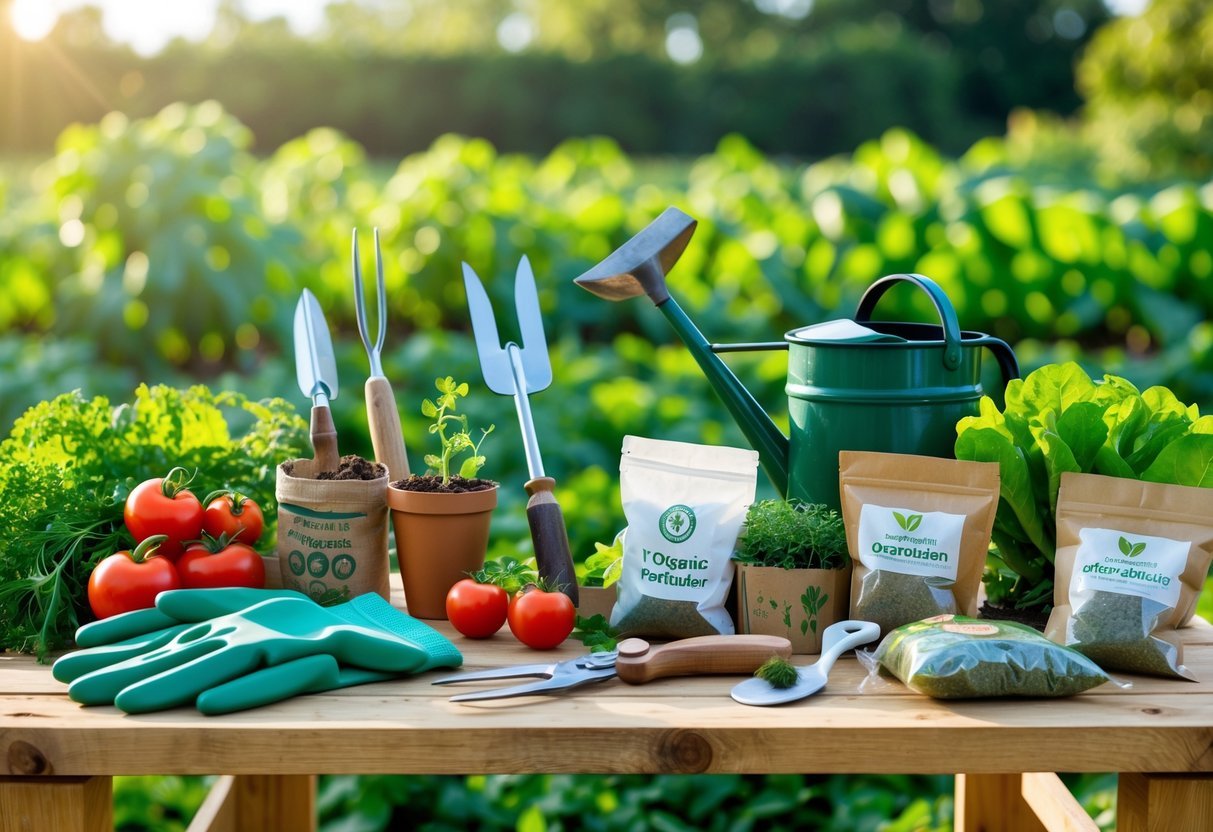
You need a few strong hand tools, a solid watering method, and a simple compost setup to get your vegetable DIY garden growing well. Focus on tools that save time and compost systems that turn kitchen scraps into soil-building material.
Must-Have Gardening Tools
You should have a sturdy trowel for planting seedlings and digging small holes. Choose one with a comfortable handle and a rust-resistant blade.
A pair of sharp bypass pruners helps you trim stems and harvest without tearing plants. Keep them clean and oiled.
Add a digging fork or spade for turning soil and breaking up clay. Use a rake to level beds and remove debris.
Carry work gloves to protect your hands and a kneeling pad to reduce strain when working close to the ground.
For watering, pick a watering can with a fine rose for seedlings and a soaker hose or drip tape for beds to deliver steady moisture.
Include a small hand hoe for weeding and making shallow furrows for sowing seeds.
DIY Composting Setups
Start with a simple bin: use a 3-bin wooden frame or a plastic compost tumbler. Place the bin on bare soil to let worms in and drainage out.
Layer greens (vegetable scraps, coffee grounds) with browns (dry leaves, shredded cardboard) in roughly a 1:2 ratio to balance moisture and air.
Turn or tumble the pile every 1–2 weeks to speed decomposition and prevent odors. Keep the pile as damp as a wrung-out sponge; add water or dry material to adjust.
Use a compost thermometer or just feel the center—warm and crumbly means it’s working. Finished compost looks dark, smells earthy, and mixes easily into garden beds.
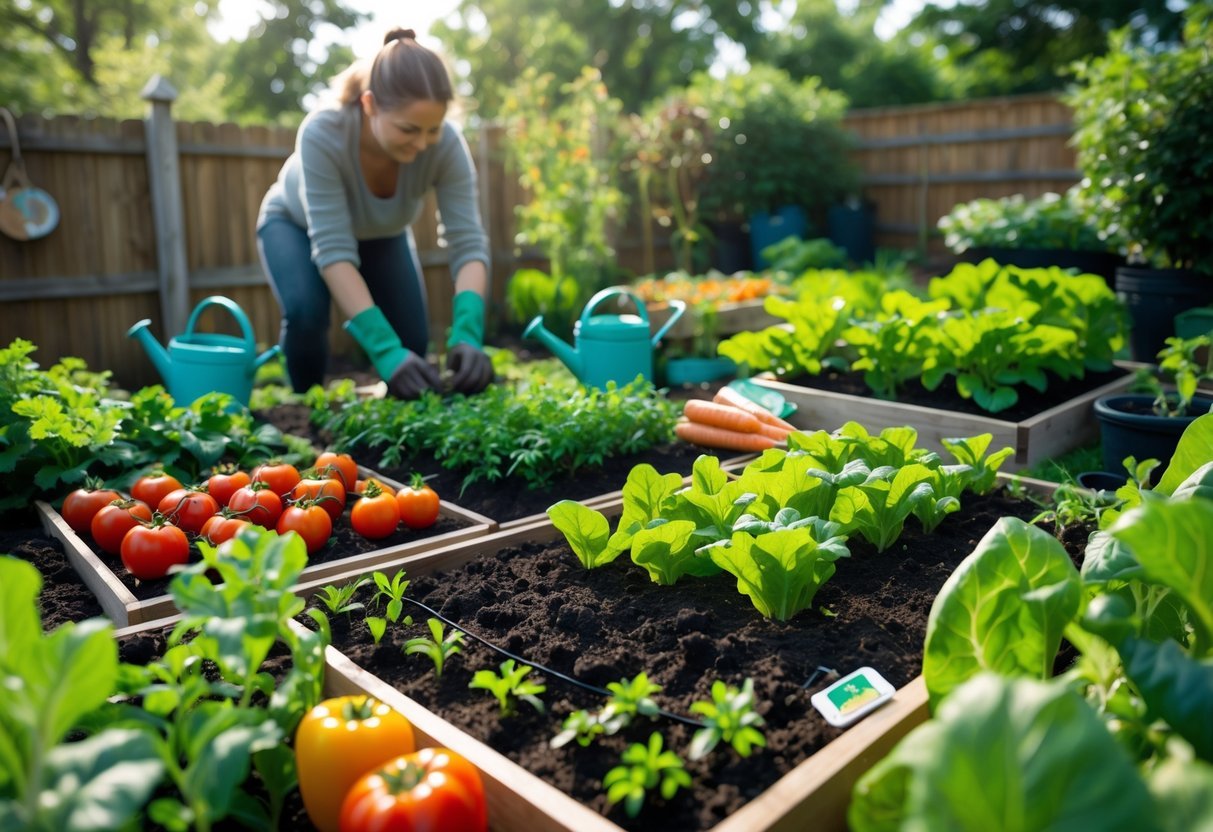
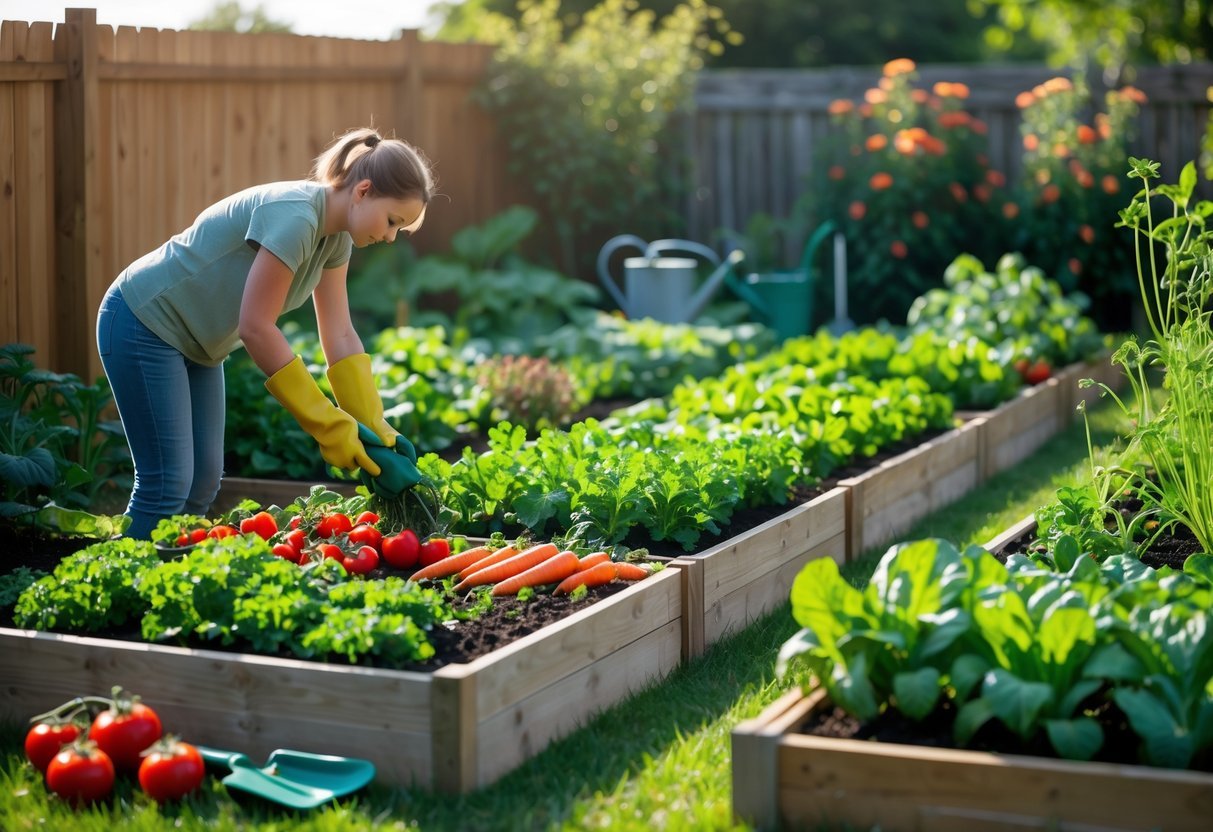
Maintaining and Improving Your Vegetable Garden
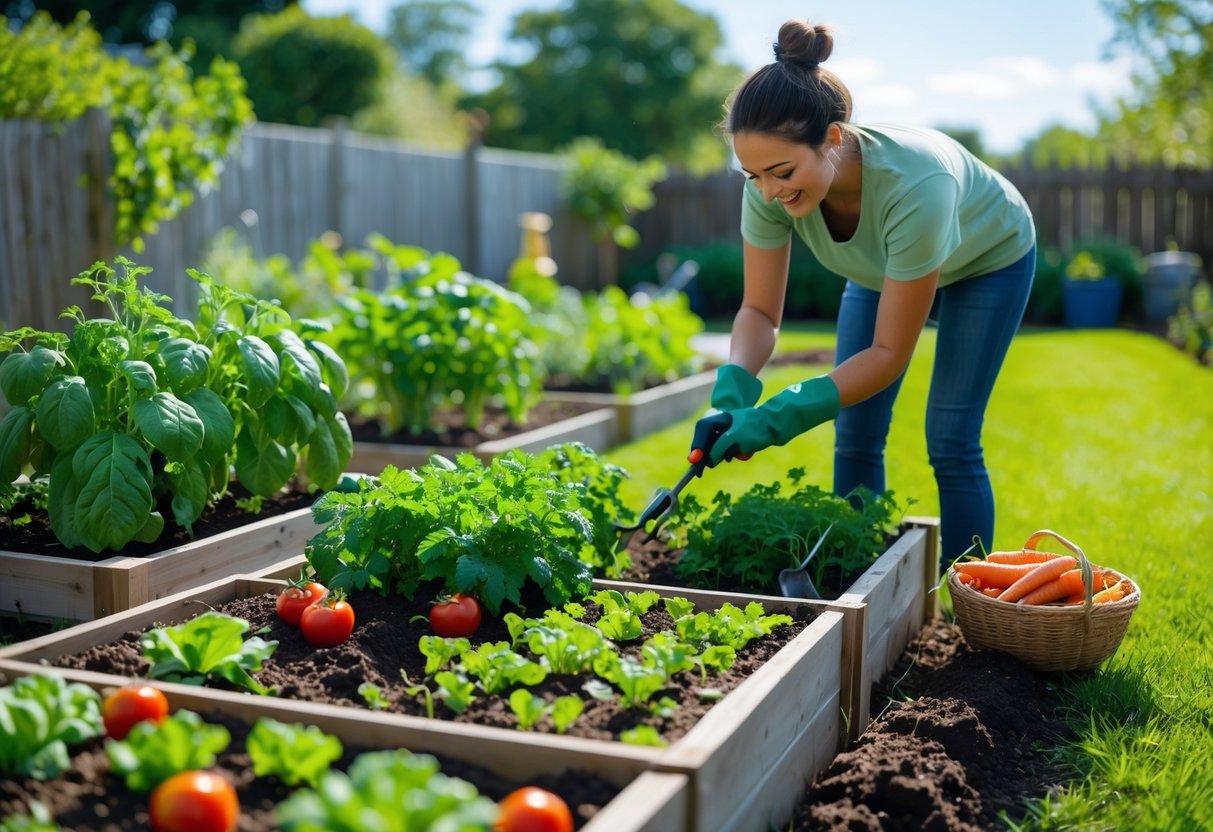
Keep plants healthy by watering the right way, stopping pests and diseases early, and planning seasonal tasks like crop rotation and soil care. Small, regular steps save time and boost yields.
Efficient Watering Techniques
Water deeply and less often to encourage strong roots. Aim for 1–1.5 inches of water per week for most vegetables. Use a rain gauge or a straight-sided jar to measure how much you apply.
Drip irrigation or soaker hoses deliver water to the soil, not the leaves. That cuts evaporation and disease risk. Place drip lines near plant bases and run them 30–60 minutes depending on soil type.
Water in the morning when temperatures are cool. This reduces fungal issues and lets foliage dry before evening. Mulch 2–4 inches of straw, shredded leaves, or grass clippings to hold moisture and lower watering frequency.
Group plants by water needs. Put thirsty crops like squash and tomatoes together and drought-tolerant ones like onions and herbs in another bed. This prevents overwatering or underwatering when you irrigate.
Controlling Pests and Diseases
Inspect plants weekly for holes, spots, wilting, or sticky residue. Catching problems early limits spread and saves plants. Remove and dispose of badly infested leaves.
Use physical controls first: hand-pick beetles, set up row covers for young plants, and install sticky traps for flying pests. Rotate where you place covers and traps to match crop stages.
Introduce or attract beneficial insects like ladybugs and lacewings by planting flowers such as alyssum or marigold nearby. Apply organic treatments like insecticidal soap or Bacillus thuringiensis (Bt) only when needed and follow label directions.
Sanitize tools and remove diseased debris at season end. Good airflow matters: space plants to reduce humidity and prune crowded foliage to lower fungal disease risk.
Seasonal Care and Crop Rotation
Plan a rotation to change plant families each year. Move nightshades (tomatoes, peppers, eggplant) away from their previous bed for 2–3 years. This reduces soil pests and disease buildup.
After harvest, add organic matter like 2–3 inches of compost or well-rotted manure to the bed. That improves structure and feeds microbes. Test soil every 2–3 years to adjust pH and nutrient needs.
Use cover crops like clover or rye in fall or winter to protect soil, fix nitrogen, and suppress weeds. Sow fast-growing greens in spring as catch crops between main plantings to make the most of space.
Adjust planting dates by season. Start seeds indoors 4–8 weeks before the last frost for warm-season crops. Move cold-hardy vegetables into beds early and protect young plants with row covers during unexpected cold snaps.
Frequently Asked Questions
You will find clear, practical answers on layout, raised beds, small-space tactics, beginner plans, common mistakes, and combining beauty with function. Each answer gives steps, measurements, and simple materials you can use right away.
How can I plan a simple vegetable garden layout?
Start by measuring sunlight. Mark spots that get at least six hours of direct sun for tomatoes, peppers, and squash.
Sketch a 10–20 foot bed or several 4×8-foot beds on paper. Place tall plants like corn or trellised beans on the north side so they do not shade shorter crops.
Group plants by water needs. Put thirsty crops (lettuce, cucumbers) together and drought-tolerant ones (beans, herbs) in another section to make watering easier.
What are some effective DIY raised bed garden designs?
Use 4×8-foot beds that are 12–18 inches deep for most vegetables. This size is easy to reach from both sides and holds enough soil.
Build frames from rot-resistant wood (cedar) or recycled composite boards. Screw corners tightly and line the inside with landscape fabric if you have invasive weeds.
For a budget option, stack concrete blocks or use galvanized cattle panels bent into hoops for supports. Fill beds with a mix of topsoil, compost, and coarse sand for good drainage.
What are the best practices for a small-space vegetable garden?
Use containers or 2×4-foot raised beds to fit patios or balconies. Choose compact varieties like bush tomatoes, baby zucchini, and dwarf peppers.
Grow vertically with trellises, cages, or hanging baskets. Train cucumbers and pole beans up supports to free ground space.
Plant in succession. Sow quick crops (radishes, salad greens) between slower ones (tomatoes) to harvest continuously from a small area.
Can you recommend beginner-friendly vegetable garden layouts?
Try a single 4×8-foot bed divided into four 2×4-foot squares; plant one crop type per square. It keeps tasks simple and rotation easy.
Use a three-row layout: one row for tall plants, one for medium, one for low ground-cover crops. This reduces shading and simplifies harvesting.
For pots, group herbs in one container and salad greens in another. Label each container and keep similar water needs together.
What are common mistakes to avoid when starting a vegetable garden?
Don’t plant in heavy shade. Most vegetables need 6–8 hours of sun; seedlings in shade sicken or yield little.
Avoid planting too close together. Crowding causes poor airflow, more disease, and smaller harvests.
Don’t skip soil prep. Poor soil gives weak plants. Test pH, add compost, and loosen compacted soil before planting.
How can I design a beautiful yet functional vegetable garden?
Combine edible plants with flowering borders like marigolds and zinnias to attract pollinators and mask pests. Use repeating colors or plant shapes for visual rhythm.
Add paths of gravel or stepping stones at least 18 inches wide for easy access. Raised beds with clean edges give a tidy look and make maintenance simpler.
Include a focal point, such as a small arbor or a painted trellis, to draw the eye and support climbing crops without cluttering growing space.