Vegetable Garden Design: Smart Layouts and Practical Planting Strategies
You can design a vegetable garden that fits your space, saves time, and boosts yield by choosing the right layout, plants, and simple structures. Think about sun, access, and how you will water and harvest; small design choices make a big difference in how much you grow and how easy the garden is to maintain. A clear layout with good sun exposure, easy paths, and smart plant placement will give you healthier plants and bigger harvests.
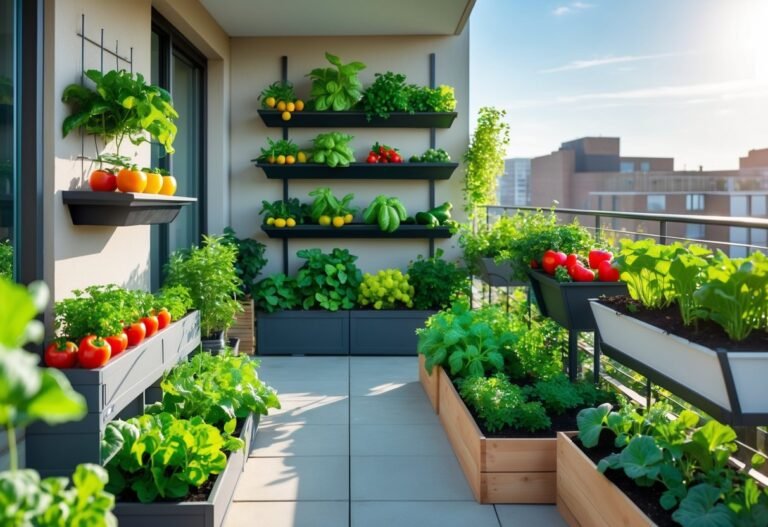
You don’t need a big yard or fancy tools to get started. Use raised beds, containers, vertical supports, or compact rows to match your space and style, and focus on combining plants that share light and water needs for easier care.
Key Takeaways
- Plan for sunlight, access, and watering before you plant.
- Choose layouts and supports that match your space and goals.
- Group plants by needs to simplify care and increase yield.
Vegetable Garden Planning
Good planning sets you up for a productive, low-maintenance garden. Focus on sun, space layout, and soil health so plants get what they need from day one.
Site Selection and Orientation
Place your garden where it gets at least 6–8 hours of direct sun each day; most vegetables need full sun. Observe the site for a week to note morning versus afternoon sun and any shade from trees or buildings.
Pick a spot with good drainage. Avoid low dips that hold water after rain. If you must use a wetter area, raise beds at least 8–12 inches and add coarse material under the soil to improve drainage.
Consider access to water and tools. Locate beds within 25–50 feet of a spigot to make watering and harvesting easier. Plan a clear path at least 18–24 inches wide so you can reach plants without stepping on soil.
Face long beds east–west when possible so plants get even sun across their rows. Use taller crops (corn, trellis beans) on the north side of beds to avoid shading shorter crops.
Garden Layout Types
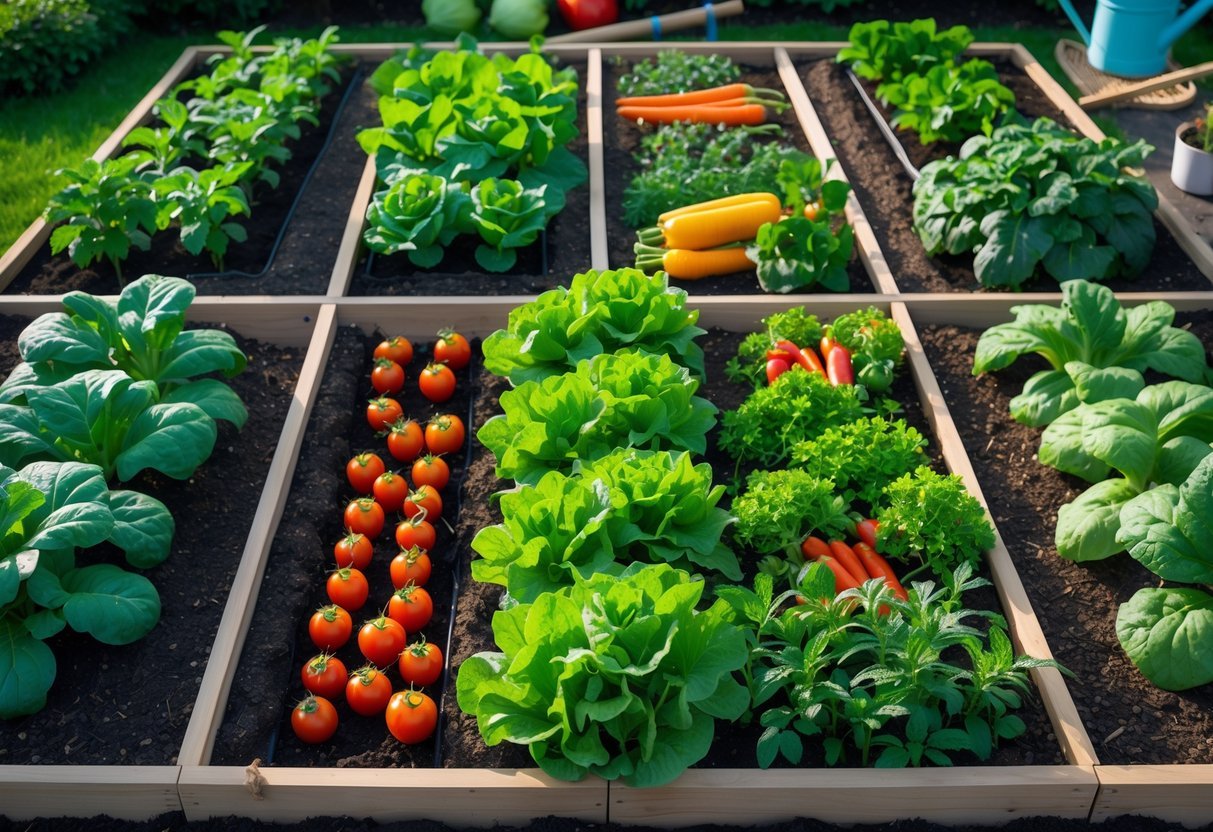
Choose a layout that matches your space and work style: rows, blocks, raised beds, or containers. Each has pros and cons for access, planting density, and crop rotation.
Rows work well for machine or long-bed planting and for root crops. Leave 18–36 inches between rows depending on the crop. Blocks maximize yield per square foot and make irrigation easier for small plots.
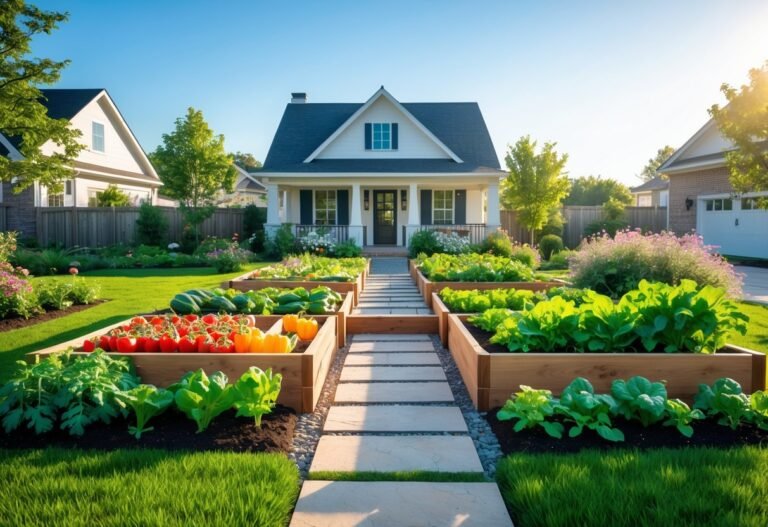
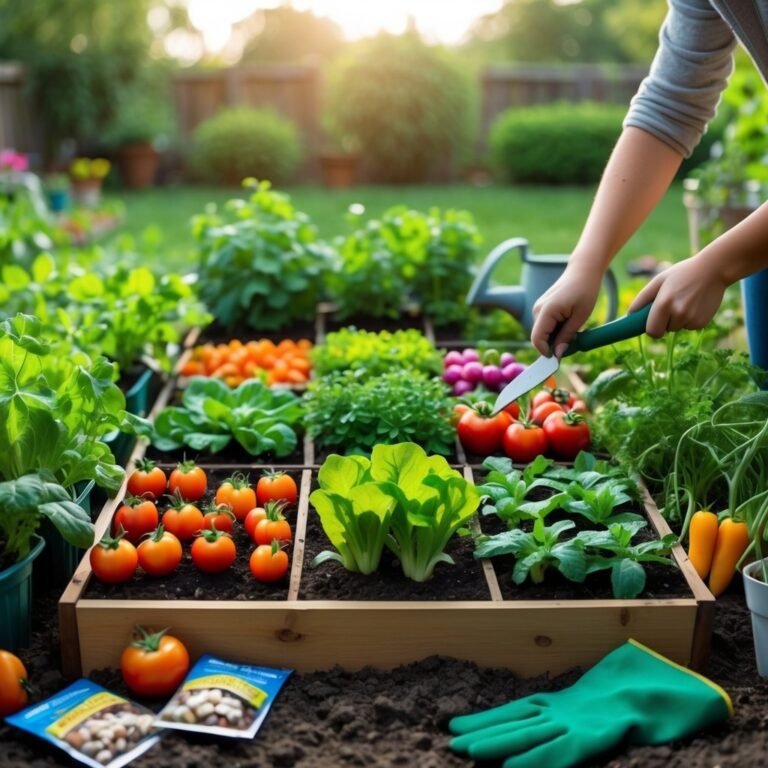
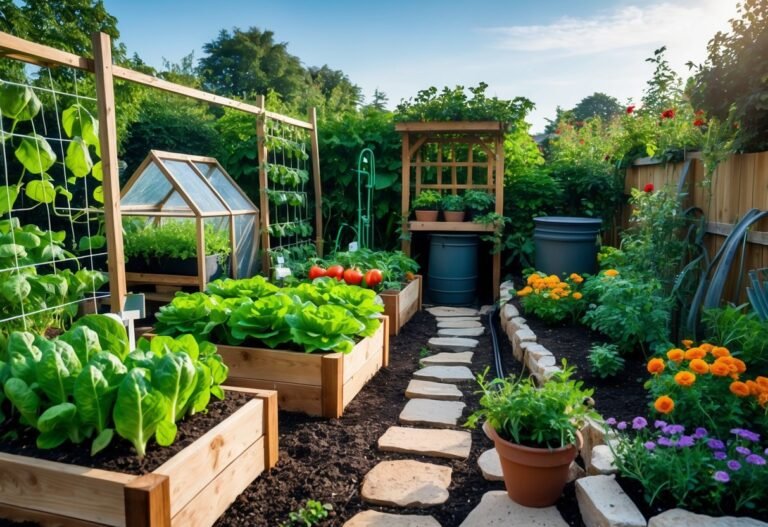
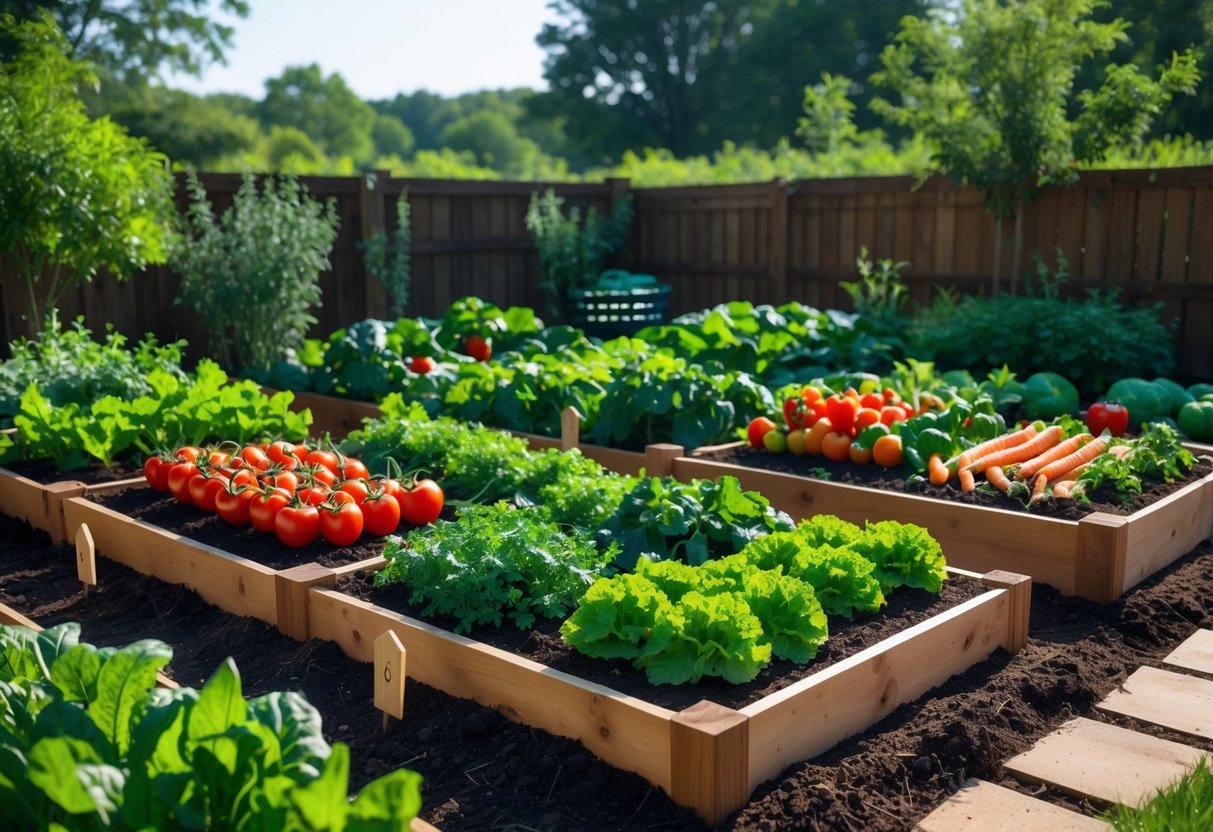
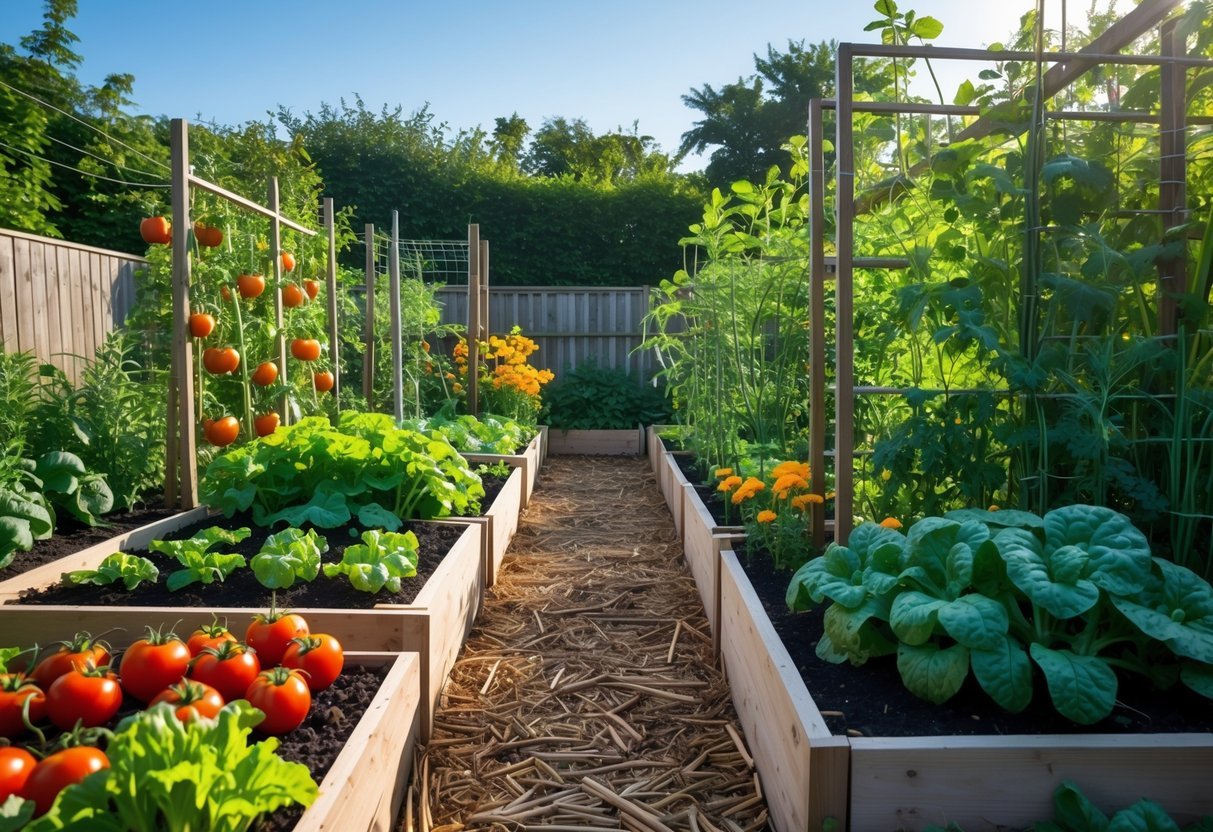
Raised beds give better drainage, warmer soil, and clearer walking paths. Standard bed sizes (4×8 feet or 3×6 feet) keep all planting within arm’s reach. Use containers for patios and balconies; pick large pots for tomatoes and peppers.
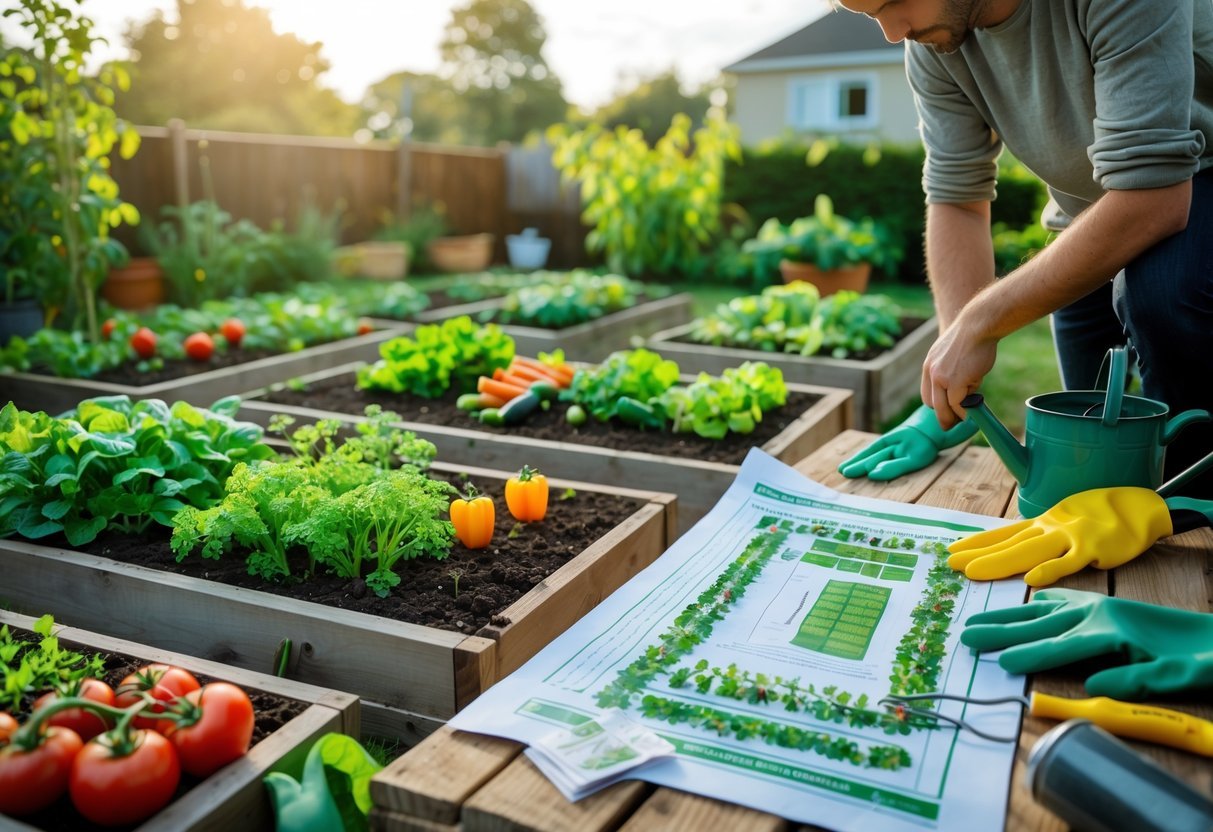
Use simple diagrams or a sketch to plan paths, bed sizes, and trellis locations. Mark areas for succession planting and rotation to reduce pests and nutrient depletion.
Soil Preparation and Improvement
Test your soil first. A basic soil test shows pH and nutrient levels so you add lime or fertilizer only as needed. Many vegetables prefer pH 6.0–7.0.
Add organic matter to improve structure and fertility. Spread 2–4 inches of compost over the soil and dig or till it in to a 6–8 inch depth for in-ground beds. For raised beds, mix 40–60% topsoil with 40–60% compost or well-rotted manure.
Adjust texture if needed: add sand or grit to clay to improve drainage, and more compost to sandy soil to increase water retention. Avoid overworking wet soil; wait until it crumbles in your hand.
Apply starter fertilizers based on your soil test and the crop’s needs. Side-dress heavy feeders like corn and squash during growth. Mulch with straw or wood chips to conserve moisture and suppress weeds.
Design Principles for Productive Gardens
Focus on moving nutrients where plants need them, limiting pests and disease, and making maintenance fast. Place beds, paths, and plant groups so watering, harvesting, and soil care take minutes instead of hours.
Crop Rotation Strategies
Rotate plant families each year to cut disease and pest cycles. Move heavy feeders (tomatoes, cabbage) to a new bed after harvest and follow them with nitrogen-fixing or light-feeding crops like beans or leafy greens for 1–3 seasons.
Use a simple 3- or 4-year rotation map you can pin to a shed wall. Track families: Solanaceae (tomato, pepper), Brassicas (cabbage, broccoli), Fabaceae (peas, beans), and root crops (carrot, beet). Keep brassicas and brassica relatives separate from each other in back-to-back years.
Rest beds with cover crops such as clover or rye to rebuild organic matter and reduce erosion. If space is tight, practice short rotations with fallow cover crops for one season and add compost before planting.
Companion Planting Techniques
Plant combinations can repel pests, attract pollinators, or improve flavor and growth. For example, plant basil next to tomatoes to deter flies and improve tomato vigor, and grow marigolds near beans to reduce nematode pressure.
Group plants by height and timing: put tall corn on the north side so it won’t shade sun-loving crops. Interplant fast-maturing radishes or lettuces between slower crops to maximize space and harvests.
Avoid unproven pairings; test on a small scale first. Use strips of pollinator flowers and herbs along bed edges to draw beneficial insects. Keep aromatic herbs and strong-smelling plants near vulnerable crops to confuse pests.
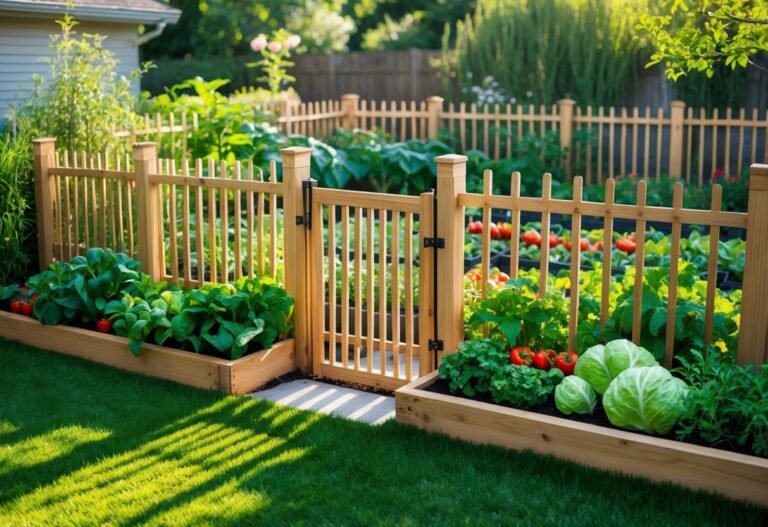
Raised Beds and Path Design
Build beds 3–4 feet wide so you can reach the center from both sides without stepping on soil. Make beds 6–12 inches high for better drainage; raise to 12–18 inches in compacted or clay soils.
Plan paths at least 18–24 inches wide for wheelbarrow and tool access. Use firm, permeable surface materials like wood chips or crushed stone to prevent muddiness but allow water to soak through.
Orient beds north-south for even sun on row crops. Place irrigation lines and drip emitters under mulch to cut evaporation. Label beds and keep a simple map to rotate crops and track soil amendments each season.
Aesthetic and Functional Elements
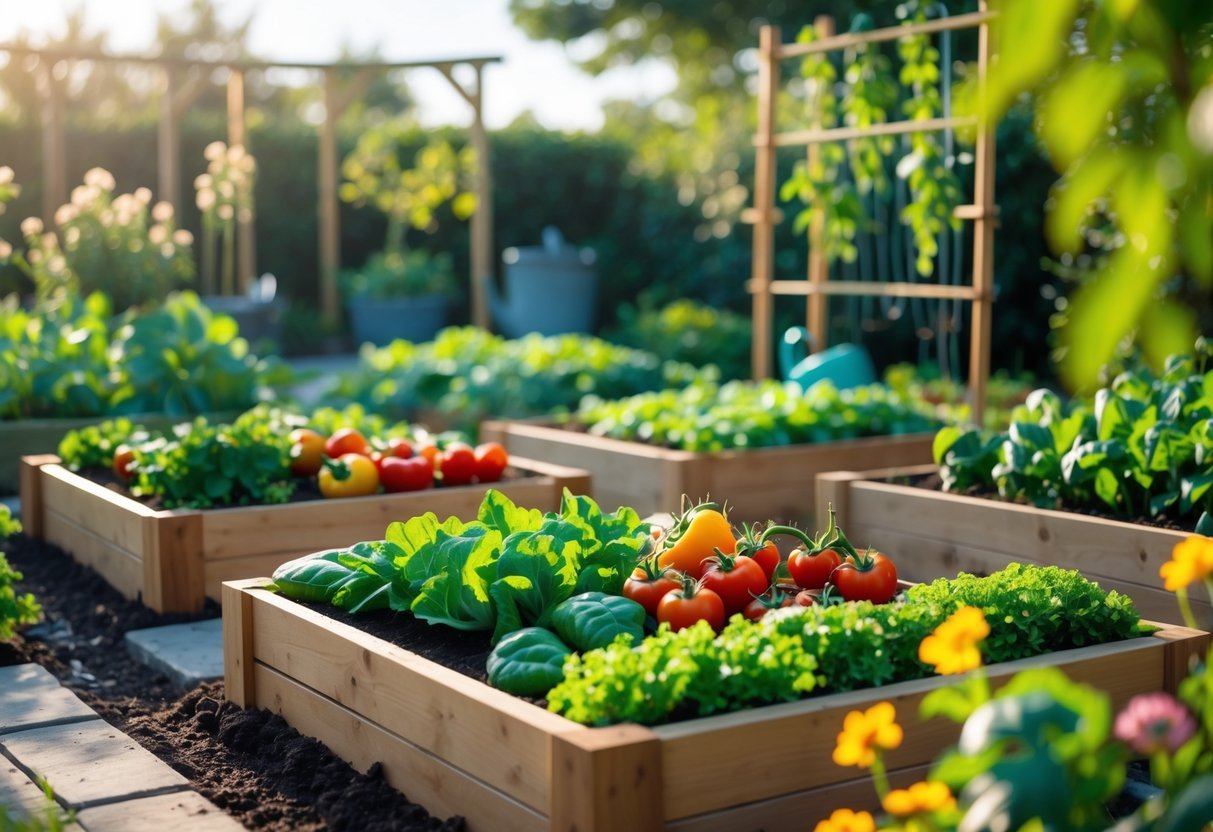
Balance visual appeal with useful features: choose plants that look good and feed you, place paths for easy access, and set irrigation to match sun and soil. Use color, height, and texture to guide sight lines while keeping beds reachable and productive.
Integrating Edible and Ornamental Plants
Mix herbs, flowers, and vegetables by pairing companion plants that help each other. Plant basil next to tomatoes to improve flavor and deter pests. Marigolds or nasturtiums along beds boost color and attract beneficial insects.
Use height layers for interest and harvest ease. Put tall crops like corn or trellised beans at the back, mid-size plants like peppers and tomatoes in the middle, and low herbs or lettuce at the front. This keeps light access and makes picking simple.
Choose repeat colors and textures to create cohesion. Group three to five of the same flowering plants to form focal points. Add ornamental grasses or variegated foliage to break monotony and reduce weeding.
Watering Systems and Irrigation Layouts
Match irrigation to bed type: drip lines for raised beds and soaker hoses for in-ground rows. These methods cut water waste and keep foliage dry to reduce disease.
Lay main supply lines along paths and branch drip lines into each bed with individual valves. Place emitters 6–12 inches apart for leafy greens and 12–18 inches for root crops. Test flow and adjust emitter output as plants grow.
Include a timer and a moisture sensor to automate watering and prevent overwatering. Install shutoff valves at each bed to isolate leaks and make seasonal changes easier.
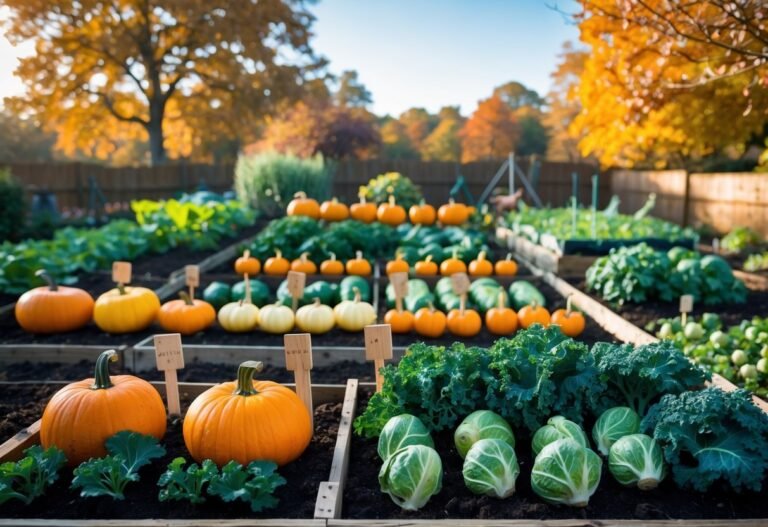
Seasonal Planting Plans
Plan crops by month and microclimate. Map your garden into sunny (6+ hours), part-shade (3–6 hours), and shady (under 3 hours) zones. Plant cool-season crops like spinach and peas in early spring and again in fall in the cool zones.
Use succession planting to keep beds productive. Sow a fast-maturing crop (radishes) between slower ones (cabbage) and replace harvested spots with transplants or fall crops. Stagger sowing every 2–3 weeks for steady harvests.
Rotate families to reduce disease and balance soil nutrients. Move nightshades, brassicas, and legumes to different beds each year. Add cover crops in winter to rebuild organic matter and suppress weeds.
Frequently Asked Questions
This section gives clear, practical answers you can use right away. Expect tips on saving space, layout examples, design ideas, free planning tools, key site factors, and ways to make the bed look good while staying productive.
How can I maximize space in a small vegetable garden?
Use vertical growing: trellises, cages, and wall planters let you grow peas, beans, cucumbers, and even compact indeterminate tomatoes upward. Stackable containers and hanging baskets free ground space for root crops and herbs.
Try square-foot gardening to pack more plants into each bed with measured spacing. Plant fast-growing crops (lettuce, radishes) between slower ones (tomatoes, peppers) to get multiple harvests from the same area.
What are some effective vegetable garden layout plans and spacing techniques?
Use raised beds 3–4 feet wide so you can reach the center from both sides without stepping on soil. Arrange beds with 2–3 foot paths between them for easy watering and harvest.
Follow seed packet spacing and thin seedlings to that distance. For mixed beds, group plants by mature size: tall at the north edge, medium in the middle, and low at the front to avoid shading.
Which design principles contribute to a beautiful and functional vegetable garden?
Balance form and function: pair productive rows with ornamental edges like flowering herbs or marigolds. Repeat materials and colors—same bed edging or matching planters—for a tidy look.
Prioritize access. Place water sources and tool storage near the beds. Design wide paths and open sightlines so you can work easily and spot pests or disease.
Can you suggest any free tools for planning a vegetable garden layout?
Try free online garden planners that offer drag-and-drop bed templates and plant spacing guides. Many seed company websites and extension services provide printable garden grid sheets.
Use simple tools like graph paper, a tape measure, and a smartphone camera to map your site before planting. Combine a photo with hand-drawn notes to plan sun, shade, and irrigation spots.
What are the key factors to consider when creating a vegetable garden design plan?
Measure available sunlight across the day and mark areas that get 6–8 hours for most vegetables. Test soil or note existing soil type so you can amend for pH and nutrients.
Plan for water: set beds near a hose or include drip irrigation. Consider wind, drainage, and how you’ll reach all plants for maintenance and harvest.
How can I incorporate aesthetic elements into my vegetable garden while maintaining productivity?
Add edible flowers (nasturtiums, calendula) and herbs (lavender, thyme) along paths to soften edges and attract pollinators. Use uniform containers, matching trellises, or painted raised beds for a cohesive look.
Mix ornamentals with crops in repeating patterns to keep the garden attractive without sacrificing yields. Place seating or a focal planter to draw the eye and create a restful spot that still serves harvesting needs.