Roof Top Garden Design: Smart Strategies for Small Urban Spaces
You can turn an unused rooftop into a functional, beautiful garden that fits your budget and lifestyle by focusing on structure, plant choice, and maintenance from the start. A successful rooftop garden balances light-weight planters, proper drainage, wind protection, and plants suited to your microclimate so it looks great and thrives with minimal fuss.
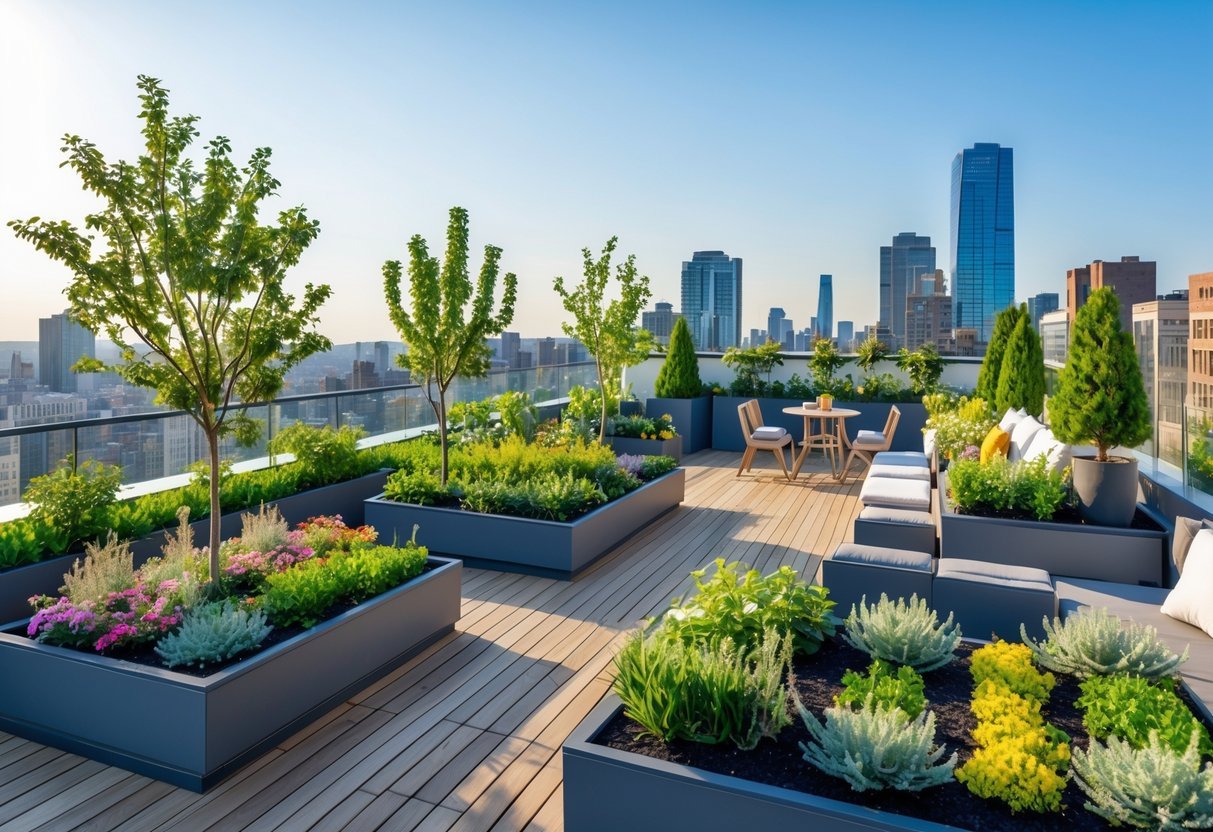
This article walks you through the essentials you’ll need—layout and space use, plant selection, sustainable practices, and lighting—to design a rooftop that feels like an outdoor room. Expect practical tips on creating privacy, choosing low-maintenance species, and making smart irrigation and lighting choices so your rooftop becomes a usable, low-stress green space.
Essential Elements of Rooftop Garden Design
You need to evaluate structural limits, water management, and long-term protection before choosing plants or furniture. Prioritize accurate load calculations, reliable drainage, and durable waterproofing to avoid costly repairs.
Site Assessment
Inspect the roof’s structure, access, sunlight, wind exposure, and service routes before design decisions. Obtain the building’s structural drawings and a signed report from a licensed structural engineer that states allowable live and dead loads in psf (pounds per square foot) and any retrofit options.
Map sun patterns across seasons using simple measurements: note full-sun hours, morning vs. afternoon exposure, and positions of shading elements. Measure prevalent wind speed at rooftop height or consult local wind maps; high wind will dictate plant choices, container types, and windbreak placement.
Check rooftop access for delivery and maintenance: door widths, stair clearances, elevator capacity, and crane access for large planters or soil. Identify utility lines, roof hatches, HVAC equipment, and required safety routes so you don’t block service areas or violate code.
Weight Load Considerations
Work from the engineer’s load-rating report and translate those numbers into components: soil media, planting trays, planters, hardscape, water, and people. Use a weighted-item table to estimate loads (example below) and keep a safety margin of 20–30% below rated capacity.
- Lightweight engineered growing media: 15–35 psf saturated
- Modular tray systems: 5–20 psf depending on spacing
- Pavers and furniture: 10–50+ psf where used
- Standing people and gatherings: 20–100 psf localized
Concentrate heavy items over load-bearing areas or distribute weight with trays and raised decking. Avoid continuous deep soil unless the structure is certified for extensive green roofs. If you need deeper plantings, plan structural reinforcement or use lightweight alternatives like engineered substrates and geocellular systems.
Drainage and Irrigation
Design drainage to move water off the roof quickly while protecting waterproofing. Incorporate a layered drainage assembly: protection mat, drainage board or geocomposite, filter fabric, and root barrier where needed. Ensure secondary overflows and scuppers exist; test them under simulated heavy rain.
Match irrigation type to plant needs and water restrictions. Use drip irrigation with pressure-compensating emitters for planters and subsurface drip for larger beds to reduce evaporation. Include automatic controllers with soil-moisture sensors and separate zones for sun, shade, and drought-tolerant groupings.
Plan maintenance access to clear debris from drains and inspect outlets quarterly. Add visual indicators or flow monitors for clogged lines and install shutoff valves at accessible points to isolate zones quickly during repairs.
Waterproofing Solutions
Select a waterproofing system designed for rooftop planting and compatible with root barriers. Popular options include hot-applied bitumen with root-proof membranes, liquid-applied elastomers, and single-ply membranes with overlying protection boards. Always verify manufacturer warranties for rooftop garden use.
Add a durable root barrier (HDPE or PE composite) over the waterproof membrane when planting directly on the roof. Place a protection layer—such as a protection board or nonwoven geotextile—between the waterproofing and drainage layers to prevent punctures during installation and maintenance.
Detail flashings, penetrations, and rooftop equipment curbs with products rated for pedestrian traffic and soil contact. Specify inspection intervals and include access for periodic leak testing; document all layers and material tolerances for future repairs.
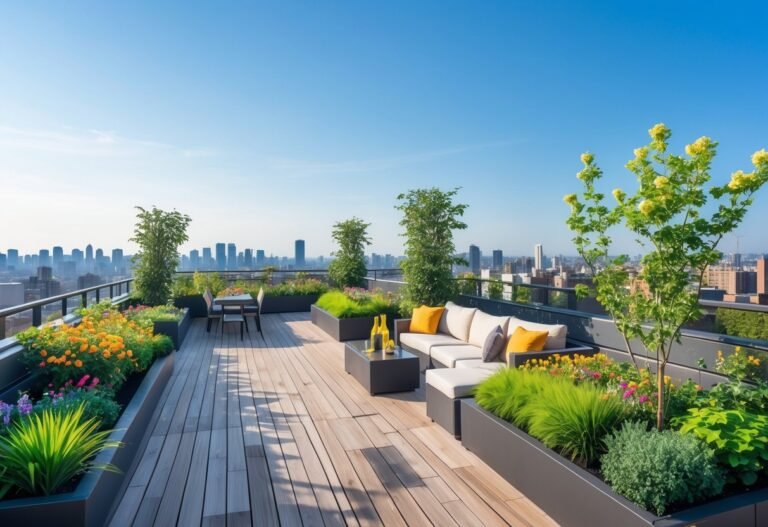
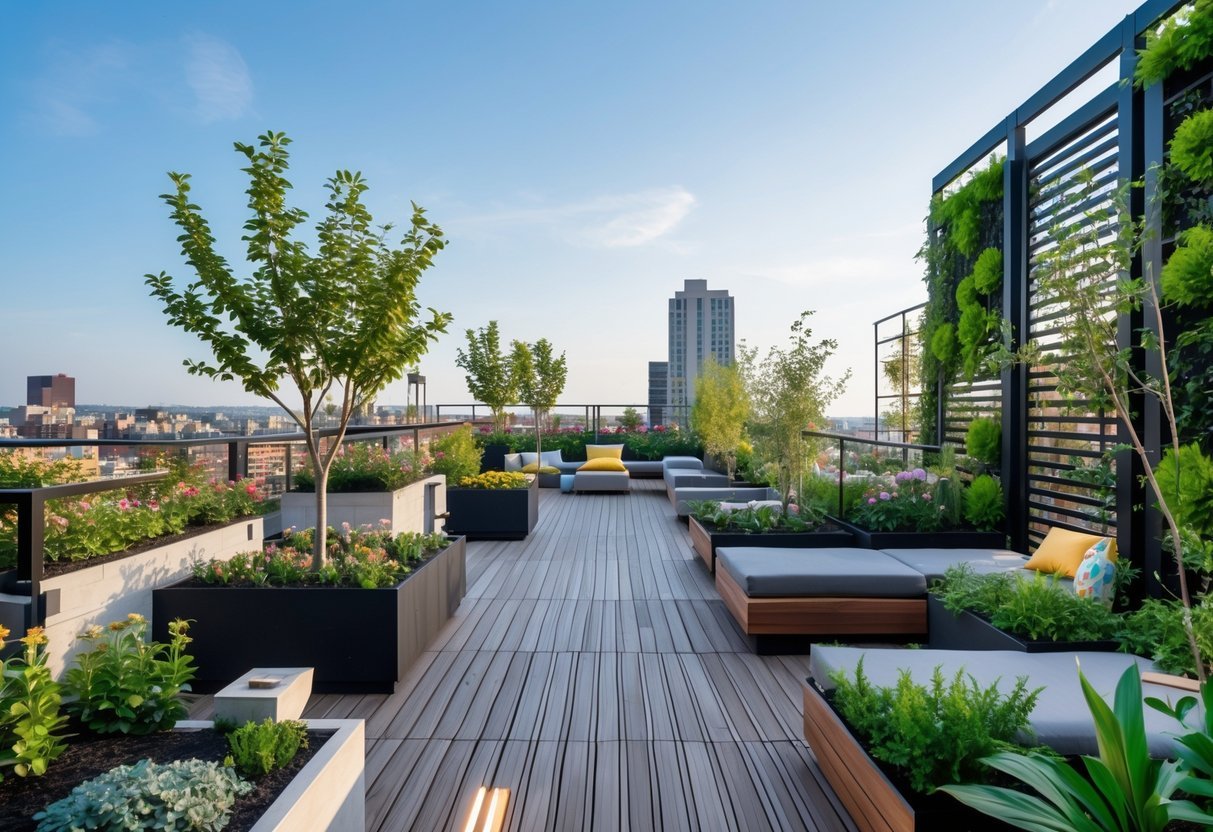
Planning Layout and Space Utilization
Decide how you will use the rooftop, where people will move, and which containers and furnishings fit the load limits and sightlines. Prioritize zones for growing, seating, storage, and service access to keep maintenance efficient and safe.
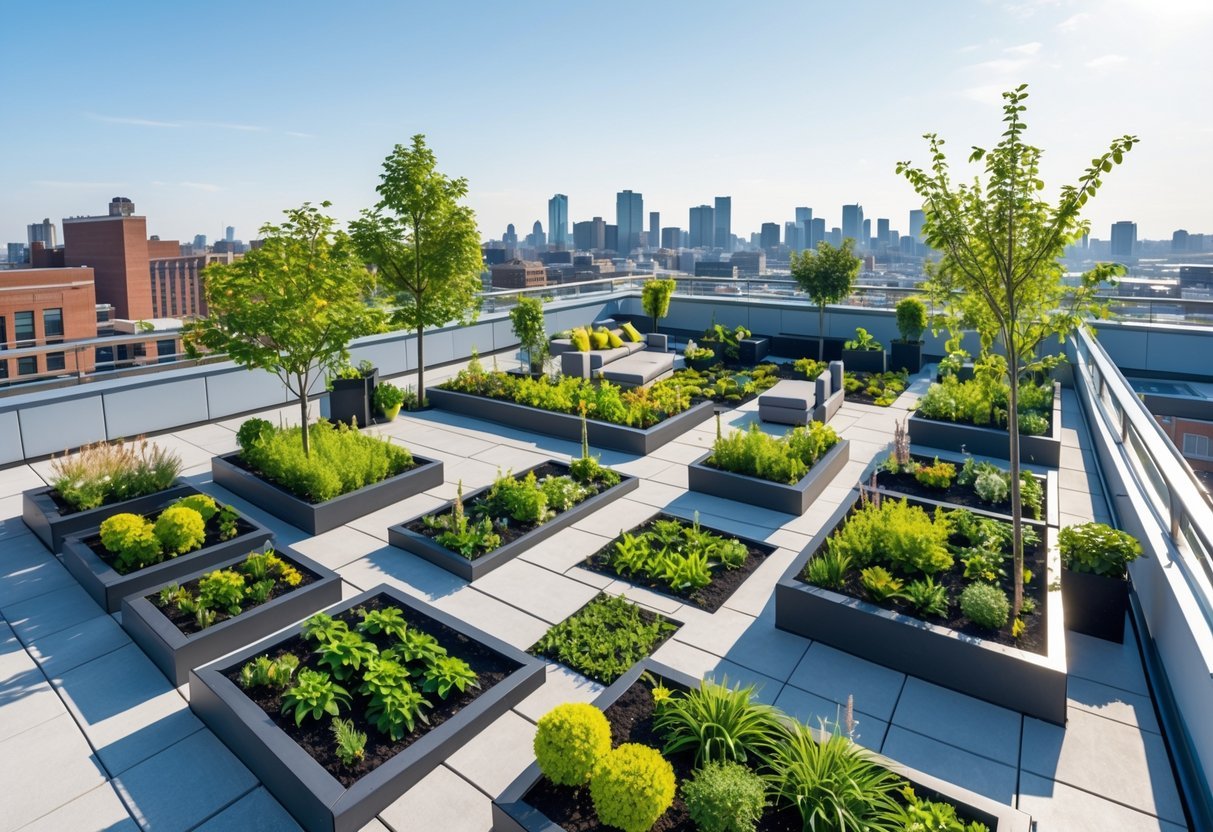
Zoning and Functional Areas
Map distinct zones: growing (vegetables, herbs), leisure (seating, shade), and service (storage, compost, irrigation). Allocate square footage—for example, assign 40% for planting beds, 30% for seating and circulation, and 30% for service and flexible space—then adjust to your priorities.
Consider sun exposure and wind patterns when placing zones; put sun-loving crops on the south or west side and shade-tolerant plants nearer screening or pergolas. Place heavy items (raised beds with soil, water tanks) close to structural supports and near access hatches to reduce load on cantilevered areas.
Use sightlines and height layering to create privacy without blocking light. Low edible beds at the front, mid-height planters and trellises in the middle, and taller screening elements at edges work well. Mark clear service aisles at least 60–90 cm wide for wheelbarrows and maintenance access.
Pathways and Access
Design a primary circulation route from the entry hatch or door to the main seating area and service zone. Keep that path straight and at least 90 cm wide to allow two people to pass or to move a loaded cart. Use non-slip, permeable surfaces—porcelain pavers, open-jointed decking, or gravel with stabilizer—to manage drainage and reduce ponding.
Include secondary paths that lead to planting rows and irrigation points; make those 60–75 cm wide for single-person maintenance. Install removable or hinged planters in tight areas for access to plumbing or roof drains. Place lighting along paths at 0.5–1.0 lux for safe night access and label shut-offs and valves near the main route for quick troubleshooting.
Container Selection
Choose containers that match plant needs, weight limits, and water requirements. Use lightweight options—fiberglass, recycled plastic, or composite—for large planters; reserve concrete or ceramic for small accent pots. Anchor or tie down tall or lightweight pots to prevent wind tipping.
Match container volume to root systems: 20–30 L for herbs, 40–60 L for compact tomatoes, and 100+ L for small trees or large shrubs. Prioritize containers with integrated drainage and a reservoir system if you need longer irrigation intervals. For intensive vegetable production, use modular raised beds with liners and drainage trays to control substrate depth and simplify replacement.
Furniture and Decor Integration
Select furniture sized to your circulation grid and structural limits. Measure the seating footprint and leave at least 60 cm clearance behind chairs for movement and 90–120 cm in front of dining setups for comfortable use. Choose weather-resistant materials—teak, powder-coated aluminum, or marine-grade rope—and lightweight or stackable options if you need seasonal storage.
Integrate decor with function: use bench seating that doubles as storage, trellis screens that provide privacy and support plants, and planters that form low partitions between zones. Secure umbrellas, pergolas, and large fixtures to structural anchors. Add soft furnishings—outdoor rugs, cushions made from quick-dry fabrics—to define spaces, but store them during heavy winds or prolonged rain to extend product life.
Plant Selection for Rooftop Gardens
Choose plants that tolerate wind, sun, and limited soil depth while matching your maintenance capacity and desired use. Prioritize species with proven rooftop performance, and group plants by water needs and root depth for easier care.
Climate-Appropriate Choices
Match plant hardiness to your USDA zone and to rooftop microclimates: south- and west-facing roofs get intense sun and heat, north-facing areas stay cooler and shadier. For hot, sunny sites pick Mediterranean and desert-adapted species (e.g., lavender, sedum, Russian sage). For cooler, wind-exposed roofs choose low-growing, wind-tolerant shrubs and grasses (e.g., dwarf willow, Festuca, Carex).
Consider seasonal extremes: ensure winter-hardy selections for cold climates and heat-tolerant, drought-resistant cultivars for warm climates. Use windbreaks (trellises, container groupings) to protect taller plants. Always verify mature height and root depth; avoid deep-rooted trees unless structural load and root barriers are specified.
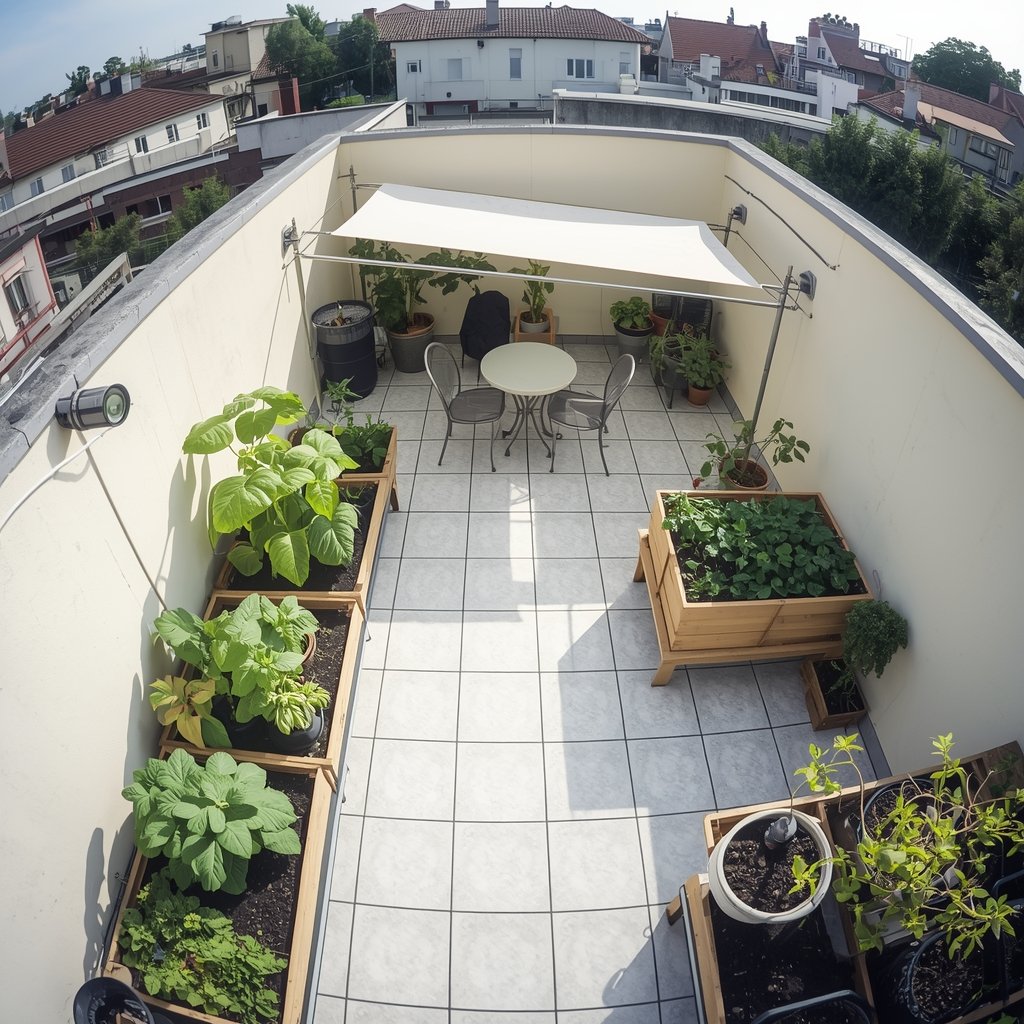
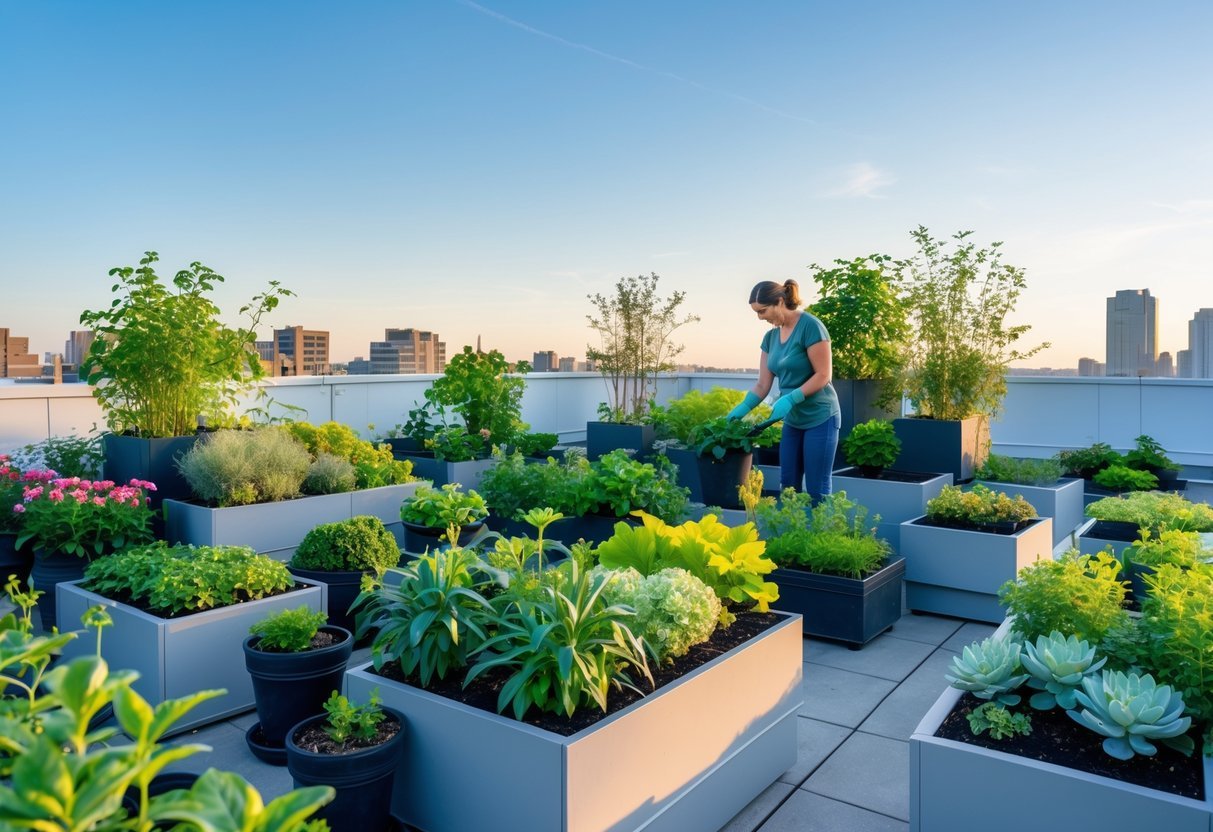
Edible Plantings
Grow herbs, compact vegetables, and fruit in containers sized for root systems: use 6–12 inch pots for most herbs, 12–18 inch for tomatoes and peppers, and 18–24 inch for small fruiting shrubs. Choose determinates or patio varieties of tomatoes and compact blueberry cultivars to limit size and support needs.
Prioritize high-yield, low-maintenance crops: basil, rosemary, salad greens, radishes, bush beans, strawberries, and dwarf citrus (where climate and frost protection allow). Install drip irrigation and fertilize regularly; container soils deplete nutrients faster than ground beds. Rotate crops and replace substrate yearly to reduce disease buildup.
Low-Maintenance Varieties
Select drought-tolerant perennials and succulents for minimal watering: sedums, sempervivums, agave, and native grasses perform well on shallow substrates. Choose evergreen groundcovers (e.g., thyme, creeping phlox) for year-round coverage and erosion control.
Use these maintenance steps to keep work minimal:
- Group plants by water requirement.
- Use lightweight, load-appropriate containers and modular planting trays.
- Mulch containers and use water-retentive soil mixes with perlite or coconut coir.
- Plan for seasonal pruning and an annual soil renewal.
These choices reduce irrigation frequency, pest issues, and time spent on upkeep while keeping the rooftop attractive and resilient.
Sustainable and Eco-Friendly Practices
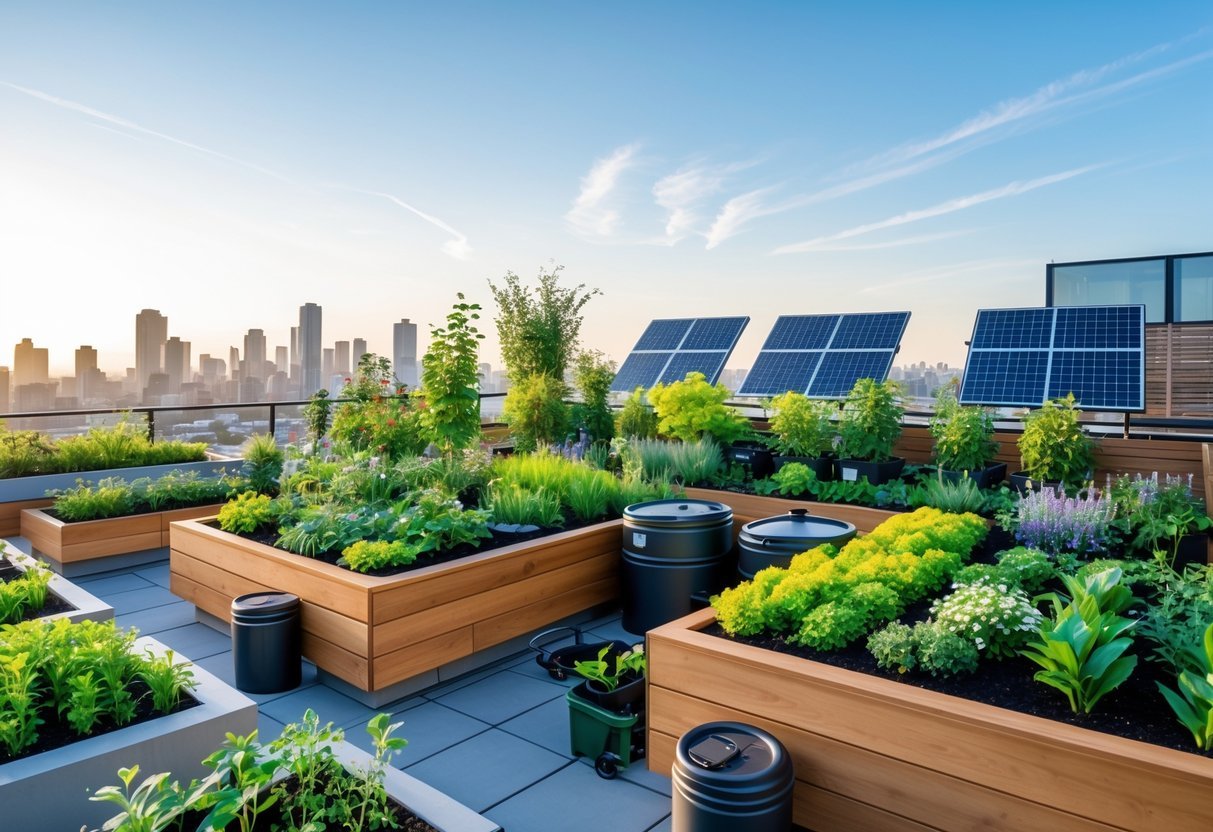
Adopt systems that reduce water use, build soil life, and support urban biodiversity while keeping structural limits and maintenance needs in mind. Focus on practical installations and routine actions that deliver measurable benefits without adding undue weight or complexity.
Rainwater Harvesting
Collect roof runoff with a gravity-fed or pump-assisted system sized to your roof area and rainfall patterns. Use a first-flush diverter to remove roof debris, and route water into a covered cistern or modular tanks rated for rooftop loads. Aim for a storage volume that meets irrigation needs between rain events; a simple rule is 1 inch of rain on 100 sq ft yields about 62 gallons.
Install a filter before tanks and add a UV or foliar-safe treatment if you plan to use water on edible plants. Connect an automated drip irrigation line with a pressure regulator and timer to prevent overwatering. Include an overflow path tied to safe drainage or stormwater reuse to protect the roof membrane and neighbors below.
Composting and Soil Health
Create a lightweight composting setup using tumblers or vermicompost bins sized for your garden’s input—small bins (20–50 gallons) suit herbs and container vegetables. Keep a balanced carbon-to-nitrogen ratio (~30:1) by mixing kitchen scraps with shredded paper or dry leaves. Turn or aerate regularly to control odors and speed decomposition.
Use finished compost to feed container mixes and shallow green roof substrates at low rates (about 10–20% by volume) to maintain drainage and avoid compaction. Test substrate pH and nutrient levels yearly, and add slow-release organic fertilizer based on results. Monitor moisture: well-amended mixes hold water but still need drainage layers or capillary mats to prevent saturation.
Pollinator-Friendly Design
Choose a continuous bloom sequence with nectar- and pollen-rich species adapted to your climate zone—native salvias, coneflowers, and asters work well in many temperate cities. Plant in clusters of three or more to make patches visible to pollinators and include variation in height for shelter and foraging. Avoid hybrid cultivars with reduced nectar; prefer single-flower types.
Provide small water sources like shallow dishes with stones, and leave some bare ground or flat rock areas for ground-nesting bees. Minimize pesticide use: adopt mechanical or biological controls and spot-treat only when necessary. Label plants and maintain a simple log of bloom times to refine species choices each season.
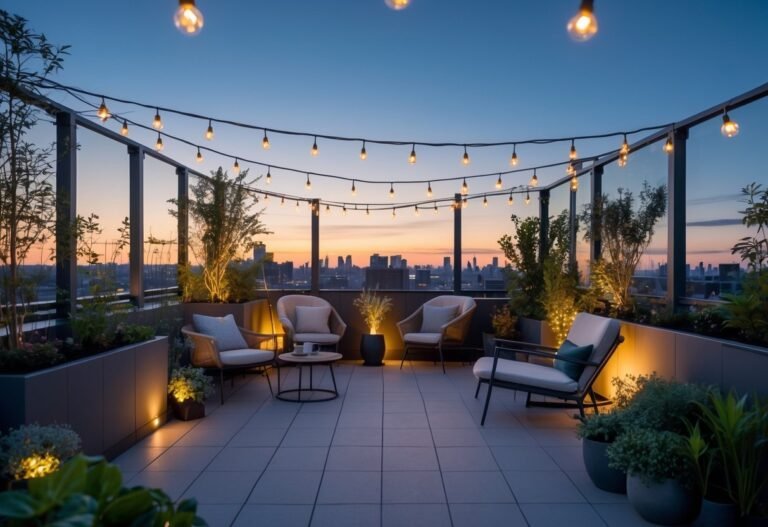
Lighting and Ambiance
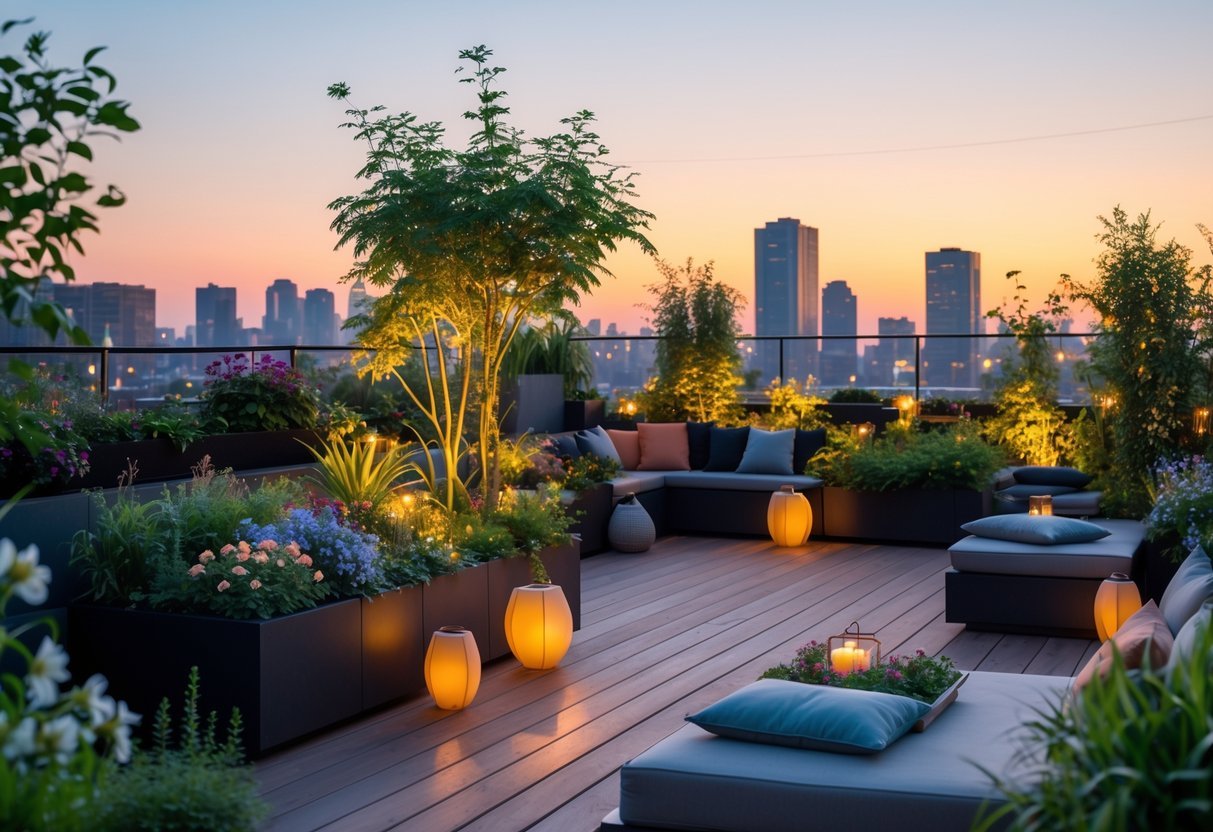
Good rooftop lighting balances function and mood: place fixtures for safety, highlight focal plants or seating, and choose color temperature for the atmosphere you want.
Outdoor Lighting Options
Use a layered approach: combine pathway lights, uplights, and task lights so you can zone the roof for movement, planting beds, and dining.
- Pathway lights: low-voltage LED bollards or recessed step lights prevent trips and define circulation routes. Space them 4–6 ft apart for clear edges.
- Uplighting: put adjustable spotlights 2–4 ft from trunks or specimen pots to accent texture and vertical structure. Aim fixtures upward at 10–30° for wash without glare.
- Task lighting: install focused lights over a grill, bar, or worktable. Use IP65-rated fixtures and shielded lenses to avoid light spill.
- String lights & lanterns: choose weather-rated LED strings or solar lanterns for soft, widespread glow. Secure them with proper anchors and tension to resist wind.
- Smart controls: add dimmers or a scene-capable controller so you set brightness, schedules, and zones from an app or switch.
Creating Evening Atmosphere
Select color temperature between 2200K–3000K for warm, inviting tones around seating; use 3000K–4000K sparingly for clearer task areas.
Place lights to create depth: brighter near pathways and activity zones, softer on plant beds and walls. Use dimming to reduce contrast and keep glare low.
Incorporate reflective surfaces—pale paving, water bowls, or light-colored planters—to amplify light without raising wattage.
Add a few focal accents such as a single brighter uplight on a specimen tree or a pendant over the dining table to draw the eye.
Prioritize durable, rated fixtures (IP65+) and consider timers or motion sensors to save energy and extend bulb life.
Frequently Asked Questions

This section covers practical choices for layout, plant selection, drainage, weight limits, and low-maintenance styling. Expect clear, actionable guidance you can apply when planning, building, or maintaining a rooftop garden.
What are the essential elements to include in a rooftop garden design?
Include a waterproofing membrane and root barrier as the first protective layers over the roof deck. Add a reliable drainage layer and overflow paths to prevent standing water and roof damage.
Designate load-bearing zones and use modular planters or raised beds where soil depth exceeds roof capacity. Incorporate an irrigation system sized to your plant palette and a maintenance access route at least 30–36 inches wide for safe movement and equipment.
Include windbreaks and shade elements—trellises, pergolas, or screens—to protect plants and improve comfort. Finally, add non-slip surfacing and edge protection meeting local code for safety.
How can I maximize space in a small rooftop garden?
Use vertical gardening: wall-mounted planters, trellises, and stacked containers to increase growing area without expanding footprints. Choose narrow, long planters placed along railings to use perimeter space efficiently.
Adopt multifunctional elements: benches with built-in planters or storage, fold-down tables, and mobile container systems that you can rearrange seasonally. Group plants with similar water and light needs to reduce container count and simplify irrigation.
Select compact or dwarf plant varieties and practice intensive planting methods like square-foot spacing to boost yield per square foot. Use reflective surfaces and light-colored paving to visually enlarge the area.
Which plants are best suited for a rooftop garden environment?
Pick drought-tolerant, wind-resistant species for exposed roofs—sedums, ornamental grasses (e.g., Festuca, Pennisetum), lavender, and rosemary perform well. Use native perennials where possible for resilience and biodiversity.
For shaded or semi-shaded sections, choose hostas, ferns, heuchera, and shade-tolerant herbs like mint and cilantro. For edible containers, opt for compact vegetables and herbs: cherry tomatoes, bush beans, lettuces, chard, basil, and thyme.
Match plant choice to available soil depth: succulents and sedums need only thin substrates; shrubs and small trees require deeper engineered soils and structural review.
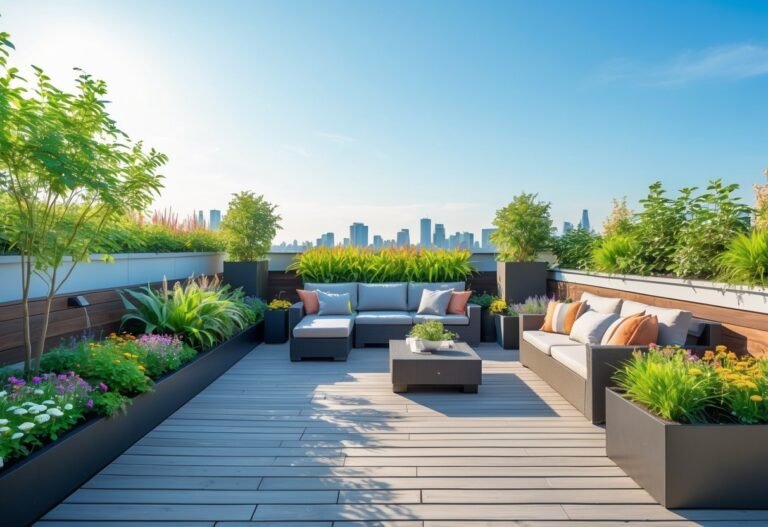
What are some modern design trends for rooftop gardens?
Modular planter systems and lightweight engineered soil mixes dominate new builds to simplify installation and reduce dead load. Biophilic design features—integrated seating, water elements, and mixed-use green zones—create social and sensory value.
Smart irrigation and sensor-driven watering help conserve water and prevent overwatering in exposed conditions. Mixed-material palettes—composite decking, corten steel planters, and concrete pavers—offer low-maintenance, contemporary aesthetics.
Edible landscaping and micro-orchards in containers continue to grow, with pollinator strips and habitat pockets added for urban biodiversity.
How can I create a simple yet beautiful rooftop garden?
Start with a focused palette: two foliage textures, two bloom colors, and one structural plant for height. Repeat containers and materials to create cohesion and visual rhythm across the terrace.
Limit maintenance by using automated drip irrigation and a layer of mulch or crushed stone to reduce evaporation. Choose durable, weatherproof furnishings and select plants with overlapping bloom or foliage seasons for continuous interest.
Plan circulation with a clear path and one focal area—like a seating cluster or a specimen container—to avoid clutter and keep the design readable.
What are the structural considerations when planning a rooftop garden?
Obtain a structural assessment from a licensed engineer to determine live and dead load capacity, including saturated soil weight, planters, people, and furnishings. Confirm roof access routes and load distribution; use lightweight planters or cantilevers where point loads exceed deck capacity.
Ensure roof waterproofing and root barriers meet material compatibility and life-expectancy for the intended planting system. Check local building codes and obtain permits for guardrail heights, edge protection, and any additional structural modifications.