Raised Vegetable Garden Essentials: Design, Soil, and Year-Round Care
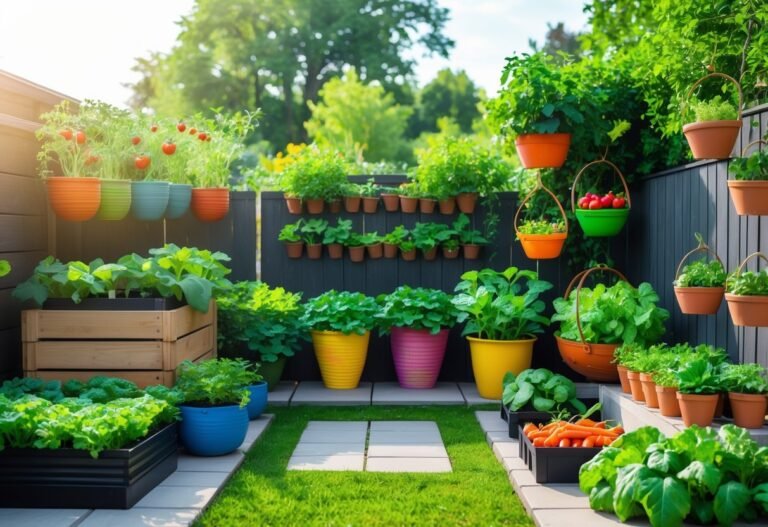
Growing a raised vegetable garden makes growing food easier, faster, and more productive than planting in the ground. You can get better soil, fewer weeds, and quicker harvests by planning beds, choosing the right materials, and planting smart.
This guide walks you through what to plan, how to build sturdy beds, and how to plant and care for vegetables so you waste less time and get more fresh food. Expect simple steps, clear choices for materials and soil, and practical tips to keep plants healthy all season.
Key Takeaways
- Plan bed size and layout to match your space and goals.
- Build beds with durable materials and add high-quality soil.
- Plant with a schedule and maintain beds for steady harvests.
Planning a Raised Vegetable Garden
Pick a sunny, level spot with good access to water and room to move around. Decide on durable materials, bed height, and the number of beds before you buy soil or plants.
Selecting the Ideal Location
Choose a place that gets at least 6–8 hours of direct sunlight daily. Most vegetables need full sun; locate beds where morning and midday light is strong and where tall plants won’t shade shorter ones.
Make sure you have a water source within 25 feet. Run a soaker hose or drip irrigation from a spigot rather than carrying buckets every day.
Aim for level ground or slightly raised slope. Level beds keep soil depth even and prevent erosion. Check for nearby roots, heavy shade from trees, or buried utilities before you dig or build.
Choosing the Right Materials
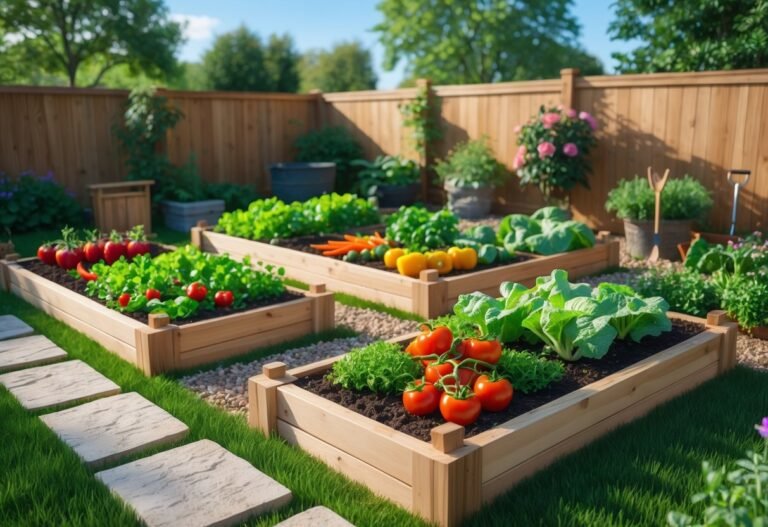
Pick rot-resistant wood like cedar or redwood, composite boards, or galvanized steel for bed walls. Avoid treated lumber that can leach chemicals into food crops.
Use a heavy-duty landscape fabric under the bed if drainage is poor, or leave the bottom open to allow worms and microbes in. For soil, buy a mix of compost, topsoil, and coarse sand or perlite — roughly 60% topsoil, 30% compost, 10% drainage amendment.
Fasten corners with stainless steel screws or brackets to avoid rust. If you plan to move beds later, consider modular raised beds or wooden frames that are bolted, not glued.
Determining Garden Size and Shape
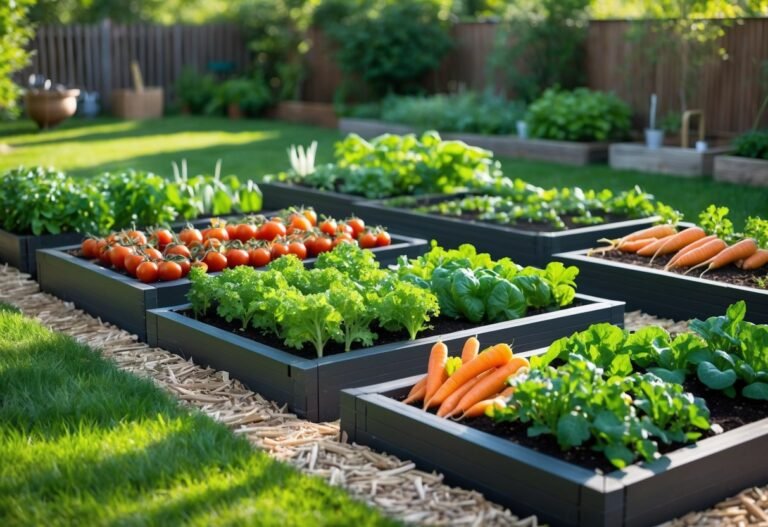
Aim for beds 3–4 feet wide so you can reach the center from either side without stepping in the soil. Common lengths are 4, 6, or 8 feet; longer beds can be divided by paths or cross-boards for support.
Set paths at least 18–24 inches wide for wheelbarrow access; make a main aisle 30–36 inches if you’ll use a wheelbarrow often. Square or rectangular beds fit most yards; a keyhole or U-shape works well where you want to center tools or a compost pile.
Plan bed height based on soil quality and mobility needs. A 12–18 inch bed holds enough soil for root crops; 24 inches or taller helps those with limited bending ability and improves drainage.
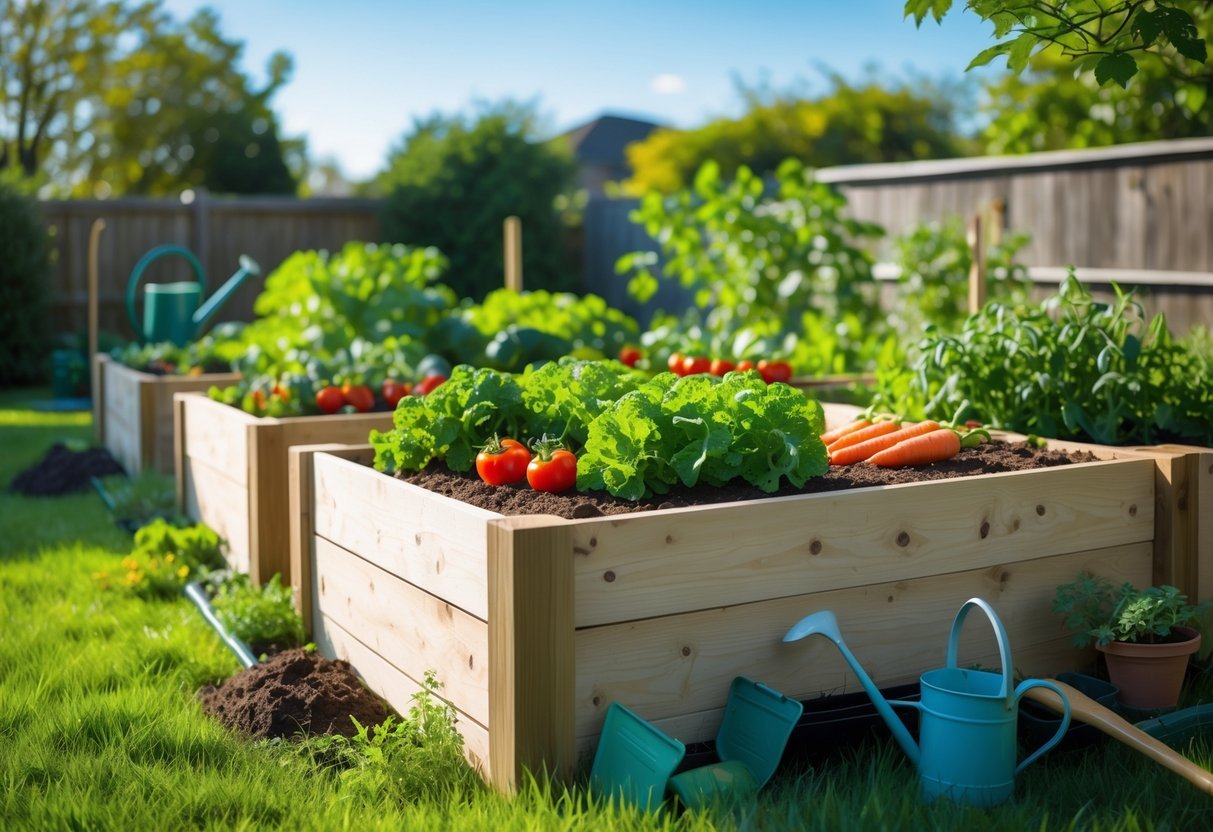
Building and Installing Raised Garden Beds
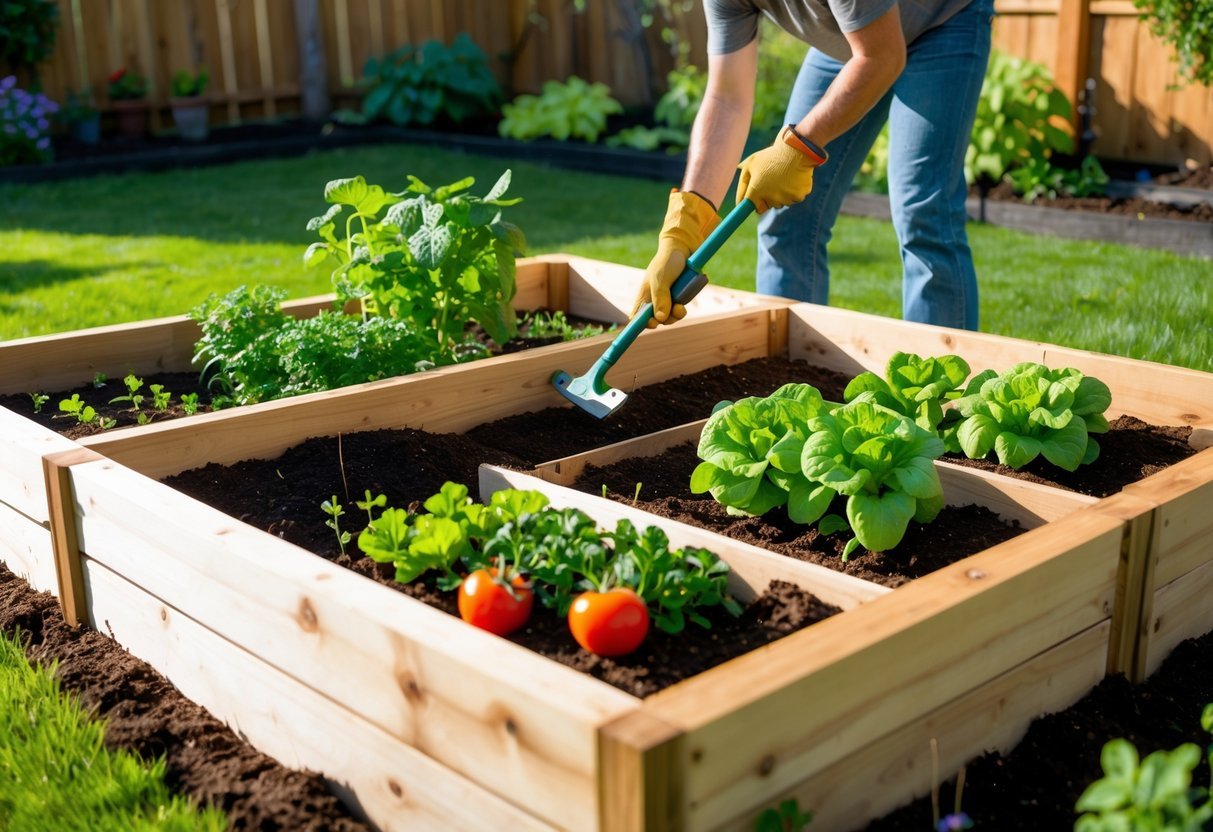
You will build sturdy beds sized to fit your space, fill them with a balanced soil mix, and set up simple drainage and watering. Focus on durable materials, correct soil depth for roots, and easy irrigation access.
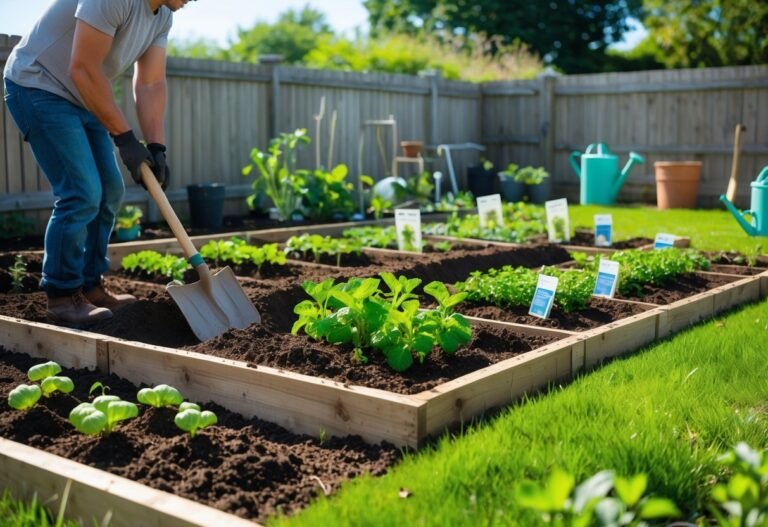
Step-by-Step Construction Guide
Choose bed size: 4 feet wide lets you reach the middle from either side; length can be any multiple of that. Use rot-resistant lumber (cedar, black locust) or galvanized steel. Avoid treated lumber that can leach chemicals into edibles.
Cut boards to length and assemble corners with 3-inch exterior screws or galvanized bolts. For 6–12 inch beds, use single boards stacked; for deeper beds, stack two or three layers. Add 2×2 corner posts inside the box for extra strength if the soil will be heavy.
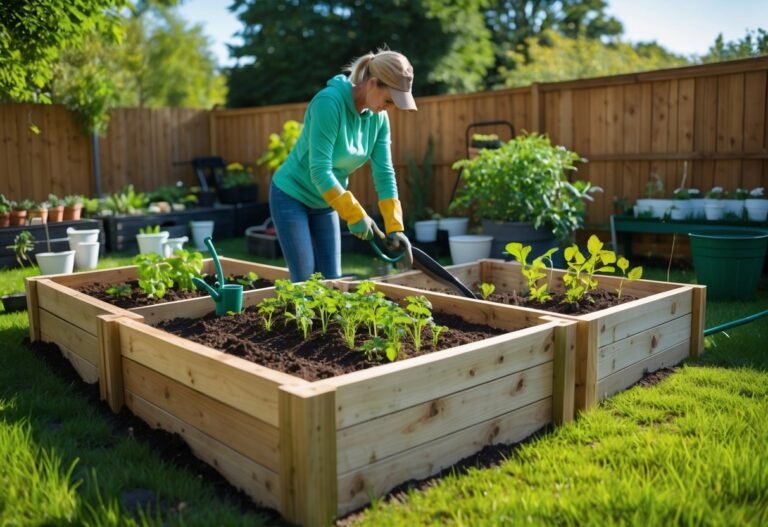
Level the site and remove grass or sod. Place the frame on compacted soil and check squareness by measuring diagonals. If you want mobility, mount on a gravel base or pavers to improve leveling and keep wood off wet soil.
Soil Preparation and Layering
Aim for at least 12 inches of good soil for most vegetables; deep-rooted crops like carrots need 18–24 inches. Mix a base of 40% topsoil, 40% compost, and 20% coarse sand or perlite for drainage and structure. Use screened topsoil free of large clods.
Layering tip: put a thin layer of cardboard or landscape fabric over the ground to suppress weeds, then add your soil mix. Don’t use raw wood chips as the main layer; they tie up nitrogen as they decompose. Top with 1–2 inches of compost as a planting layer.
Test pH and add lime or sulfur only if tests show it’s needed. Mix amendments thoroughly; avoid piling soil in corners where compaction reduces root growth. Lightly firm the soil but don’t overcompact—roots need air.
Drainage and Irrigation Considerations
Ensure beds have drainage by checking that water drains freely within 24 hours after a heavy watering. If your soil mix feels sticky, add coarse sand or grit to improve flow. For beds on concrete or patio, drill holes in the bottom or build a raised bottom with gravel to avoid pooling.
Install drip irrigation or soaker hoses for efficient watering. Run one main drip line down each row with emitters every 6–12 inches for consistent moisture. Add a timer to water early morning for best uptake and less evaporation.
Slope pathways slightly away from beds to prevent runoff into them. Mulch the surface with straw or wood chips to retain moisture and reduce surface crusting. Check emitters monthly for clogs and adjust flow as plants grow.
Planting and Maintaining Your Raised Vegetable Garden
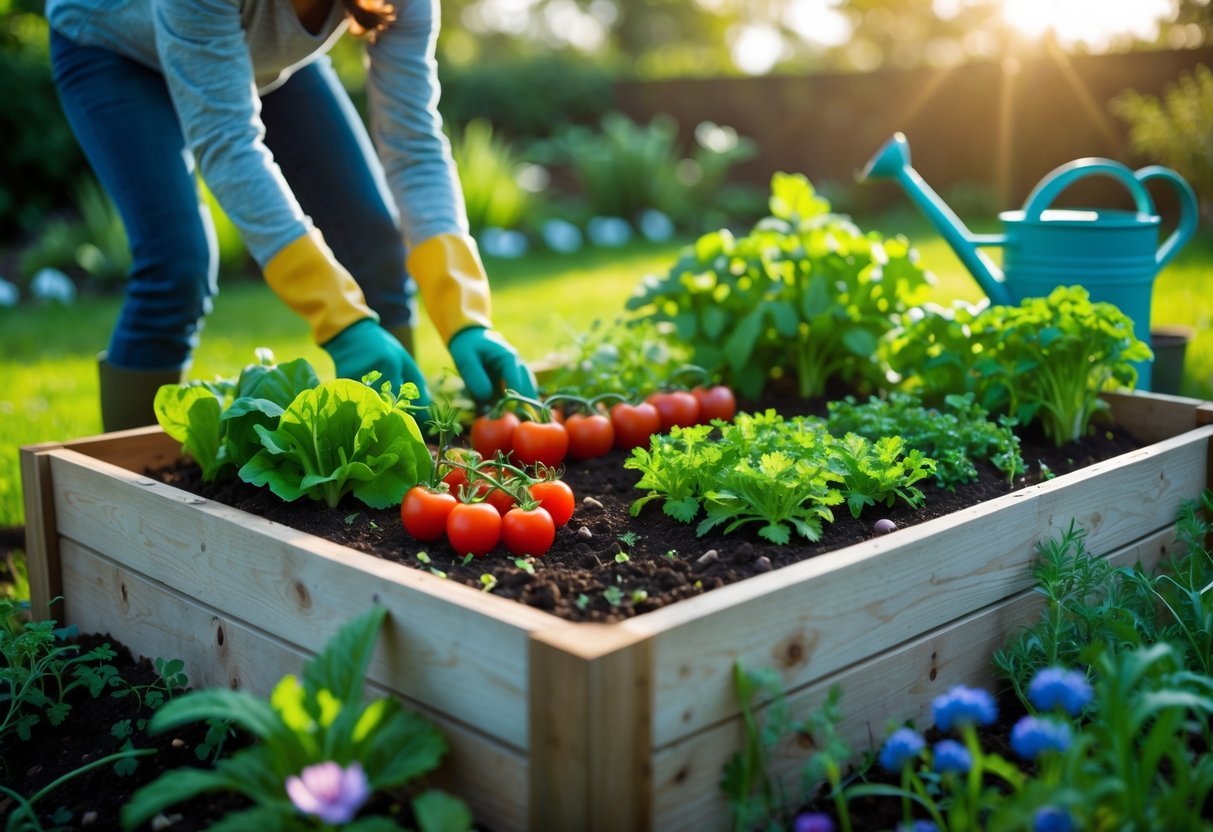
Good soil, proper plant choices, and regular care keep beds productive. Plan what you plant, move crops each year, and do routine seasonal tasks to protect soil and boost yields.
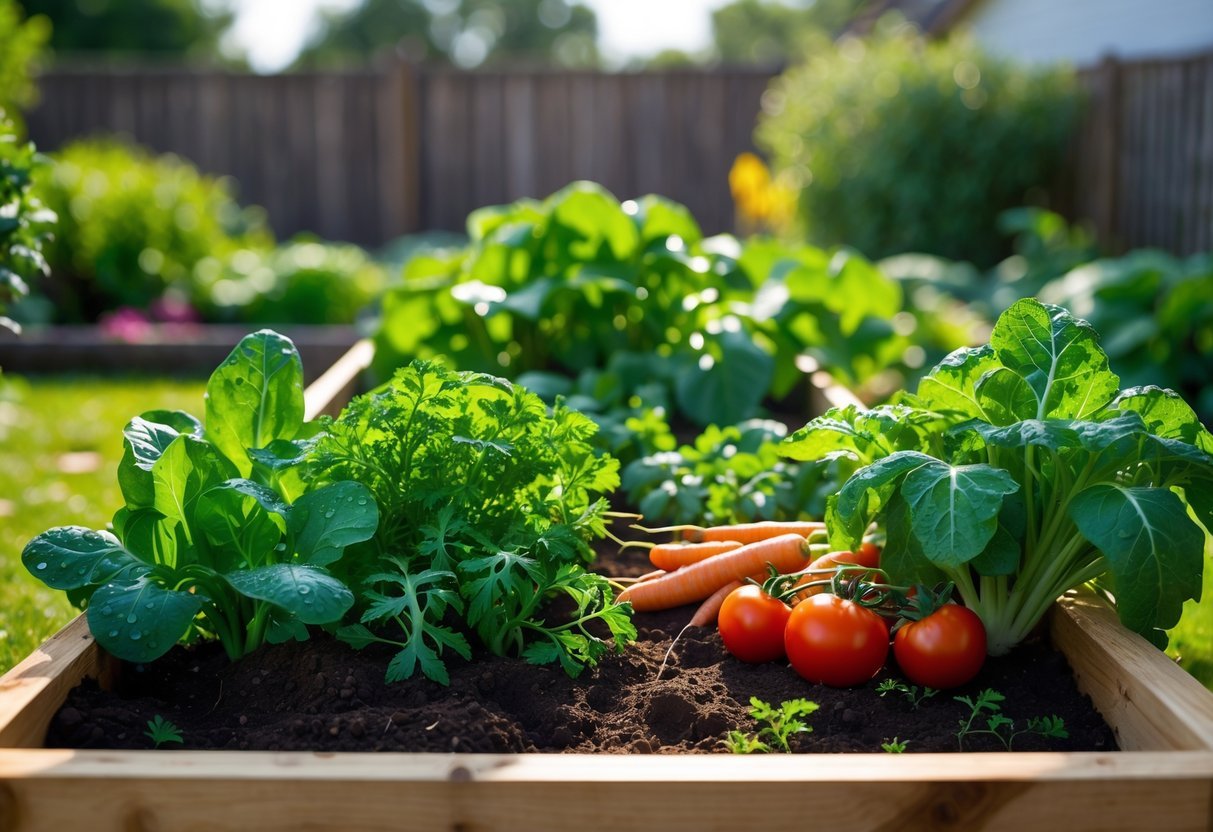
Best Vegetables for Raised Beds
Raised beds warm and drain faster than ground rows. This makes them great for tomatoes, peppers, lettuce, spinach, radishes, carrots, beets, bush beans, and Swiss chard. Plant tomatoes and peppers in the deepest part of a 12–18 inch bed and give each plant 18–24 inches spacing. Use trellises for vining crops like cucumbers to save space.
Choose shallow-rooted greens (lettuce, spinach) for continuous harvests in the top 6–8 inches of soil. Root crops (carrots, beets) need loose, stone-free soil at least 12 inches deep. Avoid large, deeply rooting plants like full-size pumpkins unless your bed is very deep or you allow them to sprawl outside.
Crop Rotation and Succession Planting
Rotate families to cut pests and disease. Move Brassicas (cabbage, broccoli) to a new bed for 2–3 years after harvest before planting them again where you had them. Follow heavy feeders (tomatoes, corn) with legumes (beans, peas) to add nitrogen back into the soil.
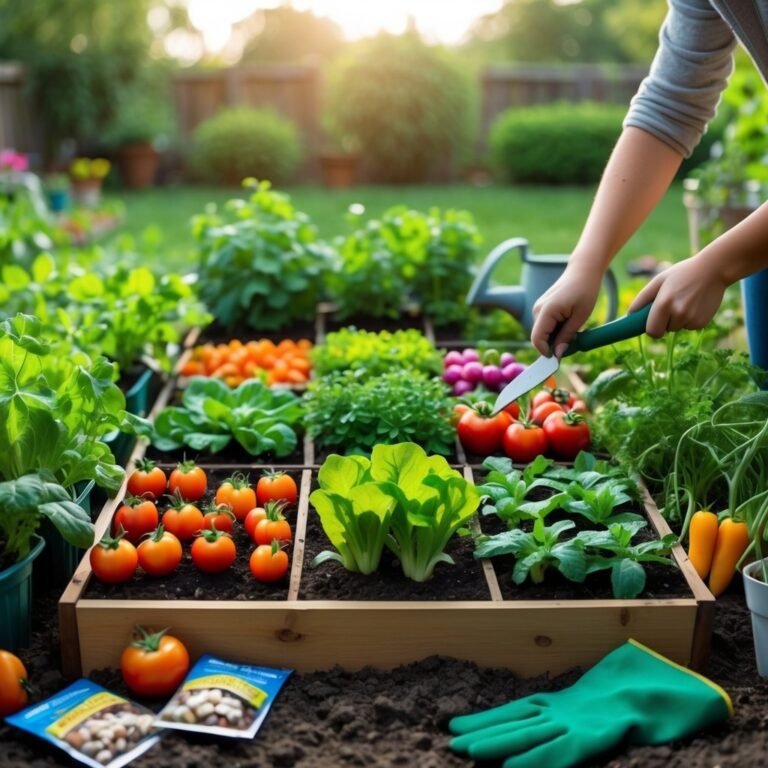
Practice succession planting by sowing fast crops (radishes, lettuce) between slower ones (tomatoes). After harvesting early crops, replace them with warm-season plants or another quick round of greens. Keep a simple map or list of what you planted where and when; it helps plan rotations and avoid repeats.
Seasonal Care and Maintenance
Water deeply 1–2 times per week depending on weather; use soaker hoses or drip irrigation to keep leaves dry and roots moist. Mulch 2–3 inches with straw or shredded leaves to retain moisture and suppress weeds.
Fertilize based on crop needs: use a balanced organic fertilizer at planting, then side-dress with compost or fish emulsion for heavy feeders midseason. Watch for pests: hand-remove slugs, use row covers early spring, and inspect plants weekly for aphids or caterpillars. In late fall, remove spent plants, compost healthy debris, and add a 2–3 inch layer of compost to refresh the bed for next season.
Frequently Asked Questions
These answers show clear steps for starting beds, which vegetables work best, common setup mistakes, recommended bed heights, how to pick bed size, and where you can place beds.
How do you start a raised bed vegetable garden for beginners?
Pick a sunny spot that gets at least 6 hours of sun a day. Measure and mark the bed location, then build or buy a frame from rot-resistant wood, metal, or composite.
Fill the bed with a mix of topsoil, compost, and well-draining amendments—roughly 50% topsoil and 50% compost/other organic matter. Install drip irrigation or soaker hoses and mulch the surface to keep moisture steady.
Start with easy crops like lettuce, radishes, and bush beans. Plant seeds or seedlings at the spacing on the seed packet and water gently until established.
Which vegetables thrive best in raised garden beds?
Leafy greens (lettuce, spinach, kale) grow quickly and suit shallow soil. Root crops like carrots and beets do well if the bed depth and soil are loose.
Tomatoes, peppers, cucumbers, and bush beans also perform strongly because beds warm earlier and drain better. Avoid very large root trees or plants with aggressive roots.
What are the common mistakes to avoid in raised bed gardening?
Using poor soil or just filling the bed with native dirt limits growth. Always add plenty of compost and mix or replace soil over time.
Overcrowding plants reduces yield and increases disease. Follow spacing guides and thin seedlings when needed.
Ignoring watering needs is another error. Raised beds dry faster, so set up drip irrigation or water frequently during hot weather.
What is the ideal height for a raised vegetable garden bed?
For most vegetables, 10–12 inches of soil works well for roots and drainage. This depth suits leafy greens, herbs, and many root crops.
If you want easier access or to grow deep-rooted crops, choose 18–24 inches. Taller beds reduce bending and support larger root systems.
How do you choose the appropriate size for a raised vegetable garden?
Make beds no wider than 3–4 feet so you can reach the center from each side without stepping in the bed. Length can vary; common lengths are 4, 6, or 8 feet.
Consider pathways of at least 18–24 inches between beds so you can wheelbarrow and move tools easily.
Can raised vegetable garden beds be installed on any surface?
Yes, beds can sit on soil, grass, gravel, concrete, or patios. On grass or soil, remove sod or place a weed barrier to reduce weeds.
On hard surfaces use a liner or elevate the bed to allow drainage and protect the surface. Ensure good drainage and avoid placing wood directly on wet ground without rot protection.