Raised Garden Beds DIY: Step-by-Step Guide to Affordable, Long-Lasting Builds
You can build a raised garden bed quickly and affordably to get better drainage, fewer weeds, and easier planting and harvesting. Bold sentence should be the most important — I’ll fix that: You can build a simple, cheap raised garden bed yourself that improves soil, reduces weeds, and makes gardening easier.
Start by picking a size and material that fit your space and budget, then follow clear plans and a short materials list to build a sturdy box. Use good soil mix and plant choices to get strong growth from the first season.
Key Takeaways
- A DIY raised bed gives better soil control and less weeding.
- Choose durable materials and a simple design for easy construction.
- Fill with quality soil and maintain it for steady plant health.
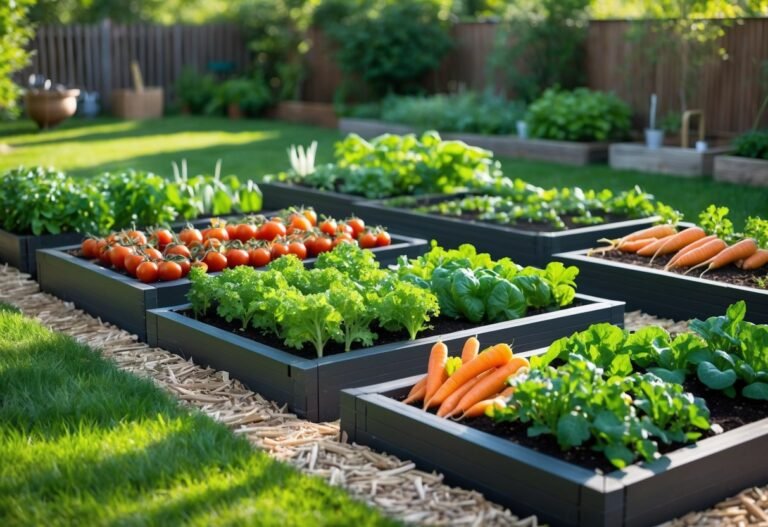
Benefits of Raised Garden Beds
Raised beds let you control soil depth, texture, and drainage while making planting and harvesting easier. They also make it simpler to limit pests and extend your season with warmer, drier soil.
Improved Soil Drainage
Raised beds lift soil above the surrounding ground, so water moves through it faster. That reduces soggy roots and cutworms that thrive in wet, compacted ground. Use a mix of topsoil, compost, and coarse sand or grit to keep water flowing and feed plants.
You can control soil depth for root crops. Carrots, beets, and parsnips do better with 12–18 inches of loose soil. If drainage is a major issue, add a 2–4 inch layer of coarse material (gravel or coarse wood chips) at the bottom and avoid compacting the soil when you fill the bed.
Install simple drain paths or slightly slope the bed if water pools in heavy rains. Good drainage cuts disease risk and helps you plant earlier after rain.
Better Pest Control
Raised beds create a clear barrier between plants and many ground pests. You can add hardware cloth under the bed to block gophers and voles. Siding boards, stone, or metal frames make it easier to attach row covers, insect netting, or a hinged frame for quick access.
Because the soil is contained, you can rotate crops and change soil amendments without affecting the rest of your yard. That reduces pest cycles and soil-borne diseases. Hand-pick pests, use sticky traps, or set low‑profile fencing; these tactics work better when plants are in a defined space.
Keep mulch tidy and avoid dense plantings to reduce slugs and snails. Raised beds let you isolate trouble spots and treat them without disturbing healthy beds nearby.
Increased Accessibility
Raised beds raise the work surface closer to your hands and back. Standard bed heights of 12–24 inches cut bending for most gardeners. You can go higher (30–36 inches) to sit while working or to make beds wheelchair friendly.
Edges and paths between beds define walkways and keep tools within reach. Raised beds let you plant in tighter, planned rows so you can reach all plants without stepping onto the soil. That keeps soil structure intact and reduces compaction.
If you need further ease, mount a bench or attach a folding table to the bed edge. Use wide paths (at least 24–36 inches) to fit a wheelbarrow or mobility aid.
Extended Growing Season
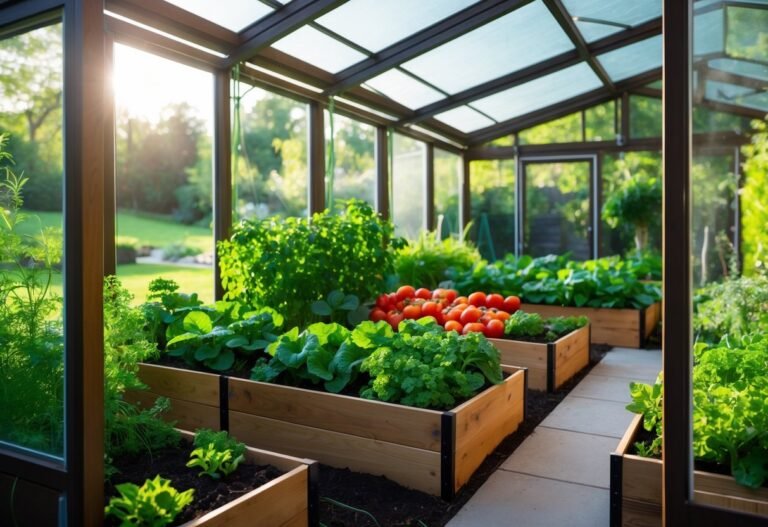
Soil in raised beds warms faster in spring and drains quicker after thaw, letting you sow seeds earlier than in-ground plots. Dark-colored or insulated sides increase heat capture for even earlier planting. Use clear plastic cloches or low tunnels directly on the bed to protect seedlings from late frosts.
Raised beds allow you to layer season-extending materials: cold frames, floating row covers, or removable hoops fit neatly and stay secure. For fall and winter, add a thick layer of mulch or a hoop house to keep soil workable and protect root crops longer into the season.
Because raised beds dry and warm faster in spring, you can start succession planting sooner and squeeze more harvests from the same space.
Choosing the Right Materials
Pick materials that resist rot, fit your budget, and match the size and weight of the plants you’ll grow. Think about durability, chemical safety, and how easy the material is to cut and fasten.
Wood Options
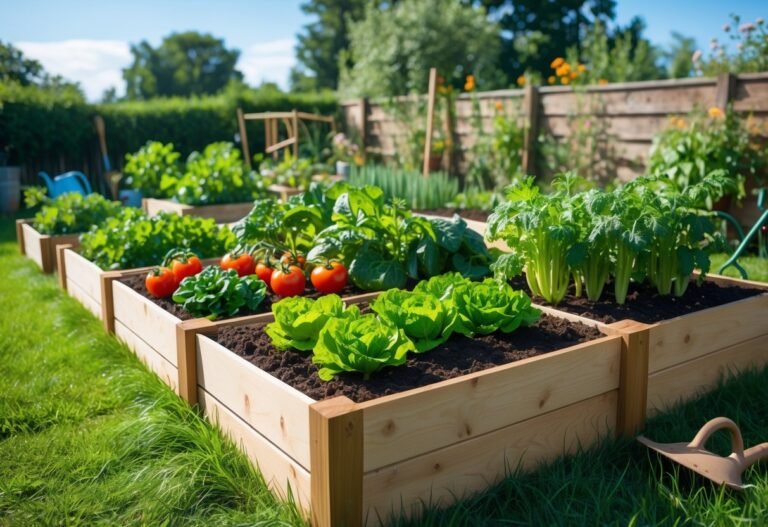
Wood gives a natural look and is easy to work with using basic tools. Cedar and redwood resist rot without chemicals and typically last 10–20 years. Choose boards at least 2″ thick for stability.
Pressure-treated pine is cheaper and strong, but check that it’s labeled safe for garden use (ACQ or micronized copper treatments are common and generally considered safe). Avoid older pressure-treated wood with arsenic-based treatments.
Use stainless steel or coated screws to prevent staining and corrosion. Line the inside with landscaping fabric if you worry about soil contact with treated wood. Stack or bolt corners rather than nailing for a firmer frame.
Metal and Composite Materials
Galvanized steel and corrugated metal panels give a modern look and last many years. Steel withstands weather and pests, but thin panels can dent and heat up in hot sun; paint or place the bed in partial shade to avoid overheating roots. Use rust-resistant fasteners and pre-drill holes to prevent cracking.
Composite boards (like capped composite or plastic lumber) resist rot and need almost no maintenance. They can be heavier and cost more, but they won’t leach traditional wood preservatives. Confirm UV resistance and look for food-safe labeling if the product will touch soil directly.
Recycled and Upcycled Choices
You can use reclaimed wood, old railroad ties, stacked concrete blocks, or repurposed pallets to save money and reduce waste. Inspect reclaimed wood for rot, nails, and chemical stains before using. Avoid railroad ties treated with creosote because they can leach harmful compounds.
Pallets can work if they’re heat-treated (HT stamp) rather than chemically treated. Concrete blocks and bricks last indefinitely and add thermal mass, but they can be heavy and reduce usable soil volume. Seal porous materials or add liners when you worry about chemicals or dust.
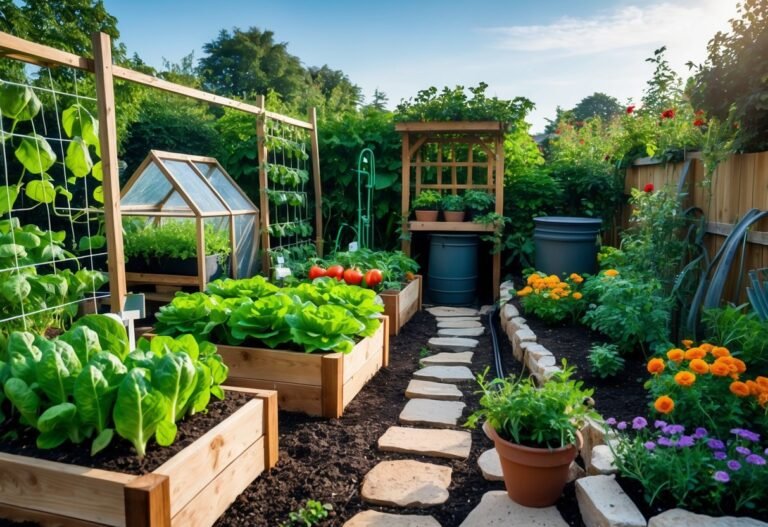
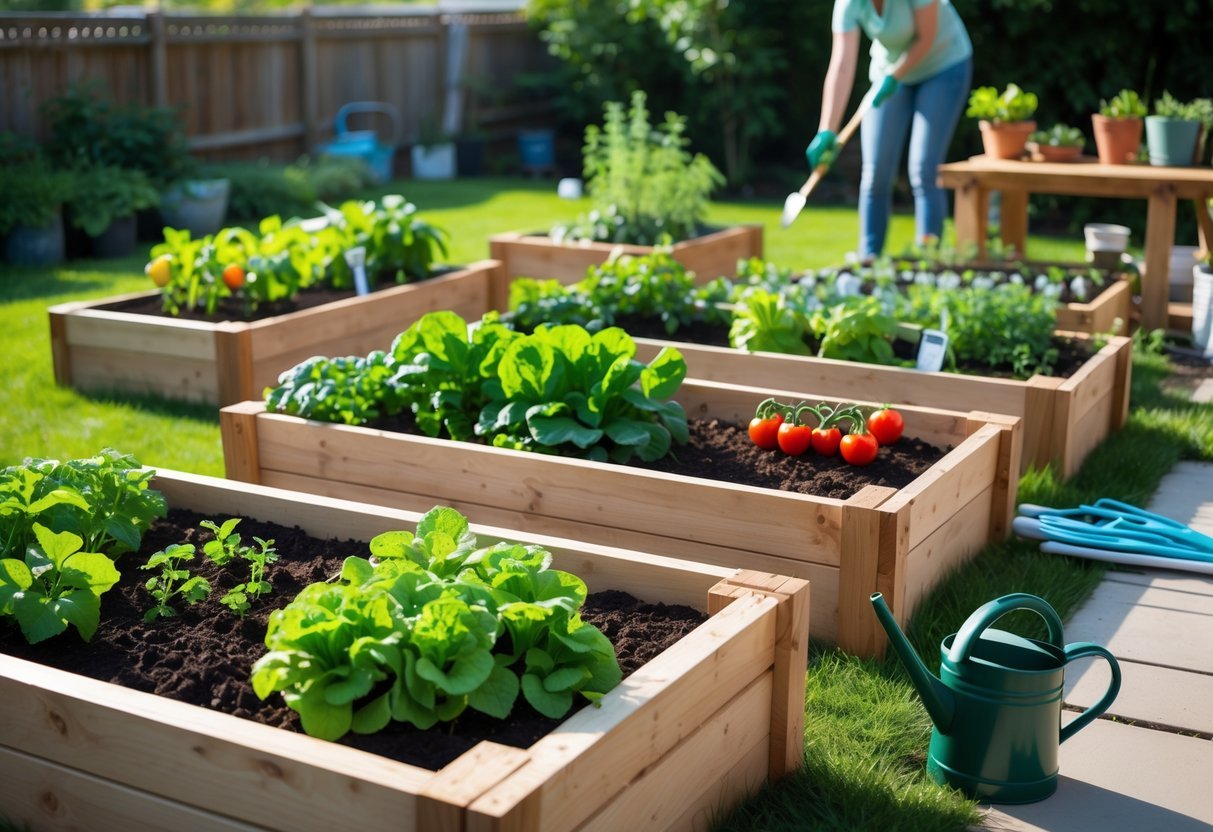
Designing Your Raised Garden Bed
Decide the bed size, height, placement, and layout based on what you plan to grow, how you will reach plants, and how sunlight and water move across your yard.
Optimal Size and Height
Aim for beds you can reach from the edges without stepping in them. A common width is 3–4 feet (0.9–1.2 m). This lets you reach the center from either side with one arm. Keep lengths flexible—4, 6, or 8 feet work well for easy handling and standard lumber cuts.
Choose height for comfort and soil depth needs. For most vegetables, 10–12 inches of planting mix is enough. Use 18–24 inches if you want root crops, better drainage, or less bending. Raise beds on legs or stack boards to reach waist height (about 30–36 inches) if mobility is a concern.
Materials affect height and durability. Cedar resists rot so you can go taller without added supports. If you use untreated pine, include internal stakes or corner brackets for taller walls. Line beds with landscape fabric if soil touches pressure-treated wood.
Considerations for Location
Place beds where they get at least 6–8 hours of direct sun if you grow vegetables. Observe your yard for three days at different times to map sun and shade accurately. Avoid spots under heavy tree roots or directly over septic/sewer lines.
Think about water access and slope. Put beds near a water source or plan a drip system. On a slope, build terrace-style beds or level the planting surface to prevent erosion and uneven moisture. Leave 2–3 feet of path between beds for wheelbarrows and easy access.
Consider wind and microclimates. Use a south-facing wall or fence to warm northern beds. Add windbreaks if your site is breezy, but avoid blocking morning sun. Also check for drainage: don’t place beds in low spots that pool water after rain.
Selecting the Ideal Layout
Choose a layout that matches how you’ll work the beds. Single long beds suit tractor or wheelbarrow access. Multiple narrow beds (3–4 feet wide) work best for hand planting and mixed crops. Keep main paths 2–3 feet wide for wheelbarrow access; narrower paths (18–24 inches) work for foot traffic only.
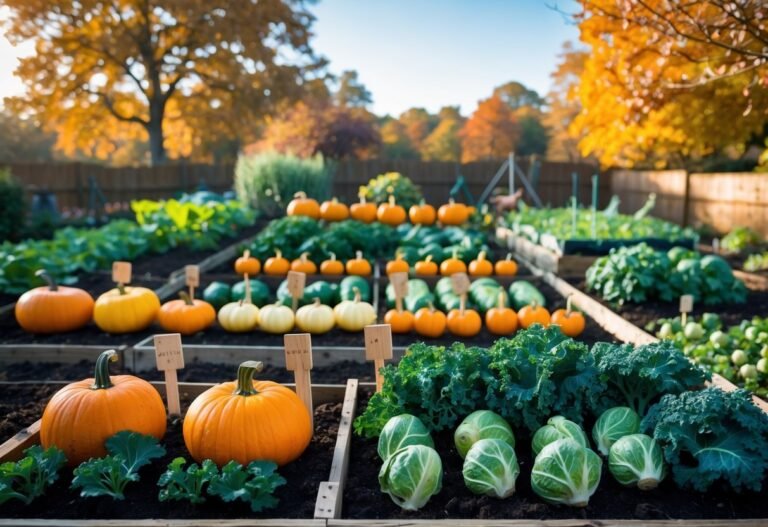
Organize beds by crop type for easier care. Group heavy feeders (tomatoes, corn) in one bed and herbs or leafy greens in another. Use companion planting rows or square-foot planting grids to maximize small spaces. Mark bed edges and pathways with mulch, gravel, or pavers to reduce weeds and mud.
Plan irrigation and maintenance access before building. Run soaker hoses or drip lines under a 3–4 inch mulch layer and leave valve access at the head of each bed. Place compost or tool storage within 10–20 feet to cut time spent carrying supplies.
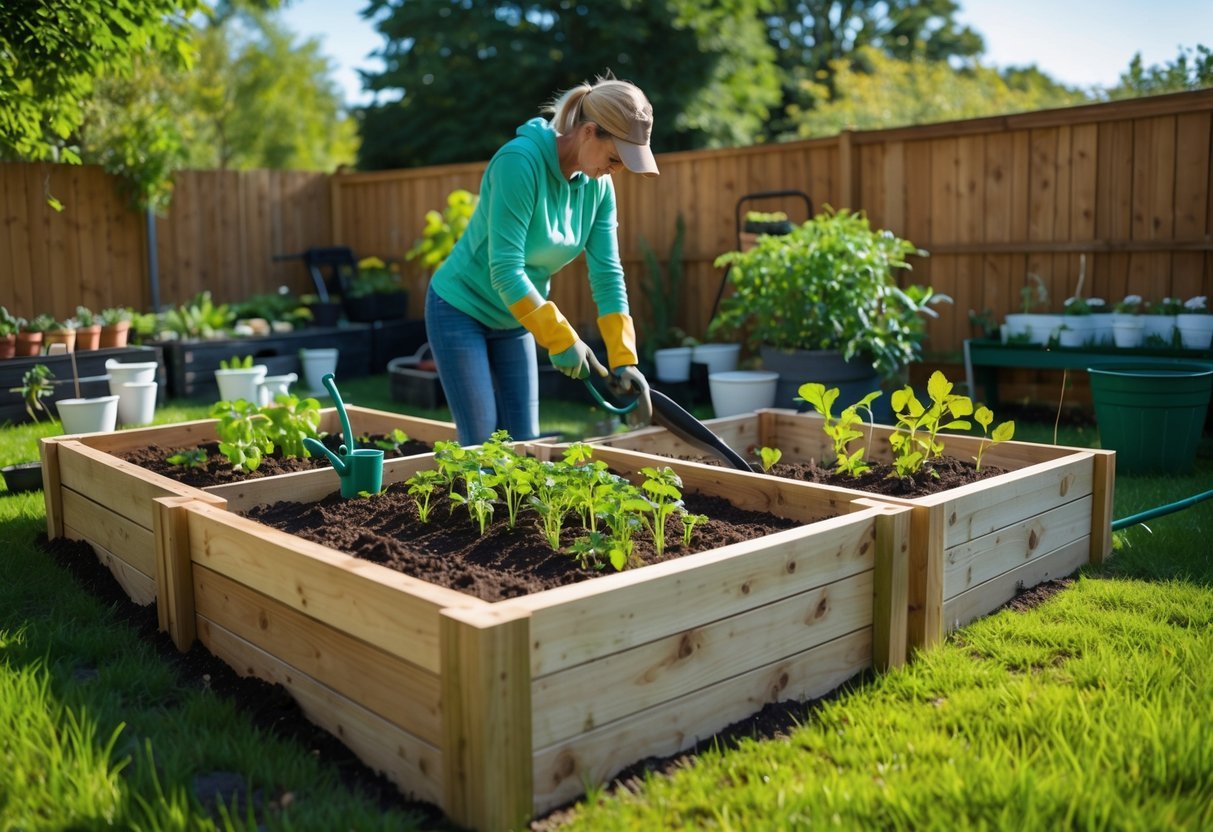
Step-By-Step Construction Guide
You will choose a flat, sunny spot, cut lumber to size, and fasten the frame securely. Then you’ll level the bed, add a barrier and soil layers, and check fasteners and corners for safety before planting.
Preparing the Site
Pick a location with at least 6 hours of sun for vegetables. Measure the footprint of the bed (common sizes: 4×8 ft or 3×6 ft) so you can buy lumber and calculate soil volume. Mark the corners with stakes and string.
Clear grass and weeds inside the outline. For drainage, either remove 2–4 inches of topsoil or loosen it with a shovel. Lay landscape fabric or cardboard to suppress weeds if you don’t want to remove all roots.
Check access for tools and water. Leave 18–36 inches of path on at least one long side so you can reach the center. Flag any underground utilities before digging.
Building the Frame
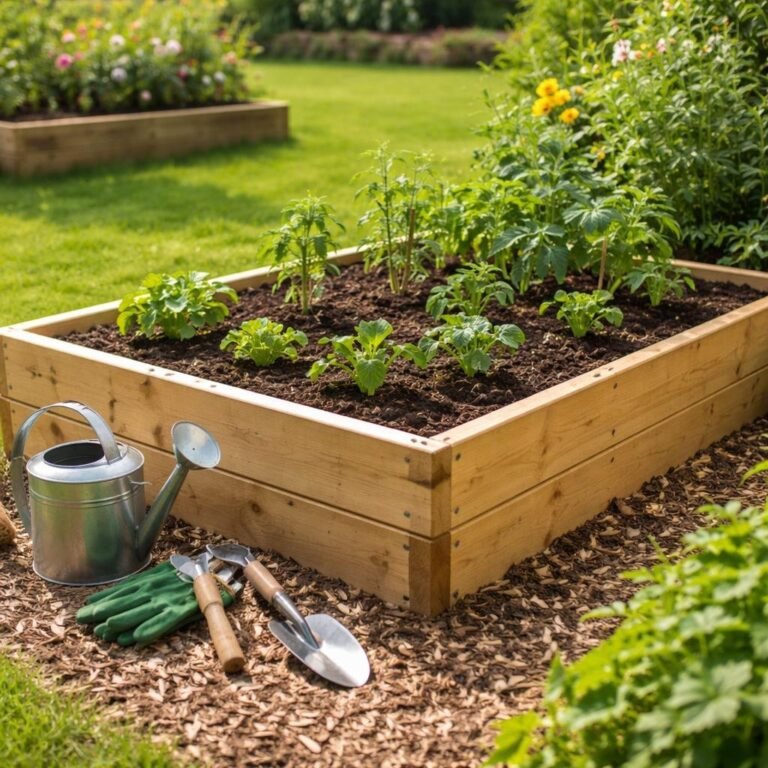
Use rot-resistant boards such as cedar or pressure-treated pine. Typical thickness: 2×6 or 2×8 lumber for 6–12 inch-high beds. Cut four corner posts (2×2 or 4×4) to the finished height if you want sturdier corners.
Fasten corners with galvanized screws or exterior wood screws, two per end, spaced vertically. For long runs, add a center support board or use lap joints to prevent bowing. If you join multiple beds, use metal brackets for extra strength.
Square the frame by measuring diagonals; they should match. If you want an elevated bed, attach legs or stack two boards for more depth. Seal cut ends with a wood preservative if using cedar.
Assembly Tips and Safety
Pre-drill holes to avoid splitting wood. Wear safety glasses and work gloves when cutting and screwing. Use a simple clamp to hold boards while you fasten them, or have a helper steady corners.
Keep screws at least 1 inch from board edges and use screws long enough to penetrate two boards by at least 1.5 inches. Check for level on all sides and adjust with shims under posts if needed. If using pressure-treated wood, avoid direct food contact or line the inside with heavy plastic rated for gardens.
Use a battery drill with a torque setting to avoid stripping screws. Store cut lumber off the ground to prevent warping while you finish other parts.
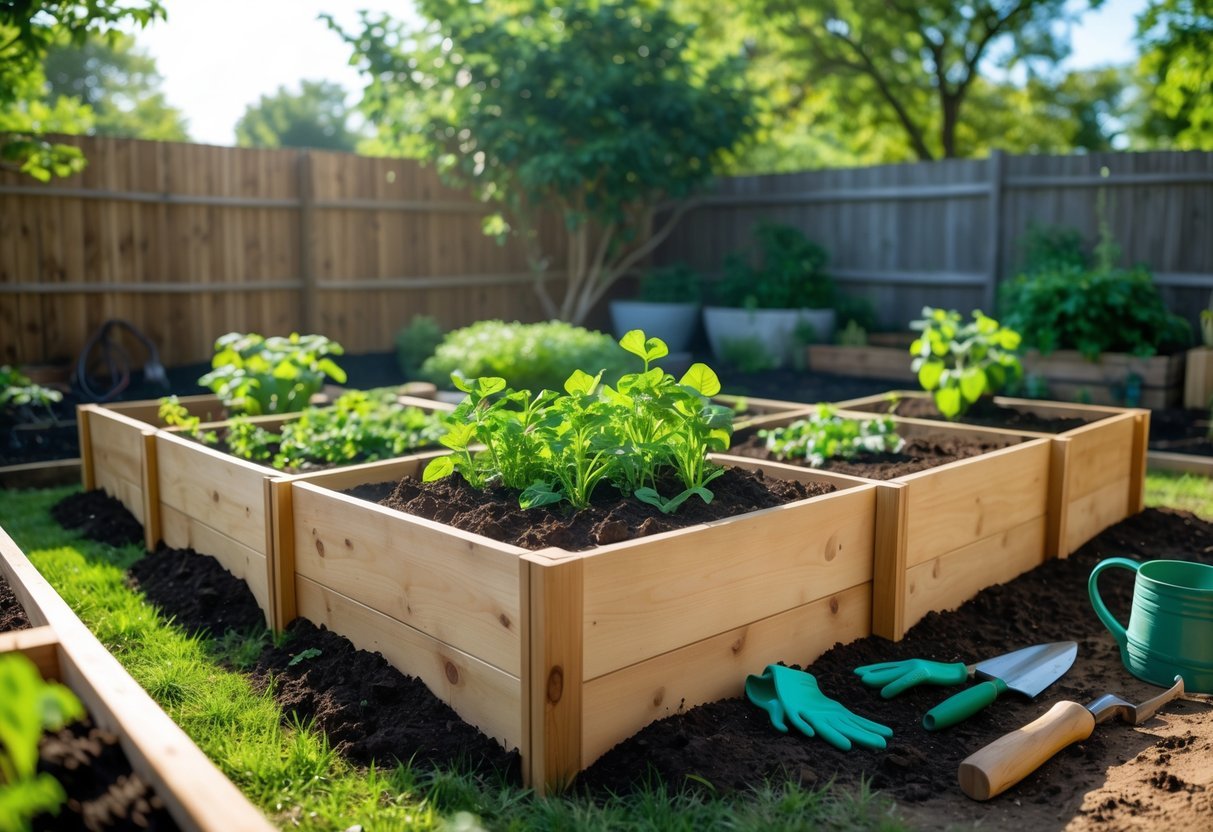
Finishing Touches
Add 2–4 inches of coarse gravel only if your site is poorly drained. Otherwise, layer soil as: 1) compost and topsoil mix, 2) screened topsoil, and 3) a lighter planting mix on top. Aim for a loose, well-draining blend.
Install drip irrigation or soaker hoses before filling completely to avoid moving them later. Attach a simple trellis at one end for vining plants using brackets or inserted posts. Mulch the surface with straw or wood chips to retain moisture and cut weeds.
Inspect corners and fasteners after the first season and tighten any loose screws. Replenish soil yearly by adding 1–2 inches of compost to maintain fertility.
Filling and Planting Your Raised Bed
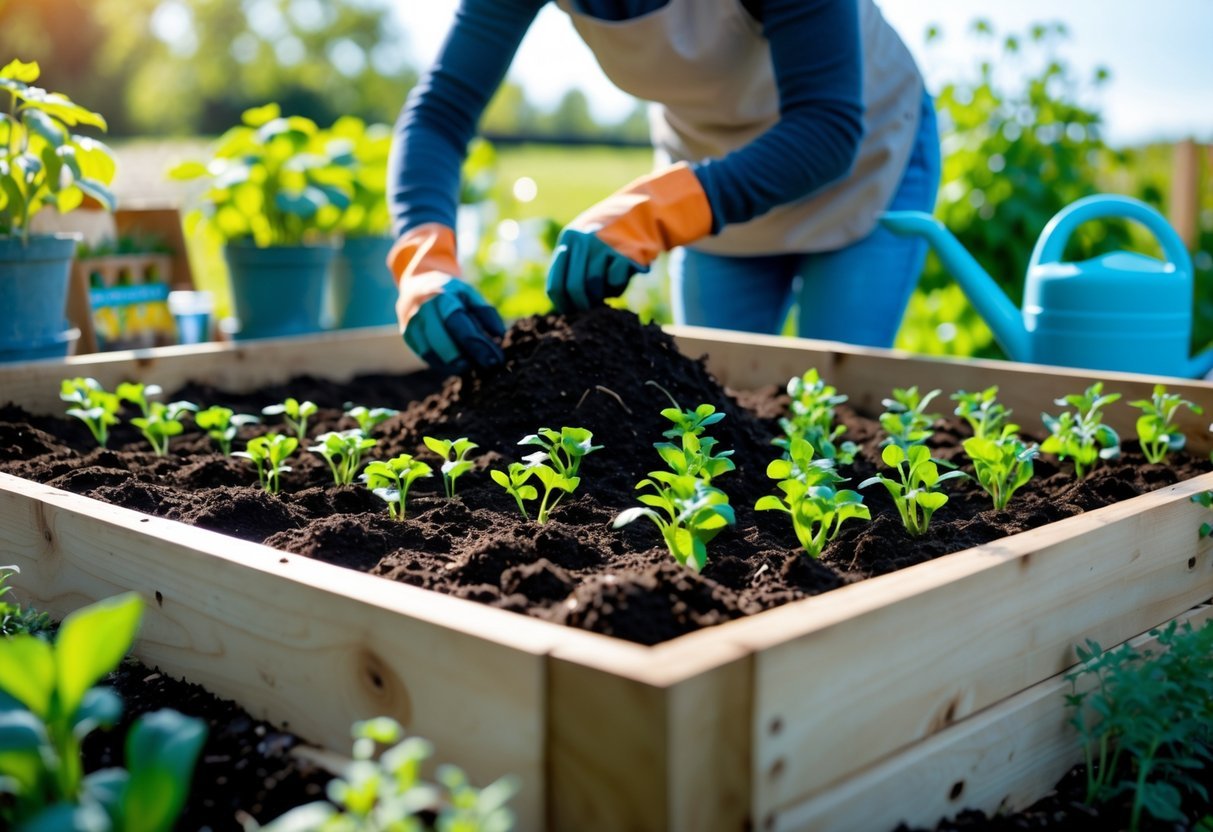
You will choose a soil mix that holds water but drains well, add layers for drainage and slow composting, and pick plants that match your bed depth, sun, and water. Follow clear steps for filling, planting spacing, and top dressing to get faster growth and fewer problems.
Soil Mix Selection
Aim for a loose, fertile mix that drains yet retains moisture. A common recipe is:
- 40% topsoil (weed-free)
- 30% compost (well-aged)
- 20% coconut coir or peat moss (water retention)
- 10% perlite or coarse sand (drainage)
Use high-quality compost — homemade or commercial — to supply nutrients and microbes. Test pH if you grow vegetables; aim for 6.0–7.0 for most crops. Avoid using raw manure unless it’s fully composted; raw manure can burn roots and contain pathogens.
Fill the bed to within 1–2 inches of the top to allow for mulch and settling. Mix layers lightly as you fill to remove large air pockets but avoid over-tamping, which reduces drainage.
Layering and Drainage Techniques
Start by checking base drainage. If water pools after heavy rain, add a perforated drain pipe or gravel layer below the soil.
Use a deliberate layering approach:
- Bottom: 2–4 inches of coarse material (small branches or gravel) for air gaps.
- Middle: bulk soil mix (from Soil Mix Selection).
- Top: 2–3 inches of compost-rich top layer for seedlings.
Line the inside walls with landscape fabric if you worry about soil loss through slats. Do not fill with wood chips as a primary bulk layer unless you place a compost-rich layer above them; fresh wood chips lock up nitrogen as they decompose.
Slope or gap small beds slightly to encourage runoff away from structures. Water deeply after filling to settle the mix and reveal any low spots you should top up.
Choosing the Right Plants
Match plant root depth to bed depth: shallow roots (herbs, lettuce) do well in 6–8 inches; most vegetables need 12–18 inches; tomatoes, peppers, and small shrubs prefer 18–24 inches.
Consider sun exposure: full sun plants (tomatoes, peppers, most vegetables) need 6–8 hours daily. Plant leafy greens and herbs on the north or inner rows if your bed gets strong afternoon sun.
Group plants by water needs to avoid over- or under-watering. Use spacing guides: e.g., lettuce 6–12 inches apart, bush beans 3–4 inches, determinate tomatoes 18–24 inches. Stake or cage tall crops to save space and reduce disease from soil splash.
Mulch with 2 inches of straw or shredded bark to cut weeds, keep soil moisture, and moderate soil temperature.
Care and Maintenance Strategies
Keep soil fertile, water evenly, and watch for pests and diseases. Repair bed sides and refresh soil each year to keep plants productive.
Seasonal Upkeep
Inspect and repair the frame each spring and fall. Tighten fasteners, replace rotted boards, and level any sunken soil to keep beds structurally sound.
Add 2–4 inches of compost or well-rotted manure in spring before planting. Work it lightly into the top 4–6 inches of soil to feed seedlings and improve structure.
In midseason, top-dress with compost or a balanced slow-release fertilizer if plants look pale or yield drops. In late fall, remove spent plants and add a 1–2 inch mulch layer to protect soil and reduce erosion over winter.
Rotate crops yearly to different beds to cut disease and pest cycles. If you cover beds for winter, remove covers on warm days to prevent mold.
Watering and Mulching
Water deeply and less often to encourage strong roots. Aim for about 1–1.5 inches of water per week, measured with a rain gauge and adjusted for temperature and plant type.
Use drip irrigation or soaker hoses to deliver water to the root zone and reduce leaf wetness. Water early in the morning so foliage dries during the day.
Apply 2–3 inches of organic mulch like straw, shredded leaves, or bark around plants. Mulch keeps soil moist, lowers watering needs, and suppresses weeds.
Check moisture with your finger — the top 2 inches should feel slightly dry before watering. Move drip lines or adjust timers as plants grow and require more or less water.
Pest and Disease Management
Scout beds weekly for holes, discolored leaves, or sticky residue. Early detection makes control easier and limits spread.
Use physical barriers first: row covers for insects, collars for cutworms, and netting for birds. Hand-pick larger pests like slugs and caterpillars during morning or evening.
Encourage beneficial insects by planting flowers such as marigolds, alyssum, or herbs at bed edges. Avoid broad-spectrum pesticides that kill pollinators and predators.
If fungal disease appears, remove infected foliage and improve airflow by thinning crowded plants. Apply copper or biological fungicides only when needed and follow label rates. Rotate crops and sanitize tools to reduce repeat problems.
Frequently Asked Questions
This section gives clear answers about materials, size, plans, weather protection, and building raised beds with legs or at waist height. Read each short answer for practical steps you can use right away.
What materials do I need to build a low-cost raised garden bed?
Use untreated lumber like pine or reclaimed pallet boards for the frame to keep costs down. Galvanized screws, corner brackets, and exterior-grade landscape fabric are useful extras.
Fill the bed with a mix of topsoil, compost, and coarse sand or perlite for drainage. You can layer cardboard or newspaper on the ground to suppress weeds before filling.
How do I protect my outdoor raised garden beds from weathering?
Apply a water-based, non-toxic wood sealant to external surfaces to reduce rot and sun damage. Reapply every 1–3 years depending on exposure.
Elevate the bed slightly with small blocks or gravel to keep wood from direct soil contact. Check for loose screws, cracked boards, and replace damaged parts promptly.
Where can I find free raised garden bed plans?
Search city extension websites, gardening nonprofits, and community college extension pages for downloadable plans. Many gardening blogs and DIY sites also offer free printable plans and cut lists.
Look for plans that include a lumber cut list and step-by-step diagrams so you can compare materials and choose a design that fits your space.
What are the best dimensions for a DIY raised garden bed?
Aim for a width of 3 to 4 feet so you can reach the center from either side without stepping into the bed. Length can vary; common sizes are 4, 6, or 8 feet to fit standard lumber.
Use a depth of 12 to 18 inches for most vegetables, and 8 to 12 inches for shallow-rooted herbs and lettuce. Increase depth to 24 inches for root crops like carrots and potatoes.
How can I create a waist-high raised garden bed for easier accessibility?
Build the frame higher by stacking boards or adding a solid base. A height of 30 to 36 inches works well for most users to reduce bending.
Support the taller sides with internal stakes or a simple timber frame to prevent bowing. Use lighter-weight fill like a soil-less mix or a mix with compost to reduce overall weight.
What steps are involved in constructing a raised garden bed with legs?
Cut the four side panels to size and assemble them into a rectangular frame using screws and corner brackets. Attach four sturdy legs—2×2 or 4×4 posts—at each corner and secure with screws or bolts.
Level the bed, add a weed barrier, then fill with your soil mix. If the bed is tall, add cross-bracing between legs for extra stability.