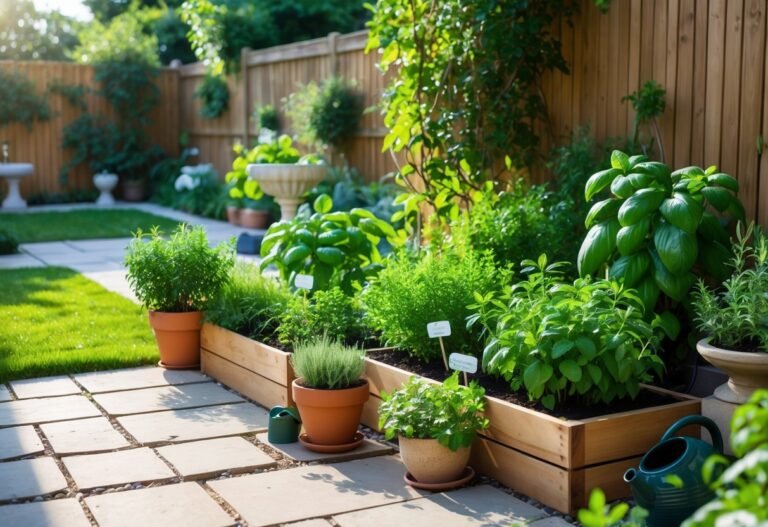
Raised Beds Backyard Garden Design Ideas for Easy Maintenance and Maximum Yield
Raised beds make your backyard more productive, easier to tend, and better looking without a lot of extra work. Choose a style, size, and layout that match your space and needs, and you’ll get healthier plants, simpler maintenance, and a garden that fits your life.
You can use simple wood, metal, or recycled materials to build beds, add trellises or seating to save space, and include self-watering or raised pathways for easier care. Small changes like bed height, soil mix, and placement will boost yields and cut down weeding and bending.
Key Takeaways
- Start with the right bed size and soil for easier maintenance and healthier plants.
- Add layout and features that match your space to increase productivity and comfort.
- Personal touches like materials and plant choices make the garden fit your lifestyle.
Essential Elements of Raised Beds Backyard Garden Design

You need strong sunlight, good soil, and durable materials to make raised beds that last and perform well. Plan bed placement for sun and access, pick materials that resist rot or leach, and prepare a soil mix that drains and feeds your plants.
Optimal Bed Placement
Place beds where they get at least 6–8 hours of direct sun if you plan vegetables. Track sun through the year; moveable or smaller beds help if light shifts with seasons. Orient long sides north–south to give tall plants even light on both sides.
Leave 2–3 feet of walkway between beds so you can reach the center without stepping on soil. Consider access for tools and watering lines; a 3-foot path fits a wheelbarrow or cart. Place a water source within 25–50 feet to reduce hauling.
Think about slope and drainage. Put beds on level ground or terrace them on a slope to prevent erosion. Avoid low spots that collect water and invite root rot.
Choosing Raised Bed Materials
Choose materials that match budget, aesthetics, and longevity. Untreated hardwoods like cedar or redwood resist rot for 10–20 years. Reclaimed wood looks good but check for nails and chemical treatments.
Concrete blocks, brick, or stone won’t rot and can be shaped into curves or bench edges. Use food-safe liners if you worry about alkalinity from some masonry. Galvanized steel and corrugated metal give a modern look and last decades, but add insulation or mulch in very hot climates to protect roots.
Avoid pressure-treated wood with arsenic; modern treated lumber (ACQ, CA-B) is safer but still consider a barrier if you grow root crops. Fasten corners with stainless steel or exterior-grade screws to reduce corrosion.
Soil Preparation and Amendments
Fill beds with a loose, well-draining mix: about 40% topsoil, 40% compost, and 20% coarse sand or perlite for drainage. You can substitute composted bark or coconut coir for part of the mix to improve structure and water retention.
Add a balanced slow-release fertilizer at planting, following label rates. Test soil pH with a kit; most vegetables prefer pH 6.0–7.0. Amend with lime to raise pH or elemental sulfur to lower it, in small doses and retest after a few months.
Top off beds each season with 1–3 inches of compost to replenish nutrients. Mulch with straw or wood chips to retain moisture and suppress weeds, replacing mulch yearly as it breaks down.
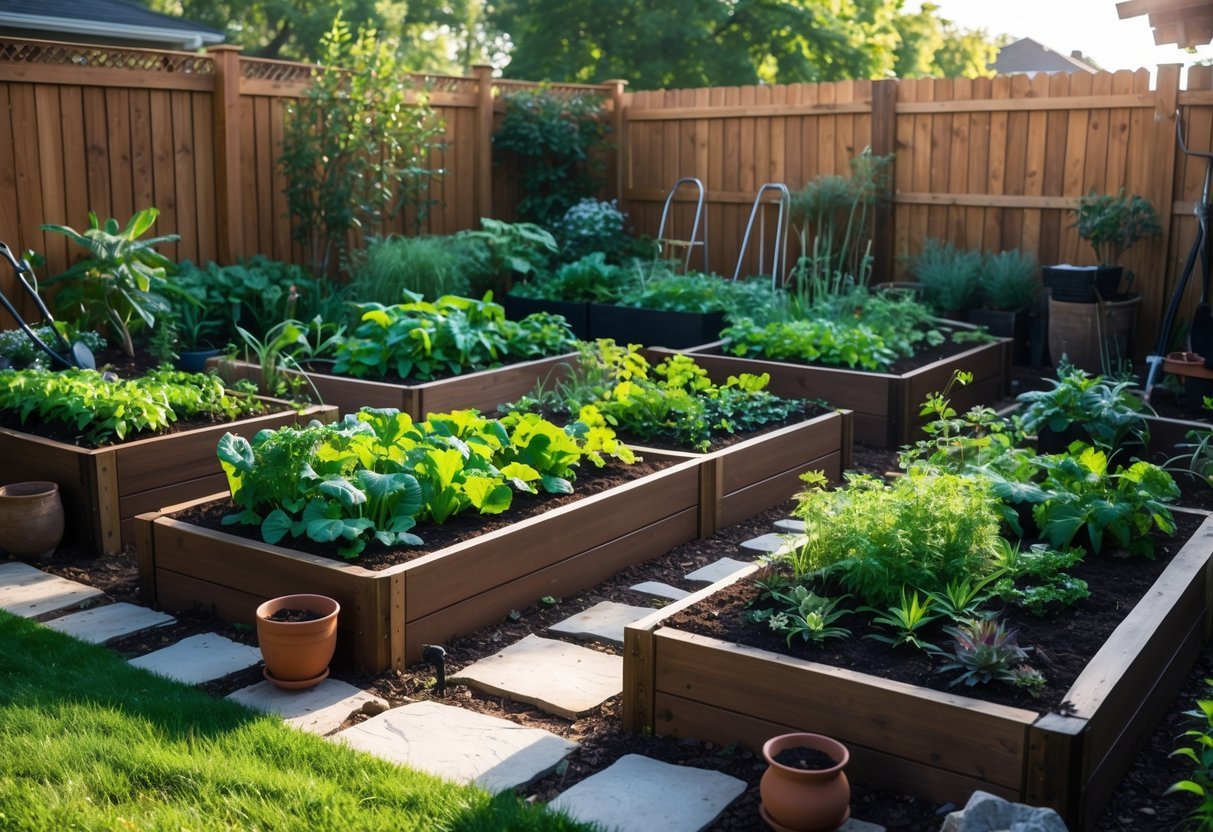
Creative Raised Bed Layout Ideas
You can shape beds to match space, sun, and access needs. Pick layouts that save walking, boost yields, and make planting and harvesting easier.
Geometric and Themed Arrangements
Use clear shapes like squares, rectangles, circles, or hexagons to organize crops and paths. A grid of 3×3 square beds works well for a 12×12-foot area and gives each bed a defined crop or theme—herbs, tomatoes, greens, root vegetables. Hexagonal beds fit tightly around a central path and reduce wasted edge space.
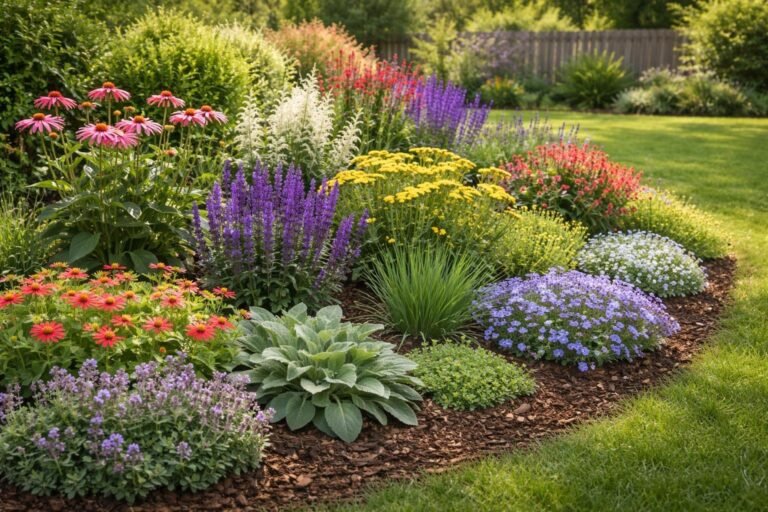
Choose materials and colors to fit a theme: cedar for rustic, painted wood for a cottage feel, or metal for a modern look. Match plant choices to theme too—plant Mediterranean herbs in gravel-mulched beds and native perennials in naturalistic beds.
Label each bed and keep a simple map. That helps you rotate crops, track soil amendments, and avoid repeating plants in the same bed year to year.
Tiered and Multi-Level Designs
Stacked or tiered beds add vertical growing space without enlarging your footprint. Use two or three stepped levels along a slope or build a tiered planter 4 feet wide and 6–8 inches deep per tier for shallow-rooted herbs and lettuces on top, with deeper-rooted carrots and beans below.
Terraced beds control erosion on hills and simplify watering by breaking long slopes into flat growing areas. For backyard patios, create a raised shelf at waist height to reduce bending and place deeper beds beneath for larger crops.
Make sure each level gets enough sun and water. Use drip lines or soaker hoses on each tier and include overflow holes so upper tiers don’t drown lower ones.
Integrating Walkways
Plan 18–36 inch-wide paths to give you room for a wheelbarrow and comfortable harvesting. Use mulch, gravel, pavers, or compacted decomposed granite for low-maintenance walkways that drain well and suppress weeds.
Place beds so most paths run north-south to reduce shade cast by taller crops over lower beds. Add stepping stones between beds for quick access to mid-row plants.
Consider edging the paths with low borders to keep soil and mulch contained. This keeps paths clean and makes mowing and maintenance easier.
Functional Features for Enhanced Garden Design
Focus on structures that save space, cut down maintenance, and make planting easier. Choose supports, watering systems, and layout details that match the crops you grow and the time you have.
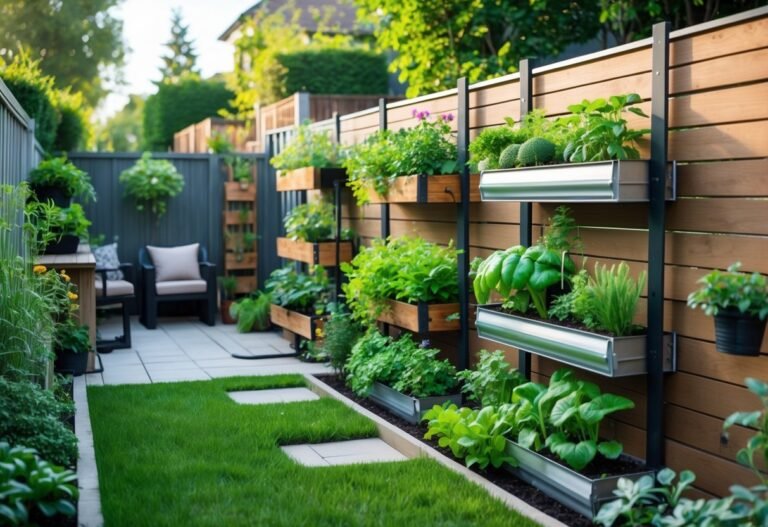
Incorporating Trellises and Vertical Supports
Use trellises for vining crops like cucumbers, peas, and indeterminate tomatoes to free up bed area and boost air flow. Place sturdy supports on the south or west side so plants get full sun without shading smaller neighbors.
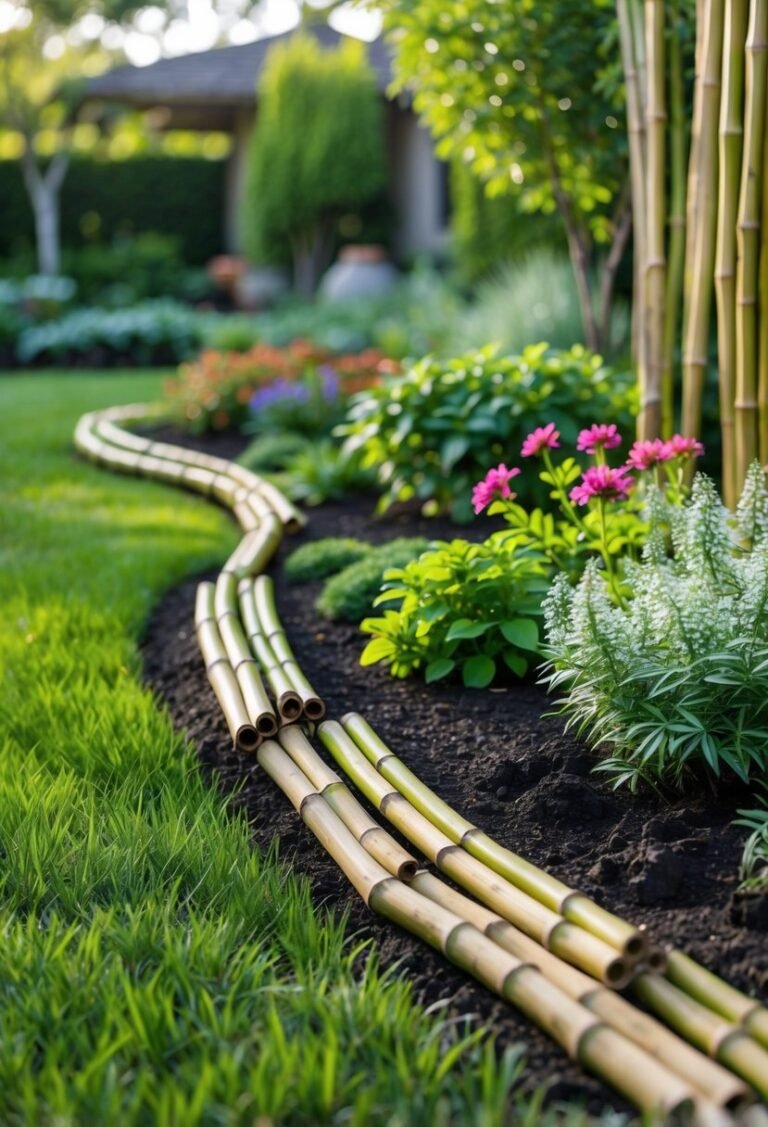
Materials matter: cedar or metal gives long life; bamboo works for lightweight vines. Anchor tall supports into the ground or the bed frame with brackets to prevent tipping in wind.
Train plants early. Tie stems loosely with soft garden tape or twine and prune side shoots to direct growth. Consider removable panels or hinging trellises for bed access and winter storage.
Add shelving or mesh panels for herbs and small pots to create mixed-height planting without crowding roots.
Irrigation and Drainage Solutions
Install drip irrigation with emitters near the root zone to save water and reduce leaf wetness. Use a timer or smart controller so you water in the morning and avoid guesswork. Place the main line on the bed’s center and run laterals to each planting row for even coverage.
Improve drainage by filling beds with a mix of compost, topsoil, and coarse sand or grit for heavier soils. Raise bed height to at least 12 inches for most vegetables; 18–24 inches helps in clay or poorly drained yards.
Add gravel or a perforated pipe under very deep beds to carry excess water away. Check slope: beds should sit level or slightly crowned to prevent pooling at one end.
Accessibility Considerations
Make paths at least 24–36 inches wide so you can reach plants from both sides; 48 inches allows wheelchair access. Set bed heights to match your comfort: 24–30 inches for standing work, 12–18 inches for seated gardening. Use firm, even materials like compacted gravel or pavers for stable walking surfaces.
Edge beds with smooth, rounded tops so you can sit while tending crops. Leave clear access points for tools and wheelbarrows. Consider hinged or removable side panels for beds that need soil or compost deliveries.
Label rows and use color-coded stakes to reduce bending and searching, and place frequently harvested plants near the path for quick access.
Personalizing Your Backyard Raised Bed Garden

Choose edging, lighting, and small accents that match your yard size, plant types, and maintenance level. Pick durable materials and place lights where they aid tasks and show off key plants.
Decorative Edging and Borders
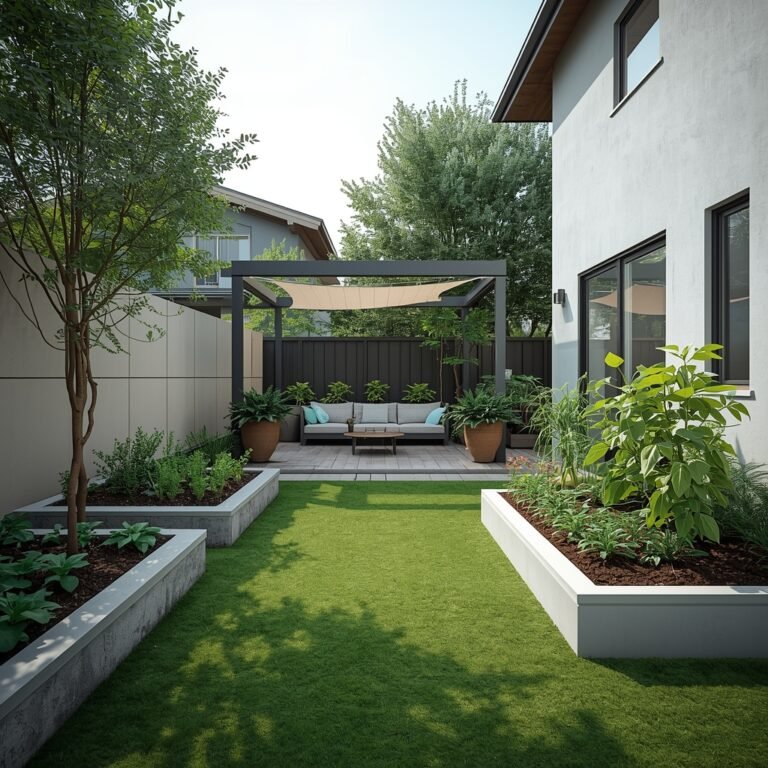
Use edging to define beds, stop grass, and add style. For a modern look, install 2–4 inch steel or corten-steel strips set flush with the lawn. They resist rot and give a clean line that’s easy to mow along.
If you prefer natural tones, build low wooden frames from cedar or redwood. Treat the wood with a non-toxic sealant and leave 6–12 inches of space for a path. Stone or paver borders work well for irregular beds; dry-stack flagstone gives a rustic feel and doubles as seating.
Think about height: 6–12 inch borders control soil and roots, while 18–24 inch raised walls let you add compost, improve drainage, and reduce bending when you work. Add a narrow gravel or mulch path (12–24 inches wide) between beds to keep feet clean and prevent soil compaction.
Lighting and Outdoor Accents
Place task lights near work areas and soft accent lights to highlight focal plants or paths. Solar stake lights provide low-cost path lighting without wiring. Use warm LED strips under bed edges or recessed step lights for subtle evening glow.
For task lighting, install a weatherproof gooseneck fixture or an adjustable LED on a nearby post so you can harvest after dusk. Rated outdoor fixtures and GFCI outlets keep things safe. Accent items like a small trellis, a bench at the end of a bed, or a decorative rain barrel add personality and function.
Choose corrosion-resistant materials and IP-rated fixtures for longevity. Aim lights down or shield them to avoid shining into neighbors’ windows and to reduce light pollution.
Frequently Asked Questions

This section gives clear, practical answers about building, materials, layouts, plans, and visual examples you can use right away. Each answer focuses on steps, sources, or choices you can apply in a small backyard.
How can I build a simple raised bed garden in my backyard?
Choose a sunny spot with at least 6 hours of sun for most vegetables. Measure and mark the area, then level the ground or remove grass.
Use untreated cedar, pine, or reclaimed wood to build a box 6–12 inches high for herbs and shallow roots, or 12–18 inches for most vegetables. Screw the boards together at the corners and place the bed on a layer of cardboard or landscape fabric to suppress weeds.
Fill the bed with a mix of topsoil, compost, and a light organic amendment (roughly 60% topsoil, 30% compost, 10% other). Water the mix and firm it gently before planting.
What are some cost-effective materials to use for DIY raised garden beds?
Reclaimed wood from pallets or old fencing often costs little or nothing. Make sure the wood is not chemically treated or contaminated.
Cinder blocks and concrete pavers are durable and easy to stack into rectangular beds. Line the inside with landscape fabric if you worry about lime transfer to acid-loving plants.
Galvanized metal troughs or old livestock troughs can work if you have access to them. They heat up faster, so plan for extra watering in hot weather.
Where can I find raised garden bed layout plans for optimal planting?
Search master gardener sites, extension services, and gardening blogs for layout plans that match your bed sizes. Look for plans labeled for square-foot gardening, 4×4 beds, or long rectangular rows.
Local university extension websites often publish free plans with plant spacing charts. These plans usually show spacing for common vegetables and companion planting suggestions.
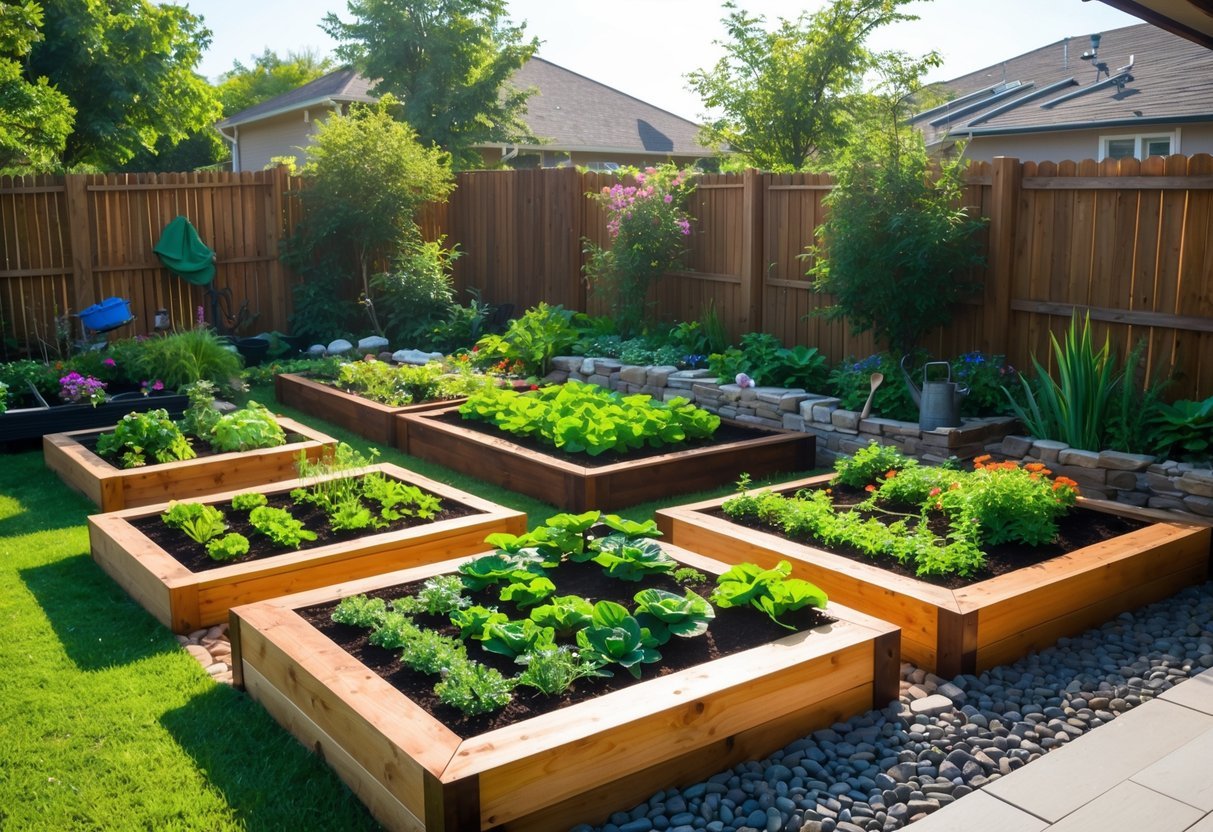
Can you provide examples or pictures of effective raised bed garden layouts?
Look for images of 4×4 or 4×8 beds for compact vegetable rows and mixed planting. Photos that show pathways of 18–24 inches let you reach the beds from both sides.
Seek examples that include trellises on the north side, drip irrigation installed, and crop rotation markers. Visuals that show mulch or pathways made from wood chips help you copy low-cost, low-maintenance setups.
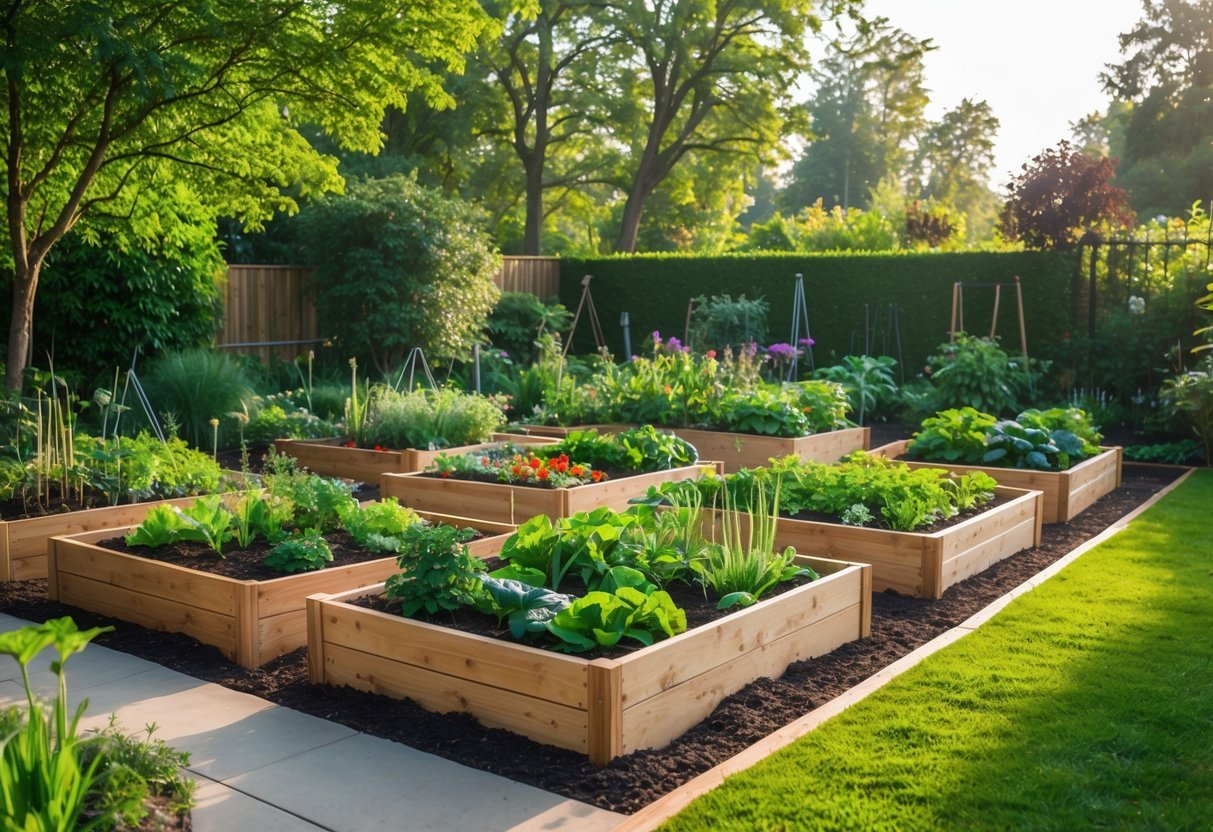
What should I consider when planning the layout of my raised garden beds?
Place taller plants or trellises on the north side so they don’t shade shorter plants. Keep beds no wider than 4 feet so you can reach the center without stepping in the soil.
Plan paths at least 18–24 inches wide to allow wheelbarrows and easy access. Think about water access, sunlight patterns, and where you will store tools and compost.
Are there downloadable PDF guides for constructing raised garden beds?
Yes. Many extension services, master gardener programs, and reputable gardening sites publish free PDF guides. These guides often include step-by-step build instructions, materials lists, and planting charts.
Download PDFs from university extension sites or well-known gardening organizations to get trustworthy plans. Save or print the guide that matches your bed size and gardening goals.