Grow a Garden Layout: Practical Steps to Design Productive, Easy-to-Maintain Beds
You can turn any patch of soil, balcony, or raised bed into a tidy, productive garden by choosing a clear layout that matches your space and goals. Pick a layout that fits how much time you have, the light and soil you own, and the crops you want to eat, and you will save work while growing more food.
Start small and place paths, beds, and vertical supports where they make watering, harvesting, and weeding simple. Use compact beds, containers, trellises, or square-foot grids to fit more plants into less space and keep everything easy to reach.
Key Takeaways
- Choose a layout that matches your space and the time you can give it.
- Design beds and paths so watering and harvesting stay simple.
- Use vertical and compact planting to increase yield in small areas.
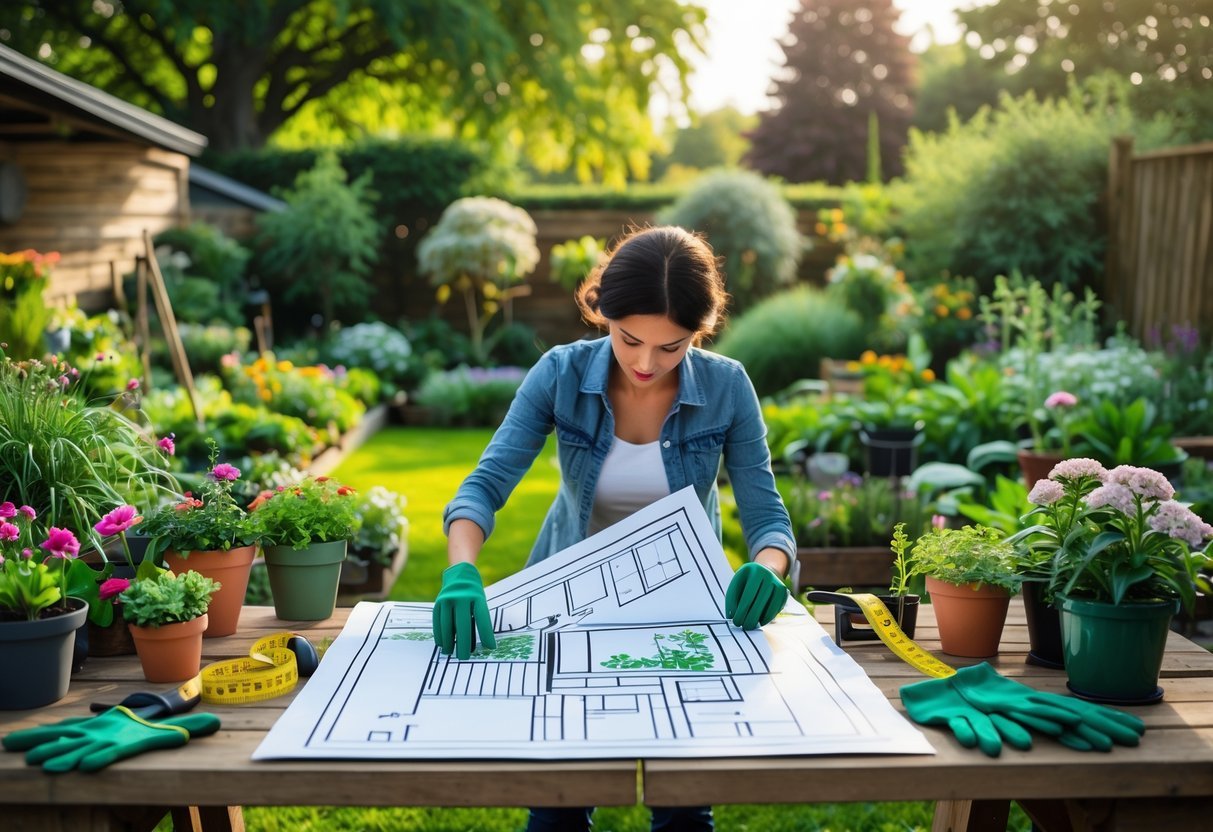
Planning Your Garden Layout
You will check light, soil, size, and plant needs so each bed gets what it requires. Use measured steps: map sun hours, test soil, tape out bed dimensions, and assign plant zones by water and harvest timing.
Assessing Sunlight and Soil Conditions
Track sun across your yard for at least three days. Note hours of direct sun on each spot: full sun = 6+ hours, partial = 3–6, shade = under 3. Mark these on a simple sketch with times.
Test soil in each planned bed. Use a basic soil test kit or send samples for pH and nutrient results. Check texture by feel: gritty = sand, smooth = silt, sticky = clay. Good drainage means water soaks in within 6–12 hours.
Amend based on results. Add compost to improve structure and fertility. Use lime to raise pH or sulfur to lower it, only if tests show a need. Mulch beds to retain moisture and reduce weeds.
Determining Garden Size and Shape
Measure available space and draw it to scale on graph paper or an app. Include fixed features: house walls, trees, utility lines, and existing paths. Record exact dimensions so beds fit without blocking access.
Choose bed widths you can reach from the edge—usually 3–4 feet for one-sided, 6–8 feet for two-sided access. Keep paths 18–36 inches wide for walking and wheelbarrow use. Square or rectangular beds suit rows; curved beds can follow fences or sightlines.
Plan for expansion. Leave a reserved area for new beds or crop rotation. Position water access within 25 feet of main beds to keep hose lengths short and reduce effort.
Selecting Plant Zones
Group plants by similar light, water, and soil needs. Put sun-loving vegetables (tomatoes, peppers) in the 6+ hour zones. Reserve partial-sun areas for lettuces, spinach, and many herbs.
Create a watering map: high-water crops (leafy greens) together and drought-tolerant plants (lavender, rosemary) in well-drained spots. Use companion planting lists to avoid conflicts and boost pest control.
Plan harvest flow. Place early crops (radishes, spinach) where you can reach them easily for quick harvesting. Put taller, trellised plants on the north side of beds to avoid shading shorter crops.
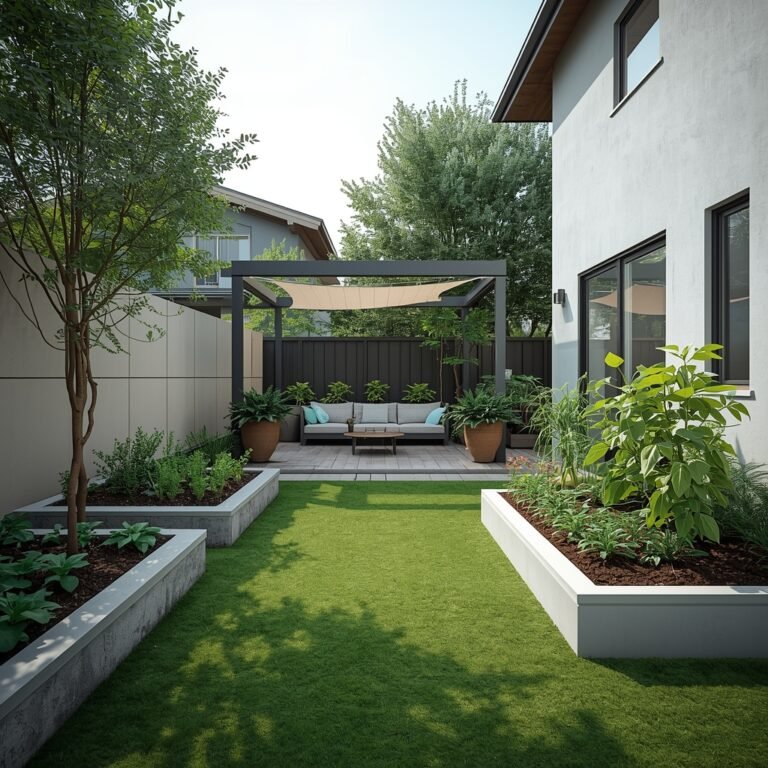
Designing the Garden Structure
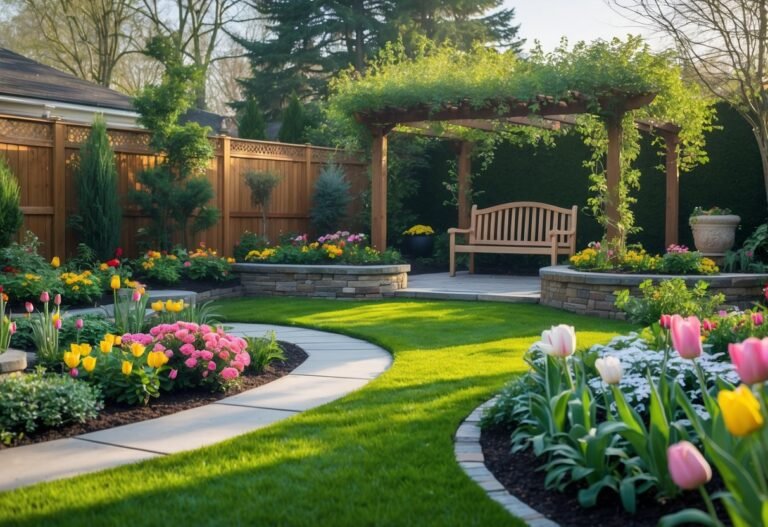
Good structure makes your garden easy to use, easy to maintain, and neat to look at. Focus on bed shapes, walking paths, plant height order, and durable borders that match your space and budget.
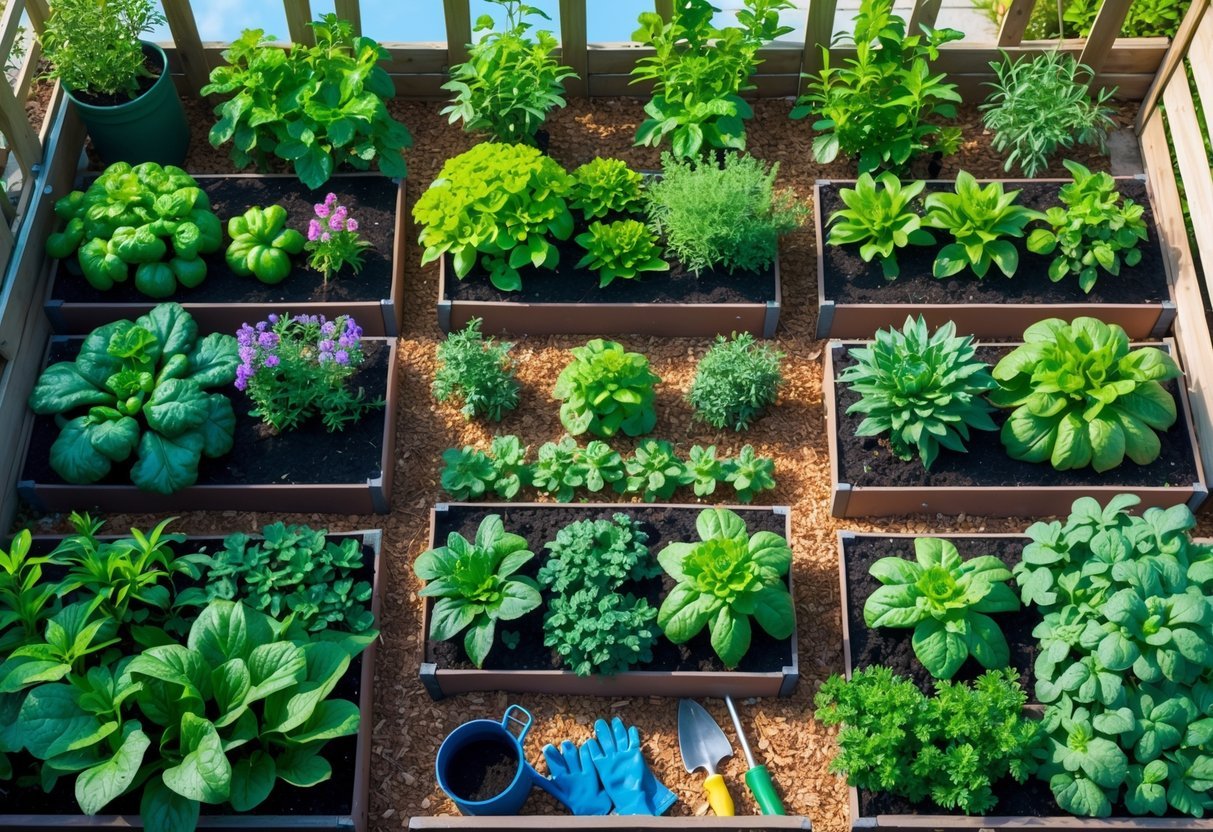
Choosing Bed Types and Pathways
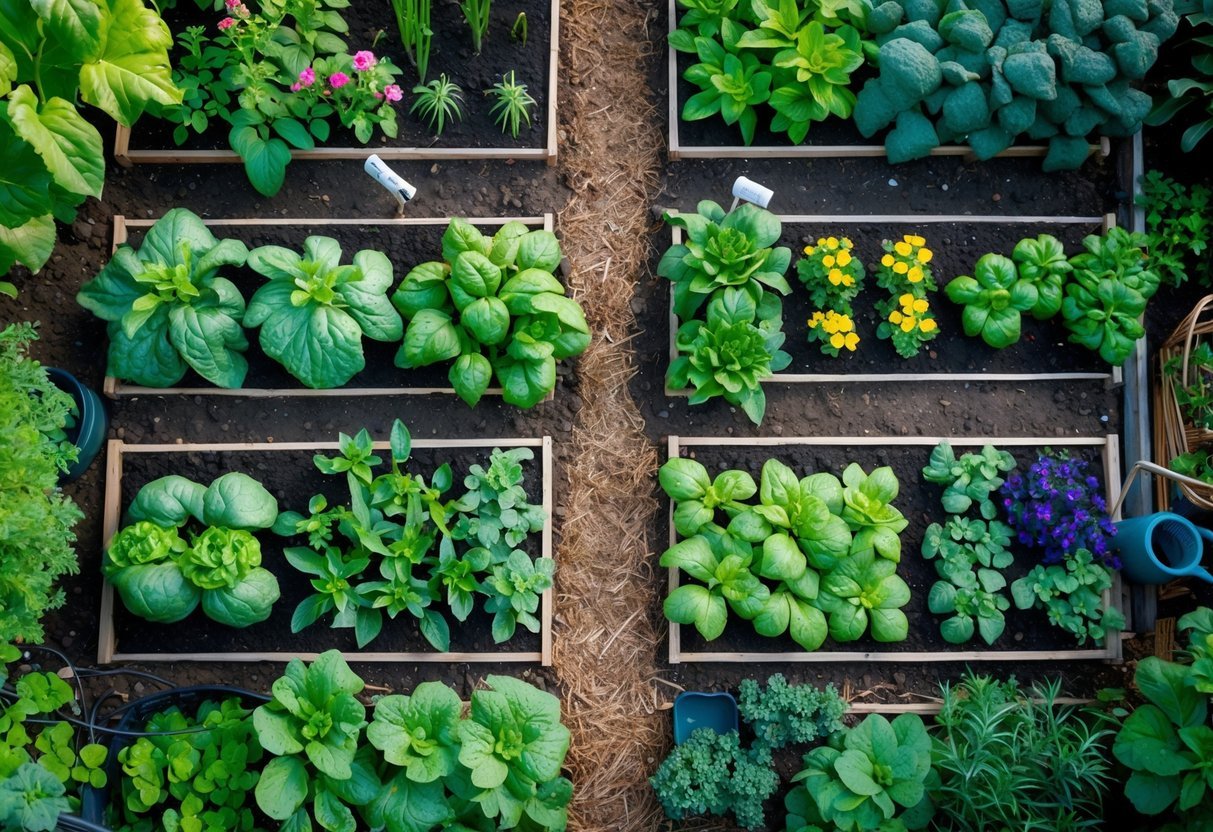
Decide between raised beds, in-ground beds, or containers based on soil quality and access. Raised beds (6–12 inches high for vegetables, 12–24 inches for root crops) warm faster and drain better. Use untreated cedar or rot-resistant composite for frames to avoid soil contamination.
Plan paths for at least one 24–36 inch wide main route so you can wheel a cart and reach all beds. Secondary paths can be 18–24 inches wide for foot traffic. Use mulch, gravel, or compacted decomposed granite for low-cost, low-maintenance surfaces.
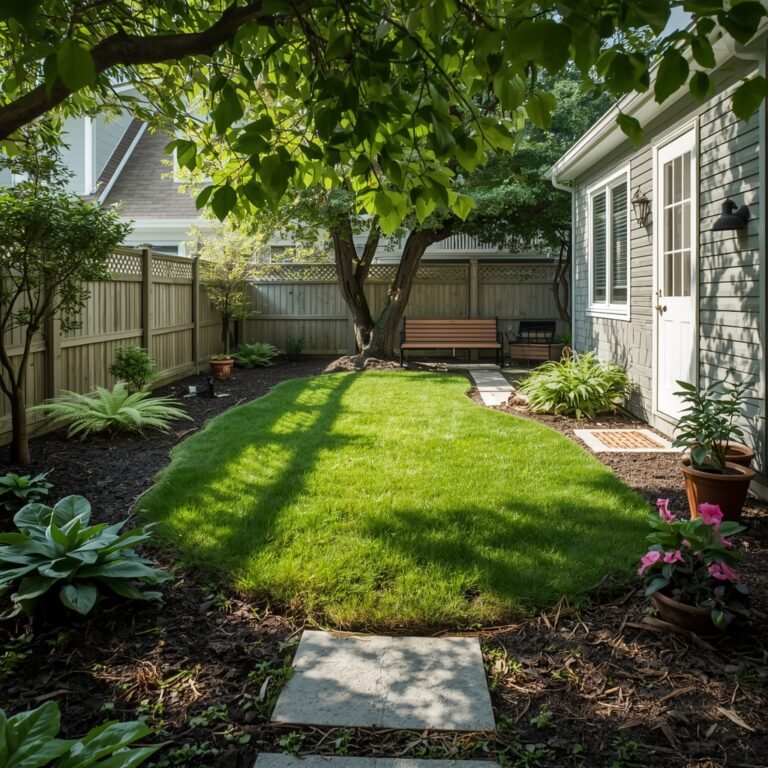
Place beds parallel to your house if you want easy watering from an outdoor faucet. Arrange beds in a grid or staggered layout to fit narrow yards. Leave space for tool storage and a small workbench near where you harvest.
Arranging Plant Heights
Place tall plants on the north or west side so they don’t shade shorter ones. For vegetables, put trellised crops (beans, peas, cucumbers) at the back, mid-height crops (tomatoes, peppers) in the middle, and low crops (lettuce, radishes) in front.
Use a planting sketch that shows mature plant heights and spread. Mark spacing: follow seed packet spacing or add 20–30% extra to avoid crowding. Note seasonal changes—tall summer crops won’t block winter greens if you rotate bed locations.
Layering works in mixed beds: plant deep-rooted crops with shallow-rooted herbs to reduce competition. Keep a 12–18 inch clear edge for pruning and harvesting paths to avoid trampling.
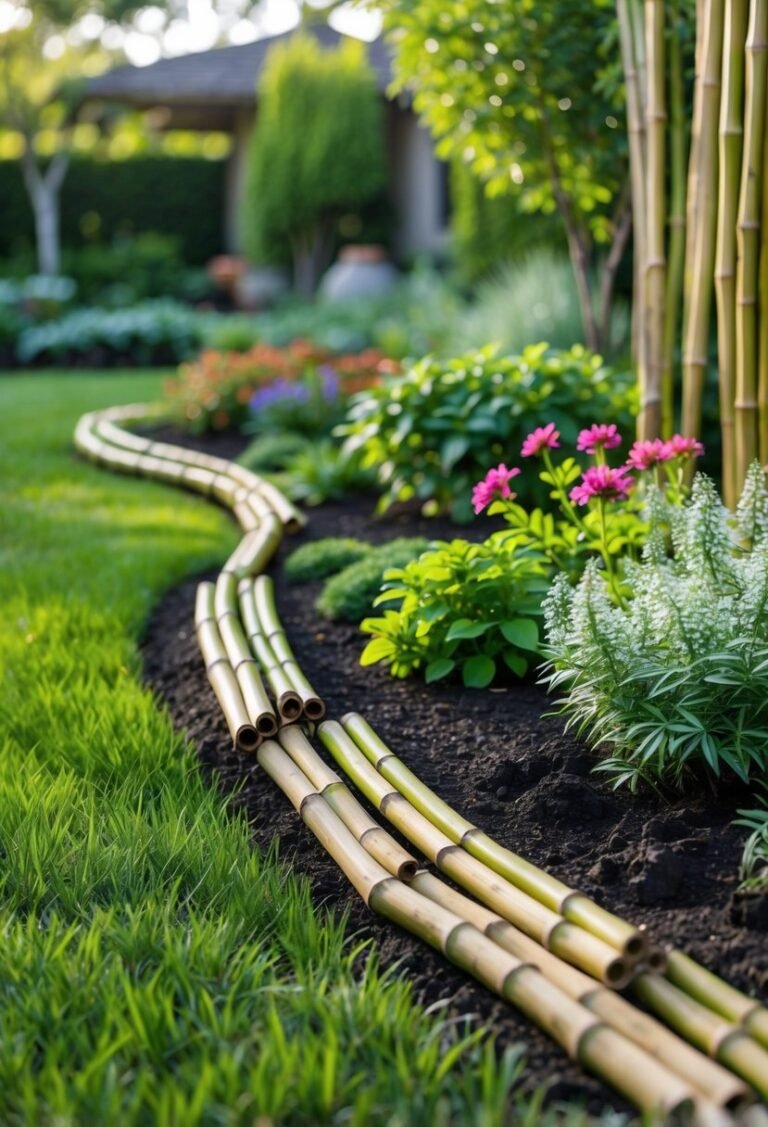
Garden Border Options
Choose border materials for durability and style: pressure-treated lumber (cost-effective), natural stone (long-lasting), or metal edging (clean lines). For a low budget, use recycled brick or untreated logs. Match material height to purpose—2–4 inches for decorative edging, 6–12 inches to hold mulch, and 12+ inches to contain raised soil.
Plant living borders like dwarf boxwood, lavender, or ornamental grasses to soften edges and add habitat for pollinators. Combine hard and soft edges: hard edging holds soil while plants hide the line and add color.
Install edging at least 4–6 inches deep to prevent grass invasion. Use stakes or gravel under pavers to keep borders level and lower maintenance.
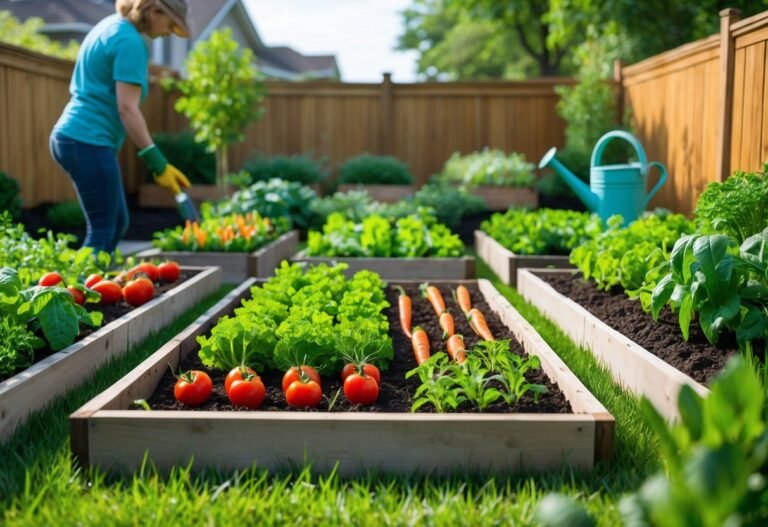
Selecting and Grouping Plants
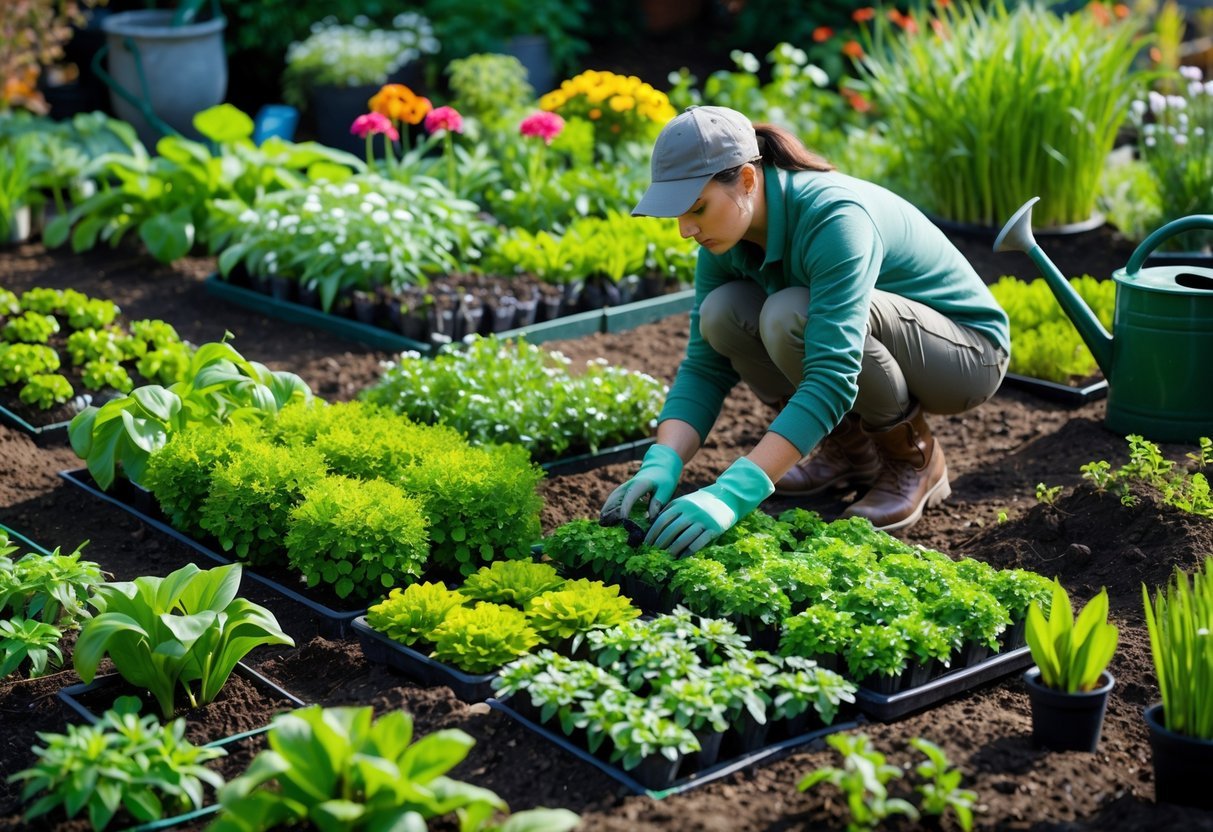
Choose plants that share light, water, and soil needs, match mature sizes, and fit your bed or row spacing. Think about bloom times, pest relationships, and the visual mix of height and texture to keep plants healthy and easy to care for.
Companion Planting Strategies
Use companion planting to reduce pests and boost growth. Plant basil near tomatoes to help flavor and may deter some pests. Put marigolds around vegetable beds to discourage root-knot nematodes and repel certain insects.
Place tall, sun-loving crops like corn where they won’t shade shorter sun-loving plants. Use low-growing herbs or groundcovers, such as thyme, between vegetables to suppress weeds and hold soil moisture. Avoid planting heavy feeders like corn next to other heavy feeders; instead, pair them with nitrogen-fixers such as beans.
Rotate families each year to cut disease and pest cycles. Keep a simple map or chart showing plant family placement and past crops to plan rotations and companion groupings.
Seasonal Crop Selection
Match crops to your local frost dates and day-length needs. Plant cool-season crops like lettuce, spinach, and peas in early spring and fall. Reserve warm-season crops—tomatoes, peppers, squash—for after the last frost when soil has warmed.
Stagger plantings to extend harvests: sow lettuce every two weeks, and transplant new broccoli starts four to six weeks apart. Choose early, mid, and late varieties for long harvest windows, for example early peas, main-season beans, and late carrots. Plan succession beds so you can pull spent plants and replace them quickly.
Keep a simple calendar showing planting and expected harvest dates. Mark varieties and spacing so you can reuse beds efficiently and avoid crowding.
Color and Texture Combinations
Use contrast to make beds look intentional. Combine broad-leafed plants like Swiss chard with fine-textured foliage such as dill or fennel. Place a single bold color, like deep red coleus, among greens to create a focal point.
Layer heights: put tall plants at the back or center, midsize in the middle, and low groundcovers or edging plants in front. Repeat a color or texture every few feet to create rhythm and guide the eye across the bed.
Consider bloom timing so colors change through the season. Mix evergreen or silver-leafed plants for winter interest to avoid long gaps when flowers are not present.
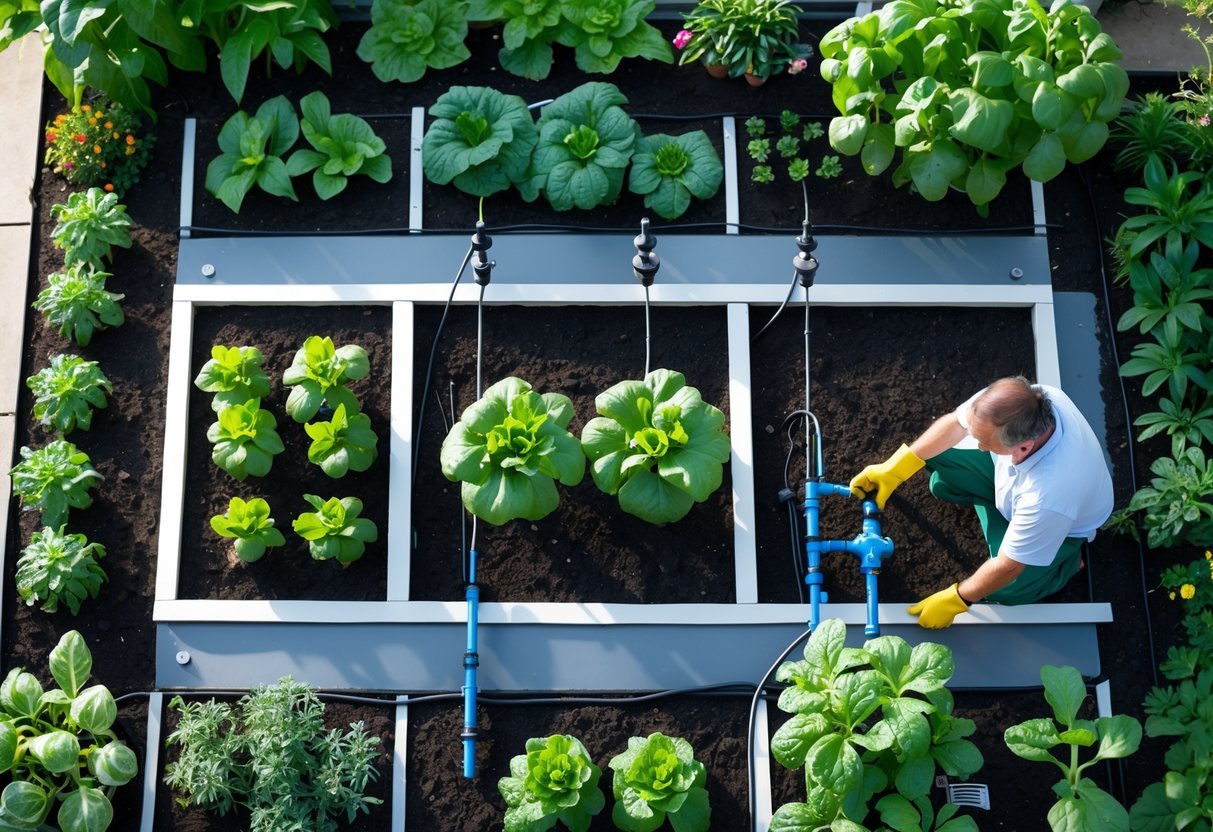
Irrigation and Water Management
You will focus on giving plants the right water at the right time, keeping soil healthy, and capturing extra water when possible. The tips below show specific tools, timing, and layout choices to save water and keep plants productive.
Efficient Watering Techniques
Use drip irrigation or soaker hoses for beds and containers because they deliver water directly to roots and cut evaporation. Lay drip lines on a grid or run soaker hoses along plant rows. Use pressure regulators and filter screens to keep emitters from clogging.
Water early in the morning when temperatures are low. Aim for deep, infrequent watering: soak the root zone to a depth of 6–12 inches rather than wetting the surface daily. Check depth with a trowel or soil probe.
Group plants by water need (hydrozoning) so you can set separate zones and runtimes. Use a programmable timer or smart controller that adjusts for weather and soil moisture. Add a soil moisture sensor for high-value beds to avoid overwatering.
Mulch 2–4 inches around plants to reduce evaporation and slow surface runoff. Combine mulch with drip systems for best results. Inspect the system monthly for leaks, uneven emitters, and clogged lines.
Drainage Planning
Map low spots and slopes before you plant. Grade soil gently away from structures at a 1–2% slope to prevent pooling near foundations. Use raised beds or berms in poorly drained areas to lift roots above saturated soil.
Install gravel trenches or French drains where water collects. Place perforated pipe in a trench filled with gravel, wrapped in landscape fabric, and sloped toward an outlet or dry well. Keep drain outlets away from neighboring properties.
Choose soil amendments to improve structure: mix 20–30% compost into heavy clay or compacted soils to improve infiltration. Avoid adding too much sand to clay—it can create concrete-like soil. For containers, use mixes with good drainage components like perlite or coarse sand.
If you have turf, cut narrow drainage swales or use permeable paving in paths to channel excess water. Inspect drainage after heavy rains and adjust grading or add drains where water still pools.
Rainwater Harvesting Ideas
Collect roof runoff with gutters and a downspout filter that removes leaves and debris. Feed downspouts into a rain barrel with an overflow directed to a garden bed or dry well. Choose a covered barrel to keep mosquitoes out.
Size your storage by estimating roof area and local rainfall: one inch of rain on 100 square feet yields about 62 gallons. Use that math to pick barrel capacity and placements near zones with highest water need.
For larger systems, install a cistern with first-flush diverters and a pump or gravity feed for irrigation. Use a simple diverter to send initial, dirty runoff to a soakaway and cleaner water to storage.
Use stored water for drip irrigation and hand-watering. Label tanks and use a screen or filter before connecting to emitters to prevent clogs. Rotate water by using stored supply within a season to avoid stagnation.
Maximizing Space and Yield
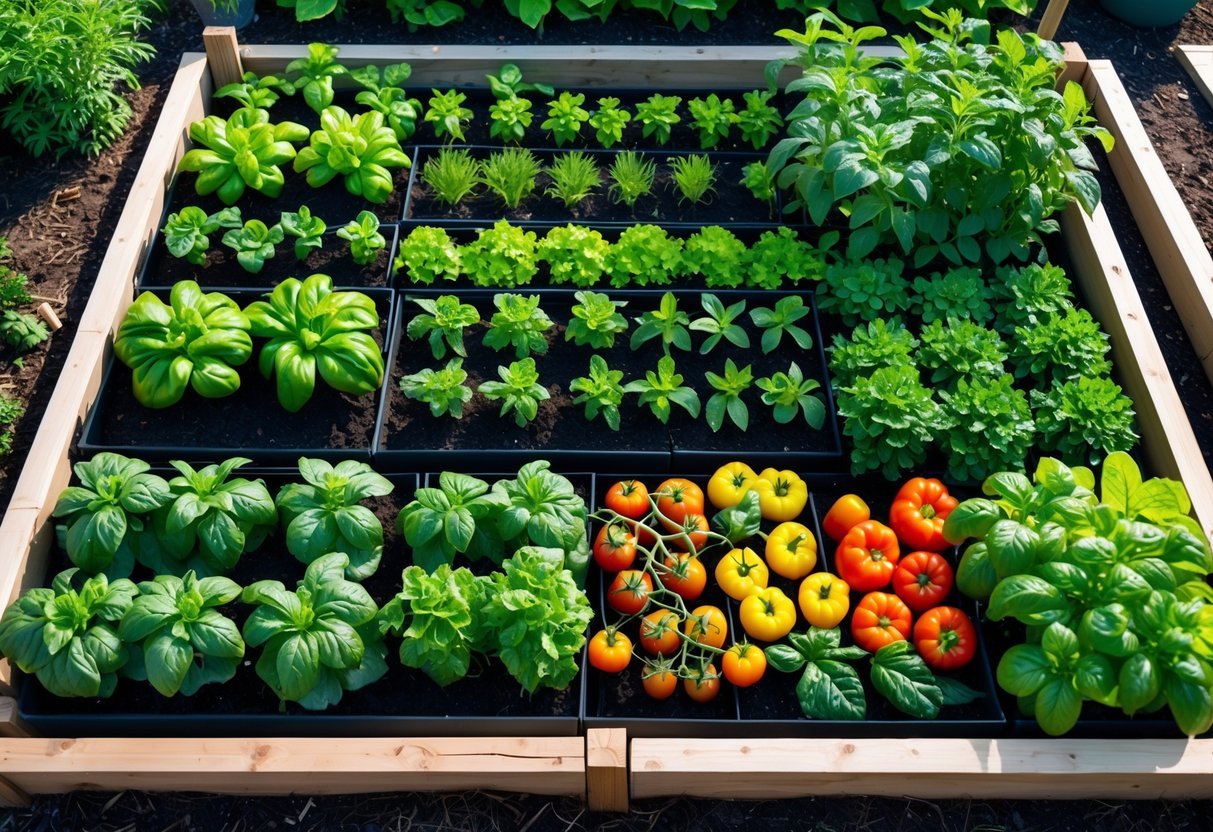
Focus on placing plants where they get the most sun, reducing unused paths, and timing crops so beds stay productive. Use structures and containers to add layers of growing area and keep soil healthy between crops.
Vertical Gardening Methods
Vertical growing adds square footage without more ground. Use trellises for peas, cucumbers, and indeterminate tomatoes; strings or netting work for beans and vining squash. Mount trellises on the south side of beds to avoid shading other plants.
Choose supports that fit plant weight: wire mesh for heavy tomatoes, bamboo or twine for lighter vines. Train plants early by tying stems every 6–12 inches to prevent tangles and breakage. Pair tall vining crops with low-growing plants below—lettuce or spinach will benefit from partial shade and use the same root space.
Think about harvest access and airflow. Leave 18–24 inches between trellis rows for you to reach fruit and to reduce disease. Prune lower leaves on indeterminate tomatoes to keep air moving and lower fungal risk.
Succession Planting
Succession planting keeps beds producing all season. Plan cycles: cool crops (peas, kale) early, warm-season crops (tomatoes, peppers) next, then quick fall crops (radishes, spinach). Sow fast growers like radishes or baby greens between slower plants to fill gaps.
Use a calendar and seed packets to stagger sowing every 2–3 weeks for crops like lettuce and carrots. When a crop finishes, immediately amend soil with compost and plant the next crop within 3–7 days to avoid idle soil. For transplants, start seedlings indoors 4–6 weeks before the planned transplant date to move them in as soon as space frees up.
Keep records of planting dates and yields. Track what worked and when to refine your timing next season.
Container and Small Space Solutions
Containers let you grow on patios, balconies, and narrow strips. Pick pots with good drainage and a depth suited to the crop: 6–8 inches for herbs and lettuce, 12–18 inches for peppers and dwarf tomatoes, 18+ inches for potatoes and large squash.
Use high-quality potting mix with added compost and a slow-release fertilizer. Group containers by water needs to make irrigation easier. For tight spaces, use vertical container stacks, pocket planters, or railing boxes to add layers.
Choose compact or bush varieties labeled “patio,” “dwarf,” or “container.” Rotate crops in containers each season and refresh the potting mix to prevent nutrient depletion and disease buildup.
Frequently Asked Questions
These answers focus on practical steps you can use right away: layout rules, bed sizes, sun needs, spacing, tools, and ways to make a small plot both productive and attractive.
What are effective design principles for creating a productive garden layout?
Place sun-loving vegetables where they get 6–8 hours of direct light. Group plants by water needs so you avoid over- or under-watering.
Use beds 3–4 feet wide so you can reach the center without stepping on soil. Keep paths 18–24 inches wide for easy access with a wheelbarrow or tools.
Plan rotation and succession planting to reduce pests and keep harvests steady. Add compost and organic matter to boost soil life before you plant.
How can beginners effectively plan and organize their first garden layout?
Start small: one or two raised beds, or a few large containers. Small plots cut work time and make mistakes easier to fix.
Sketch your yard to scale and mark sun patterns through the day. Note shade, drainage, and the closest water source to plan bed placement.
Choose easy crops like lettuce, beans, radishes, and tomatoes. Plant near your kitchen door for quick harvesting and regular care.
What are some aesthetic considerations to keep in mind when planning a garden layout?
Use repeating shapes or materials, like matching beds or identical trellises, to create a tidy look. Balance height by placing tall plants or supports at the back or center.
Add paths and focal points, such as a bench or a cluster of flowers, to guide the eye. Pick a limited color palette so blooms and foliage don’t clash.
Include edging or low borders to separate beds from lawn for a clean edge and easier mowing.
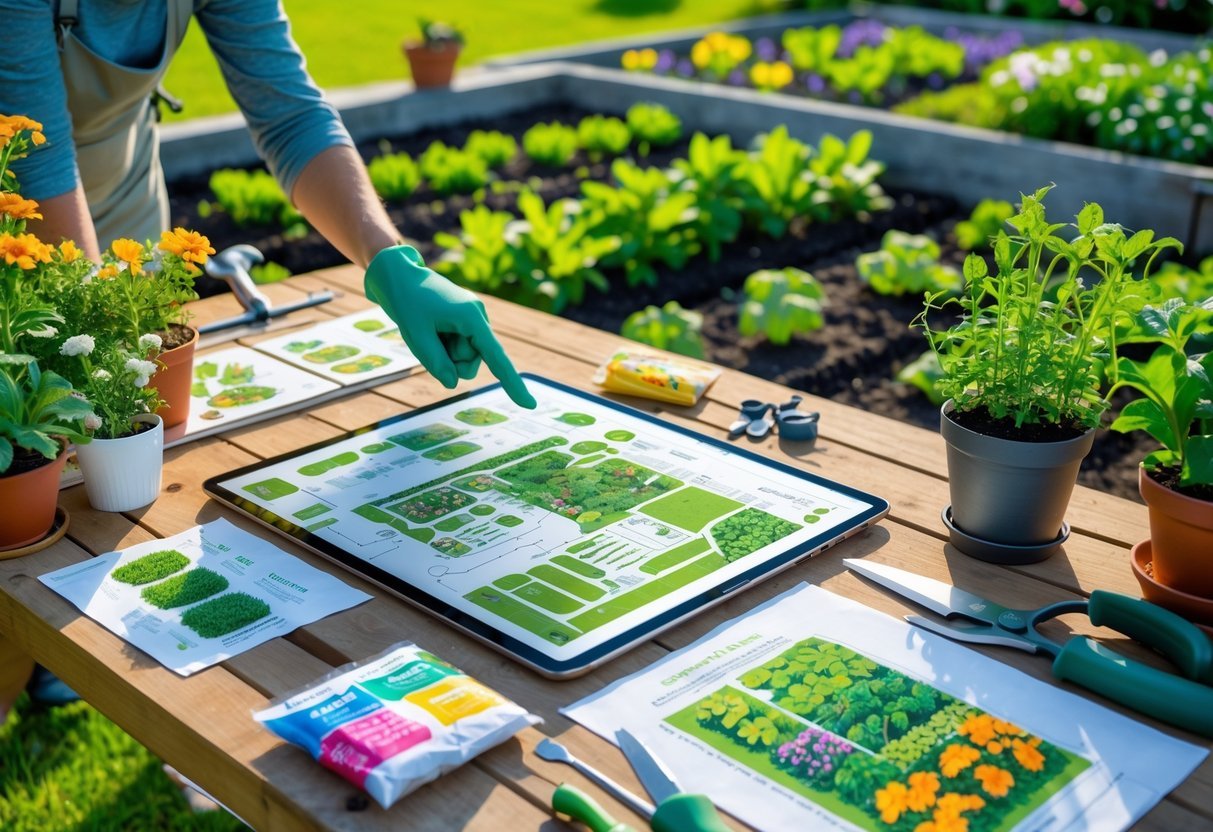
Are there any online tools or apps that help in designing a garden layout?
Use free garden planners that let you drag and drop beds, paths, and plants to scale. Many show sun exposure and let you note planting dates.
Look for apps with plant databases and spacing guides to avoid crowding. Choose one that exports a plant list or schedule for easy shopping and planning.
How do you maximize space in a small garden layout for diverse plantings?
Grow upward with trellises, cages, or vertical planters to free ground space for root crops. Pair tall, vining plants with low-growers that don’t compete for light.
Use succession planting and intercropping: sow fast crops like radishes between slower ones like cabbage. Harvest early crops before larger plants need the space.
Choose compact or dwarf varieties and square-foot planting to fit more plants without crowding roots.
What are the latest trends in garden layout and design for home gardeners?
Many gardeners use raised beds and modular containers for cleaner soil and easier control. Vertical gardening and wall planters have grown popular for small yards and patios.
Native plantings and pollinator strips appear more often to support local wildlife and reduce maintenance. People also favor edible landscaping—mixing herbs and fruits into ornamental beds.