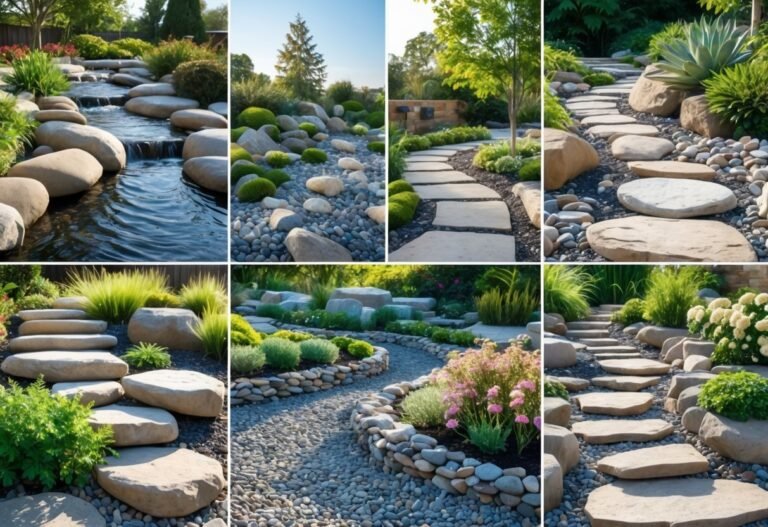
10 Rock Garden Art Ideas to Transform Small Outdoor Spaces
You can give your outdoor space personality with simple rock garden art that fits your style and skill level. You’ll learn easy projects and design ideas that let you add color, charm, and structure to paths, beds, and borders without major landscaping work.
This article walks you through creative options—from painted animals and glow-in-the-dark accents to small sculptures and practical stone features—so you can pick projects that match your yard and time. Use the tips and examples to plan pieces that last and blend with your overall landscape.
1) Painted Ladybug Rock
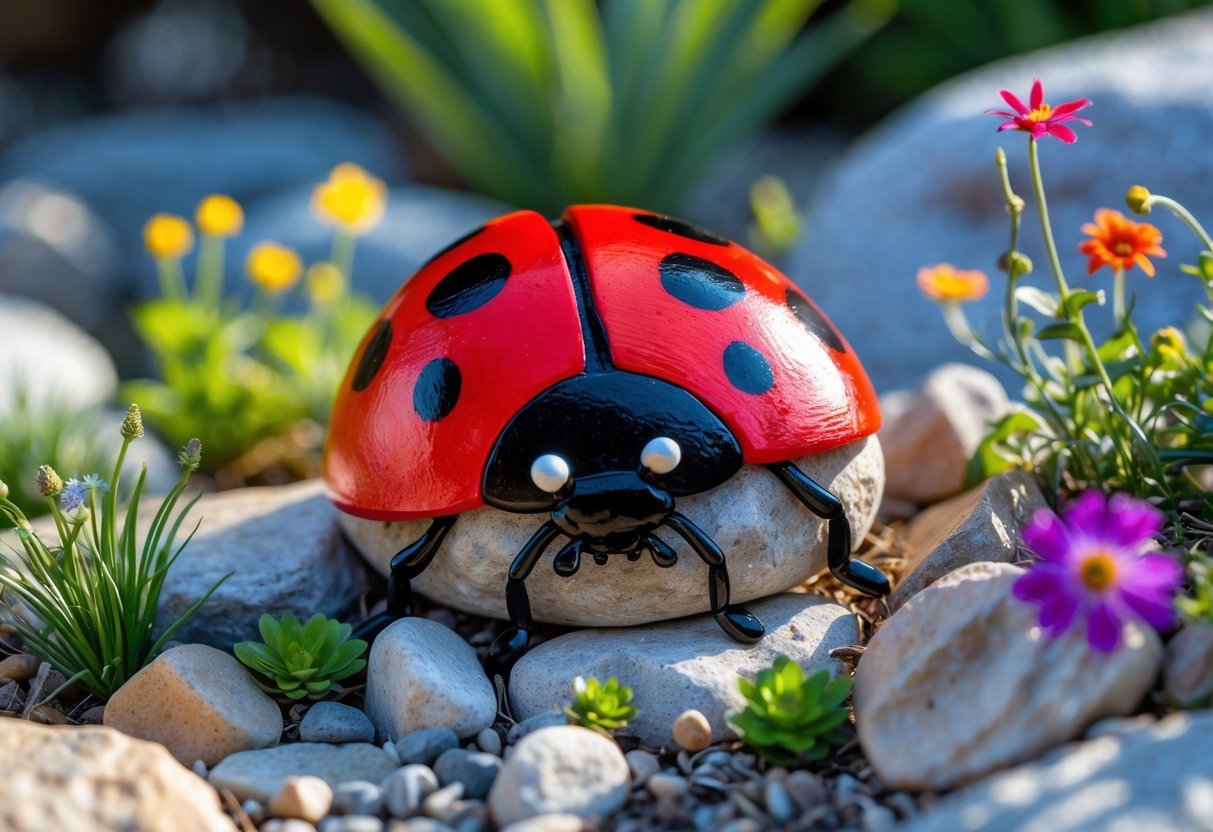
You can turn a smooth rock into a bright ladybug with just paint and a brush. Use outdoor or acrylic paint so the colors last in your garden.
Start with a red base, add a black head and center line, then dot the wings with black spots. Seal the rock with clear varnish to protect it from rain and sun.
2) Inspirational Quote Rock: “Bloom where you are planted” – Unknown
Place a small painted rock with the phrase where you want a calm, hopeful touch. You can use neat lettering or a simple stencil for a clean look.
Choose durable paint and a sealant so the words last outdoors. This piece works well near paths, planters, or tucked among hostas.
The phrase reminds you to grow with what you have now. It fits gardens that favor subtle, personal art.
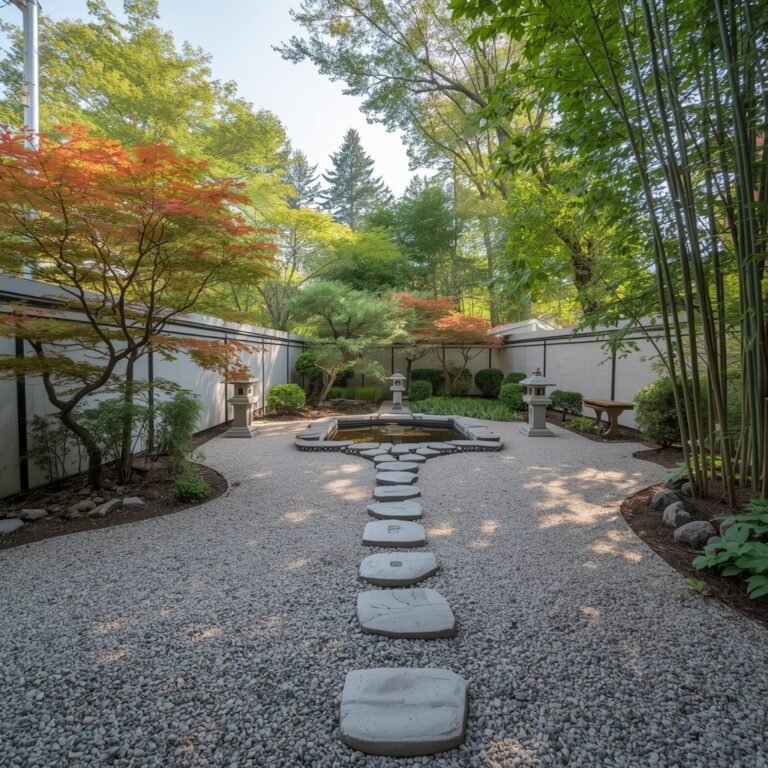
3) Fairy Garden Rock Sculpture
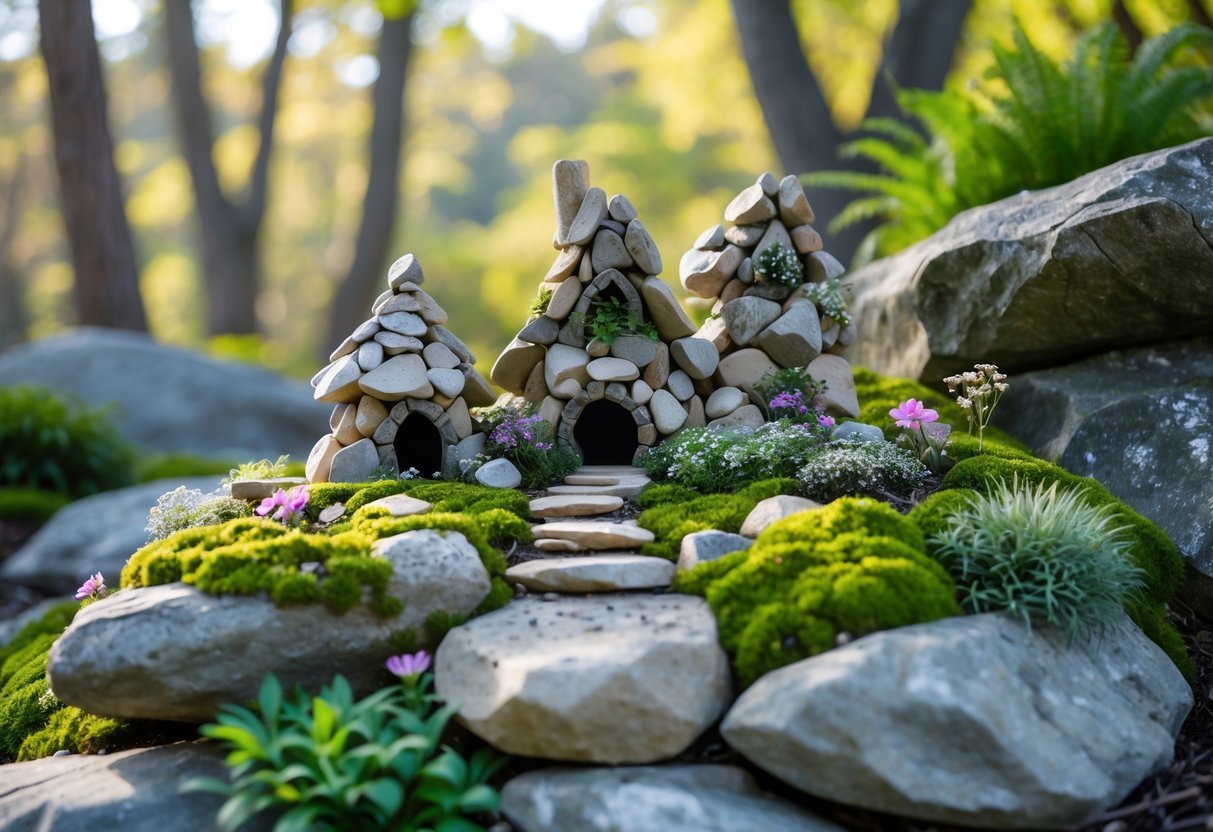
You can place small rock sculptures to add charm and scale to your fairy garden.
Use smooth stones stacked or glued to form tiny towers, seats, or animals that fit the scene.
Paint details like doors, windows, or vines to give each rock character.
Seal painted rocks with a clear coat so they hold up outdoors.
4) Heart-Shaped Stone Arrangement
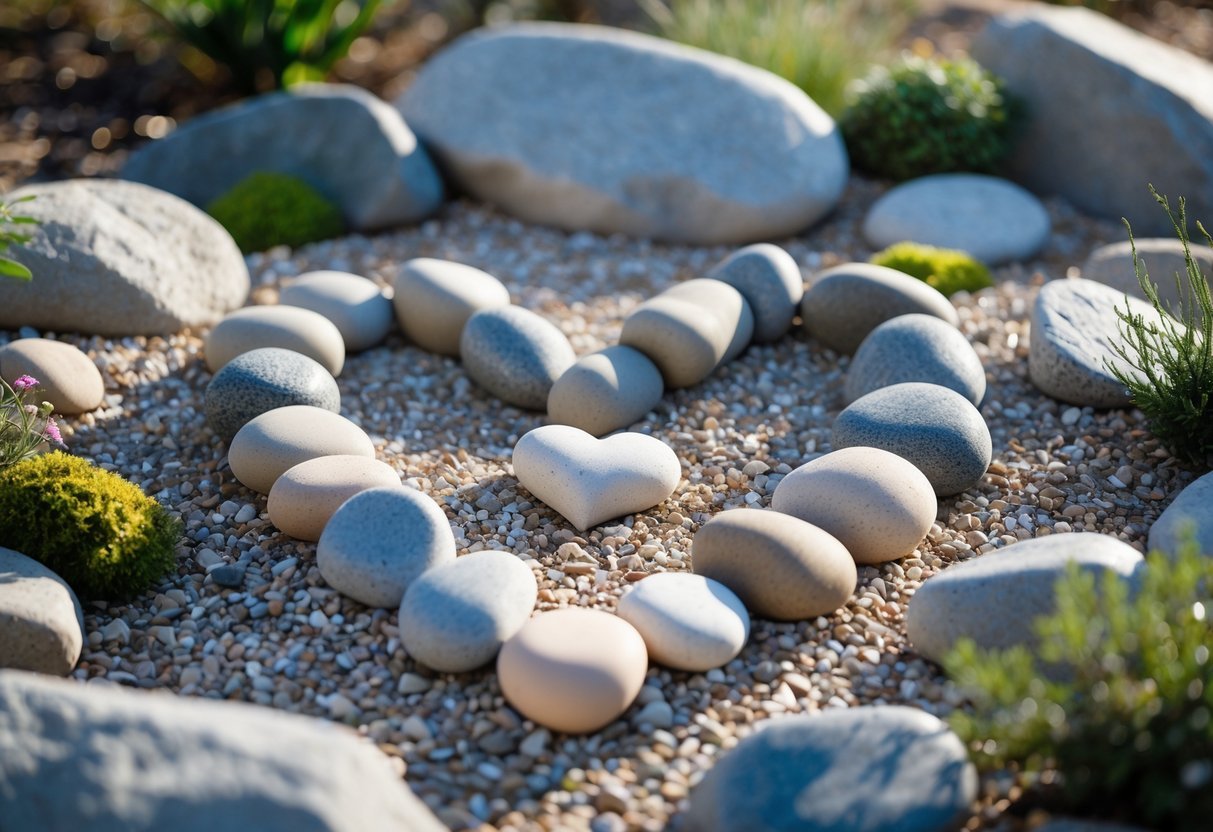
You can create a heart-shaped stone arrangement to add a simple focal point to your garden. Use flat stones or pebbles and place larger pieces on the outline, filling the center with smaller rocks for contrast.
Choose colors that match your plants or hardscape so the heart blends with your space. You can add a small plant or solar light in the center to give it a gentle highlight at night.
5) Glow-in-the-Dark Rock Paintings
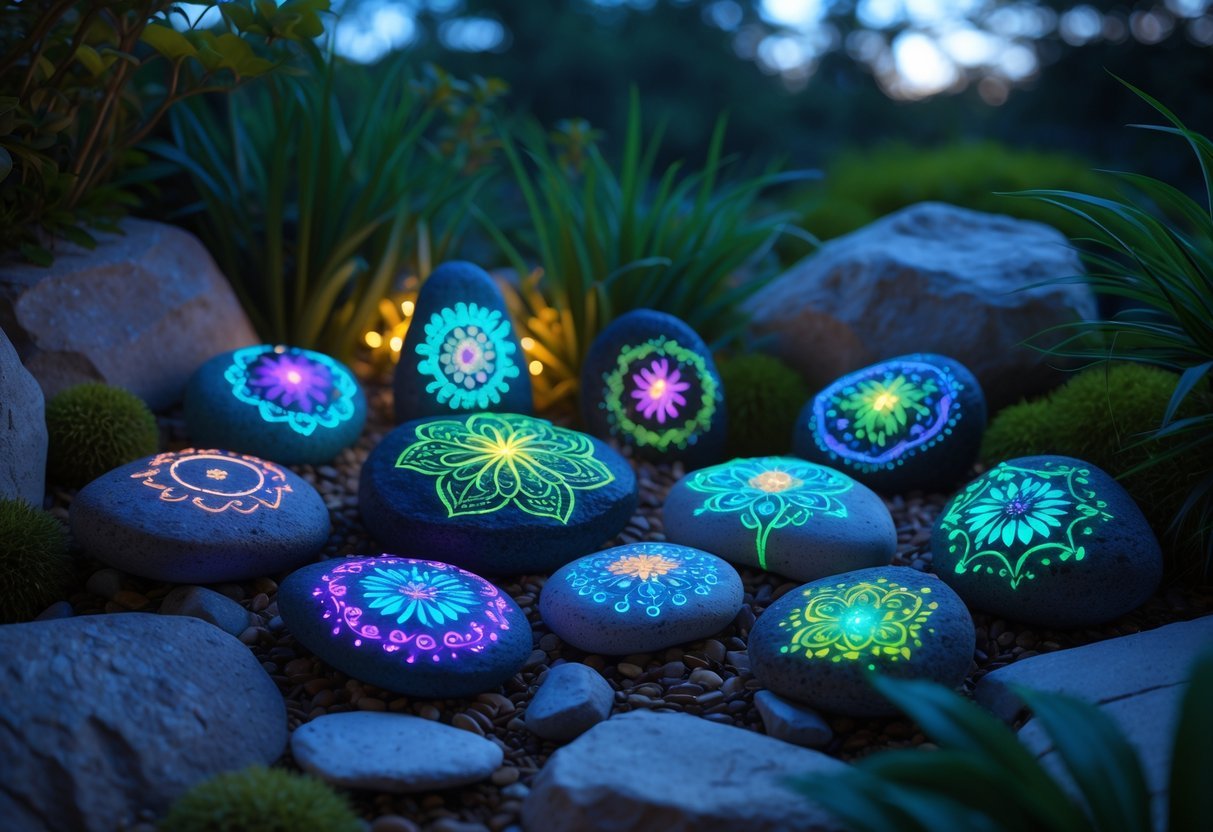
You can turn plain stones into low-light accents using glow-in-the-dark paint. Apply a base color, then add glow paint for patterns, dots, or edges that shine after sunset.
Place these rocks along paths, near steps, or in flower beds to add subtle nighttime guidance. Use weatherproof sealant so the glow effect lasts through rain and sun.
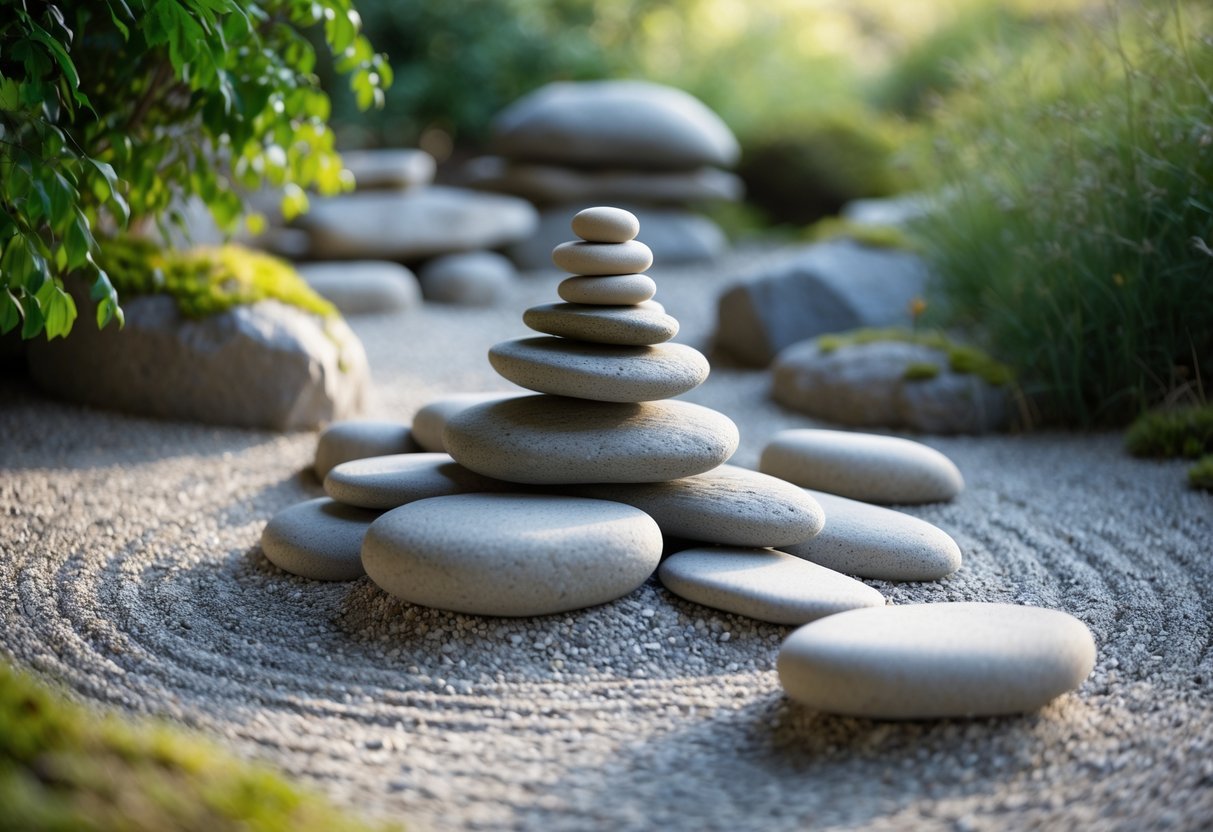
6) Stone Mountain Miniature Sculpture
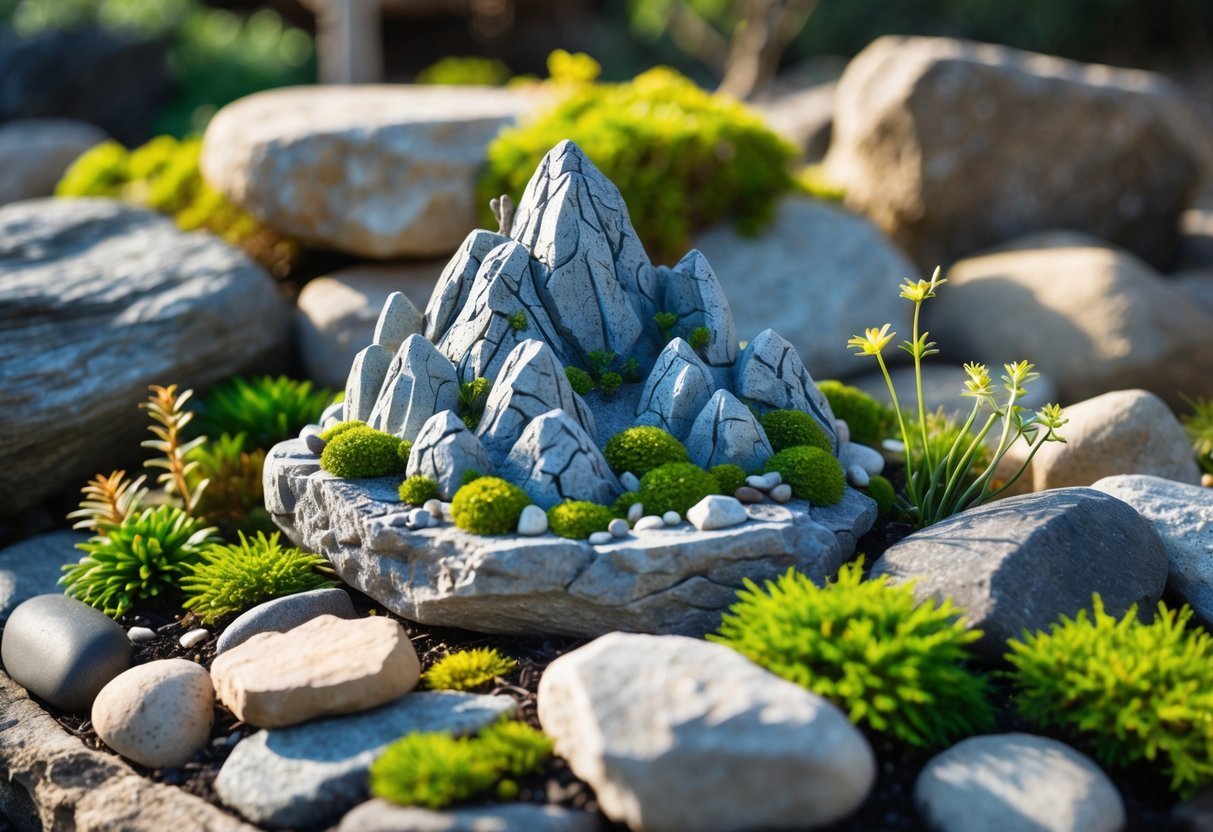
You can add a Stone Mountain miniature to bring height and drama to a small rock garden. These pieces mimic cliffs, trails, and tiny buildings and create a strong focal point without taking much space.
Place the sculpture near low plants or moss so it looks natural. Choose durable materials like resin or carved stone for outdoor use and low maintenance.
7) Geometric Patterned Garden Rocks
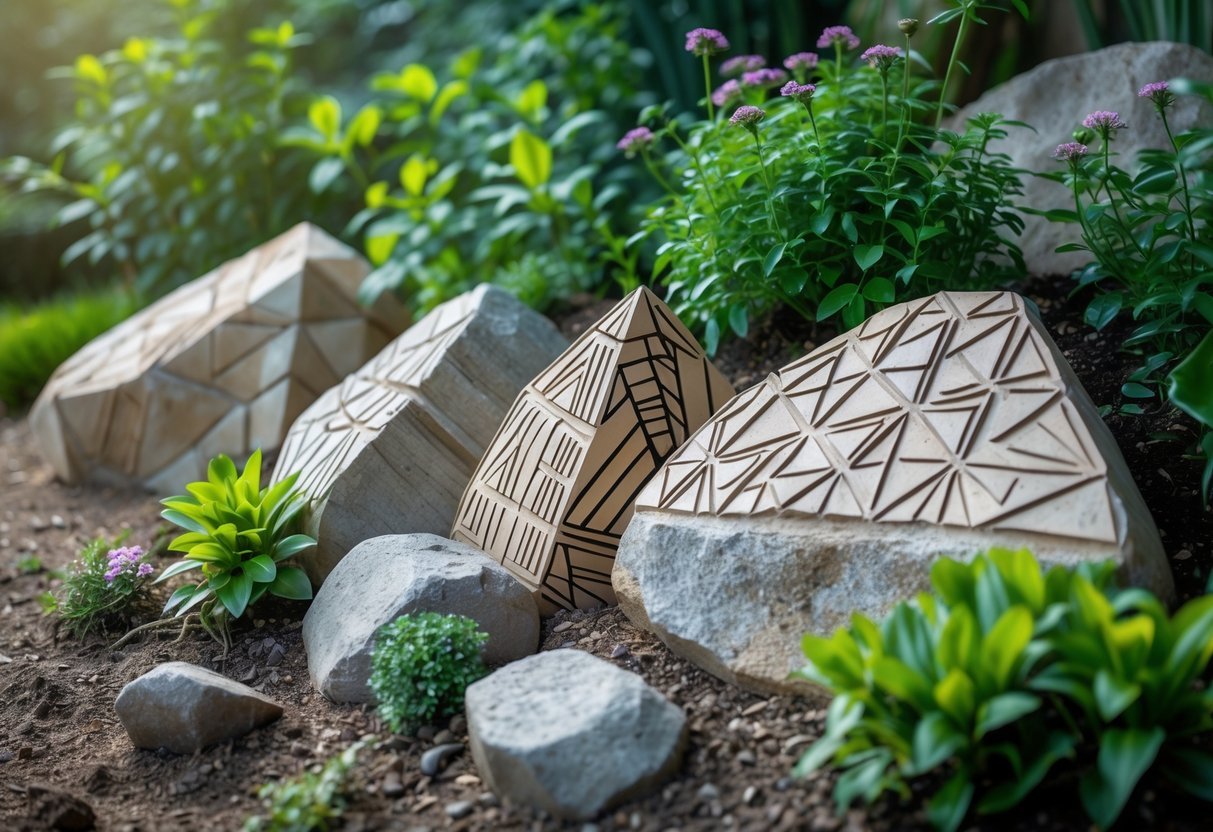
You can use simple shapes like triangles, circles, and lines to create bold geometric designs on rocks. Paint with stencils or tape for clean edges and repeat patterns for a modern look.
Place patterned rocks along paths or in groups to form larger shapes. Vary sizes and colors to add depth without cluttering your garden space.
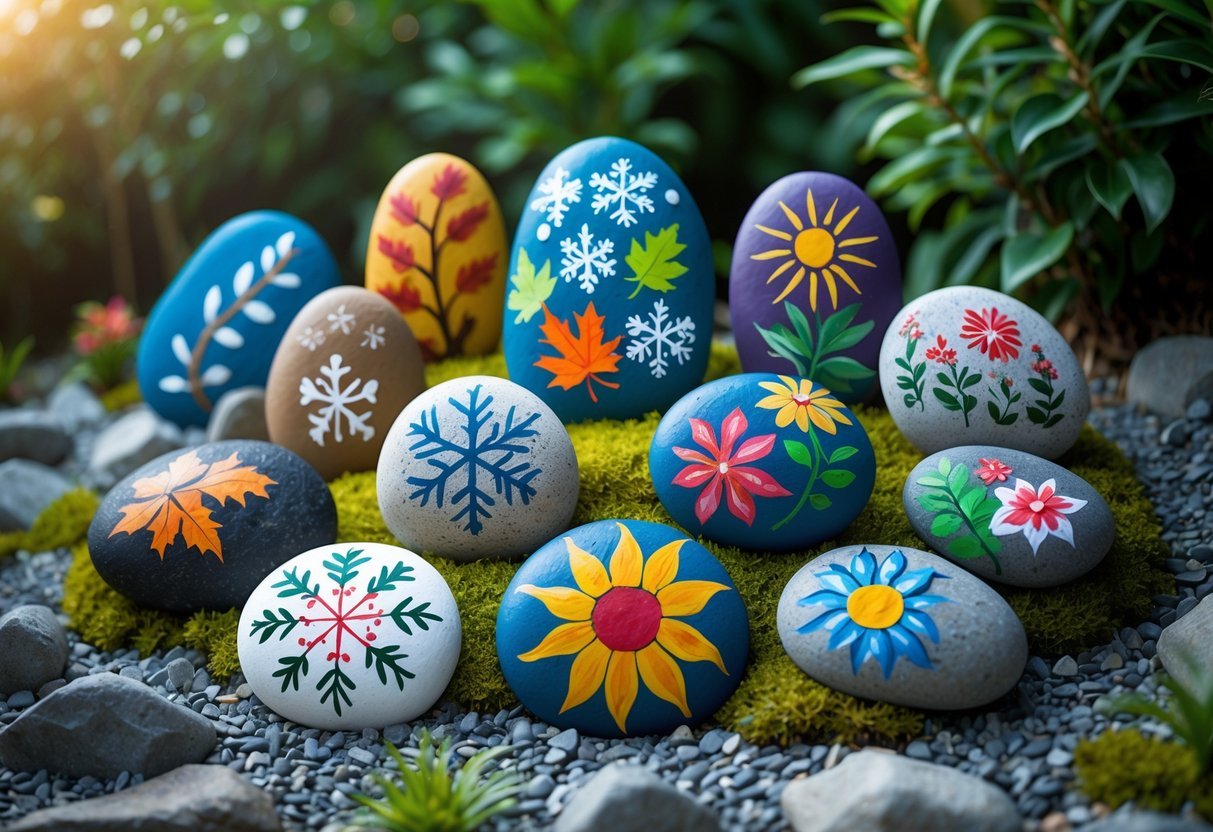
8) Seasonal Themed Painted Rocks
You can change your rock art with the seasons to keep your garden fresh and inviting. Paint pumpkins and warm leaves for fall, snowflakes or holly for winter, tulips and pastels for spring, and bright fruits or beach motifs for summer.
Use weatherproof paint and a sealer so your designs last outdoors. Rotate or swap rocks with holidays to surprise visitors and match your garden’s mood.
9) Stone Gabion Garden Fence
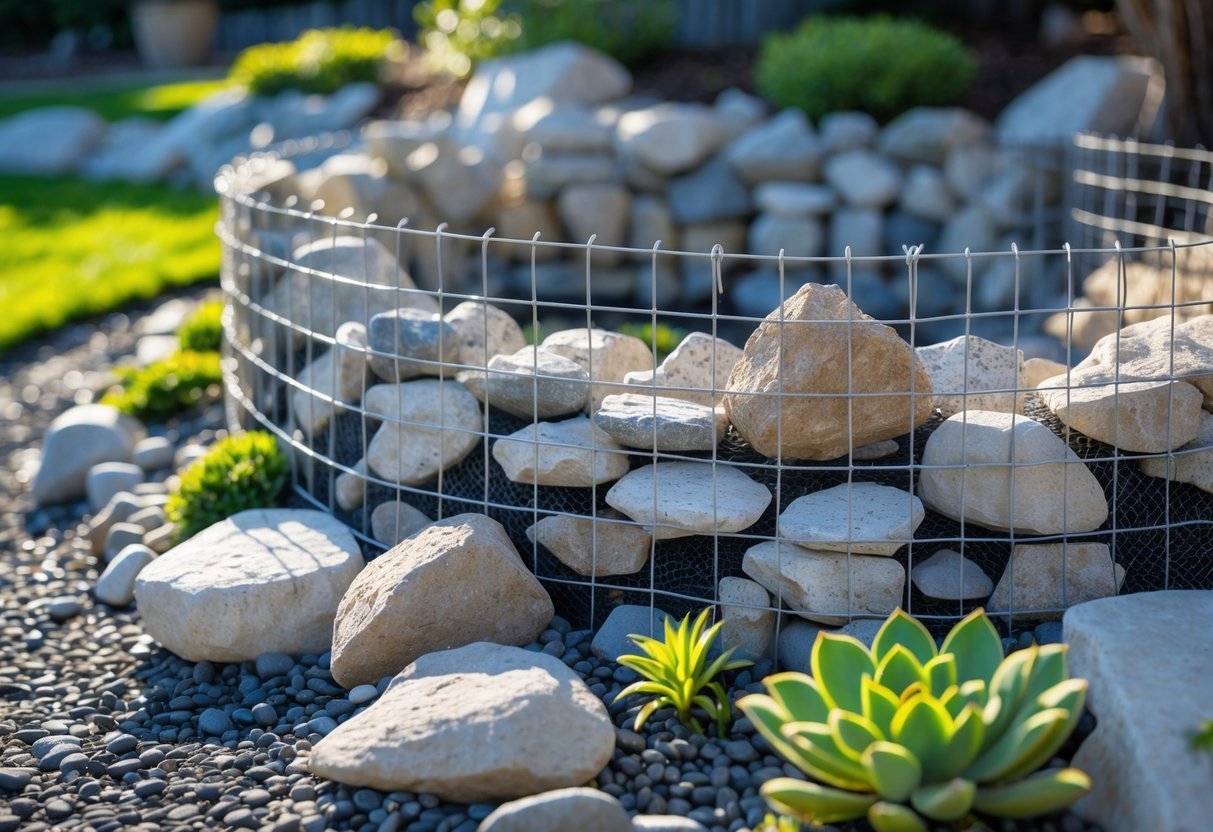
A stone gabion garden fence gives your yard a bold, low-maintenance boundary. You fill wire cages with rocks for a durable wall that also looks natural.
You can use mixed stones, stacked wood, or even planters inside panels to add texture. Gabions work well for privacy, noise reduction, and defining garden rooms without heavy upkeep.
Place them on a level base and use geotextile to keep soil out. Regular checks will keep the mesh secure and the stones settled.
10) Whimsical Animal Rock Figures
You can paint rocks as animals to add charm to paths, pots, or beds. Simple shapes like ladybugs, bees, and foxes work well for beginners.
Choose smooth stones and acrylic paint for bright colors that last. Seal with a clear coat to protect your designs from rain and sun.
Place groups of animal rocks to create small scenes. They bring playful color and invite smiles without needing much space.
Key Considerations for Mastering Rock Garden Art
Choose durable materials, pair colors and textures for balance, and protect pieces from sun, rain, and freeze-thaw cycles. These choices affect how long your rock art looks good and how much care it needs.
Material Selection and Design Principles
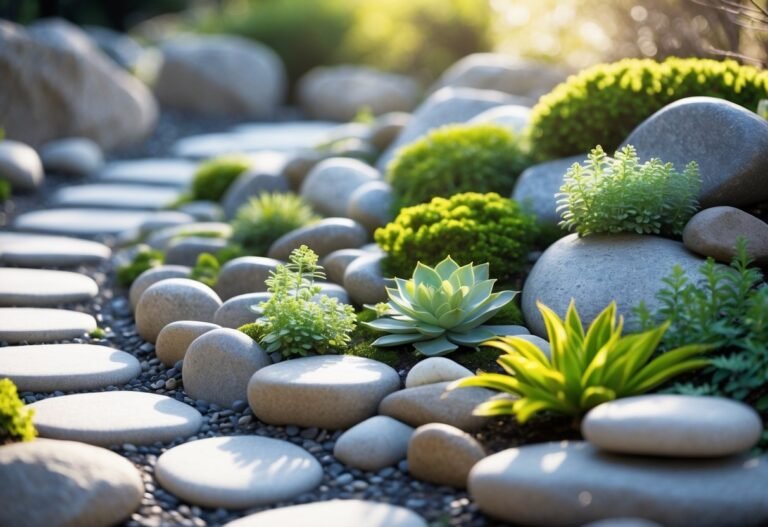
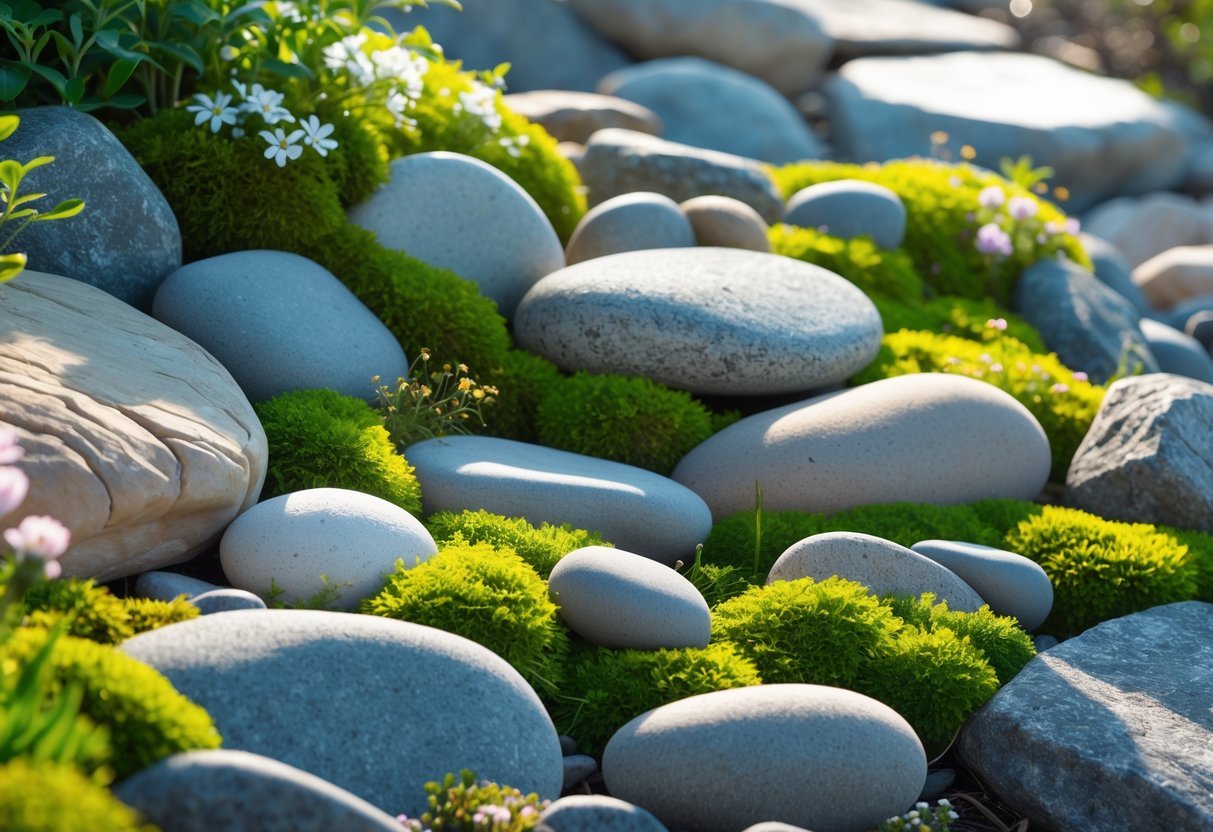
Pick rocks that match scale and style. Use larger boulders for focal points and smaller stones for borders or pathways. Choose local stone when possible; it blends with your landscape and often resists local weather better. For decorative pieces, select river rock, slate, or granite depending on the finish you want: smooth for painted work, flat for stacking, and textured for natural displays.
Think about weight and anchoring. Heavy pieces need solid bases or partial embedding to stay stable. If you add metal or concrete elements, use rust-resistant metals and masonry-grade adhesives. Plan sightlines: place taller rocks toward the back of beds and small accents near paths. Maintain a clear focal point so your design reads easily from common viewing spots.
Color and Texture Combinations
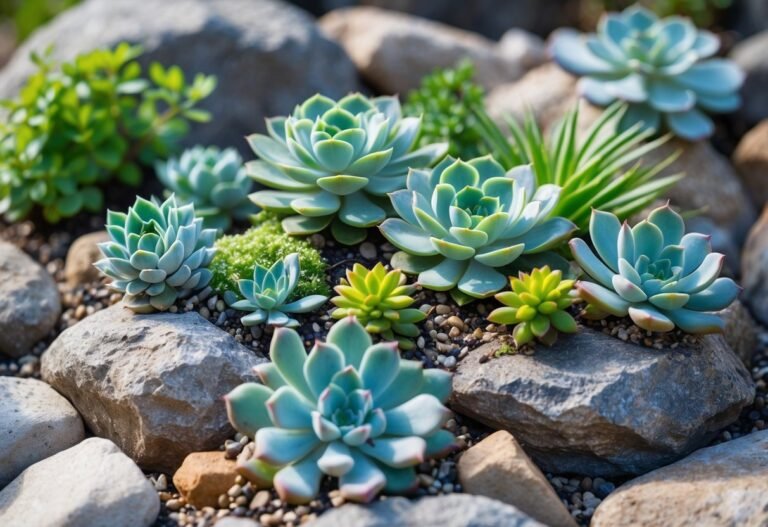
Match rock color to nearby plants and hardscape. Use cool-gray stones next to blue-green succulents and warm-toned rocks near red-leaved plants. Limit your palette to two or three main tones to avoid visual clutter. Contrast smooth and rough textures: pair polished or painted rocks with rough, natural stones for depth.
Use plants and mulch to soften transitions. Low groundcover or fine gravel can bridge color shifts between stones. If you paint rocks, test paints on a spare stone for adhesion and UV resistance. Keep patterns simple; repeating a shape or color every few feet creates rhythm and keeps your eye moving through the space.
Weatherproofing Techniques
Seal decorative rocks and painted surfaces with a clear, outdoor-rated sealer designed for stone. Apply two thin coats and reapply every 1–3 years depending on sun exposure. For painted art, choose acrylic or masonry paints labeled UV-resistant and follow with a marine-grade varnish for extra protection.
Protect against freeze-thaw damage by ensuring proper drainage. Raise bases slightly or add a gravel layer beneath heavy rocks to prevent water buildup. Use stainless steel fasteners and non-corrosive adhesives for mixed-material pieces. In regions with harsh winters, store small decorative items indoors or anchor them so wind and frost won’t shift or crack them.
Incorporating Rock Garden Art Into Landscape Design
Place rock art where it supports plant health, sightlines, and foot traffic. Think about sun, slope, and how people will move through the space so your rocks and art look intentional and last longer.
Choosing the Ideal Location
Pick a spot with the right sunlight for the plants you want near the art. Full-sun plants need at least 6 hours of direct light; shade-loving plants need filtered light. Test light at different times to avoid surprises.
Check drainage and slope. Rocks in low spots can trap water and rot plants. On a slope, use terraces or retaining stones to prevent erosion and create layers for plants and sculptures.
Consider sightlines from windows, patios, and paths. Place focal pieces where people stop or pass slowly. Keep heavy pieces within reach of equipment or plan to hire help for installation.
Integrating Native Plants
Choose native species suited to your soil and climate to reduce watering and maintenance. Look for low-growing groundcovers, drought-tolerant perennials, and native grasses that complement rock textures.
Group plants by water needs. Use a simple three-zone approach: dry-tolerant near rocky outcrops, moderate-moisture where soil collects, and bulbs or annuals in shallow pockets. This keeps care predictable.
Use plant placement to soften edges of large rocks and anchor art pieces. Place taller native grasses or shrubs behind sculptures, and low mats of sedum or thyme in front to create depth and contrast.
Balancing Aesthetics and Functionality
Match rock size and texture to the scale of your yard and nearby structures. Large boulders overwhelm small yards; small stones get lost in wide landscapes. Measure and sketch placements before buying.
Think about maintenance access and pathways. Leave at least 2–3 feet of clear space for mowing and weeding around art pieces. Use stepping stones or mulch paths to protect plantings and guide visitors.
Use color, pattern, and repetition to tie art into the wider landscape. Repeat a rock type, paint color, or motif in two or three places to create rhythm. Keep materials durable and weather-resistant to maintain looks with little upkeep.
Frequently Asked Questions
These answers cover design choices, budget DIY methods, and display tips. You will find clear steps for using paint, arranging stones, and choosing rock types that match the rock art items listed earlier.
What are popular design themes for rock garden art?
You can use nature themes like painted ladybugs, flowers, or fairy garden scenes to add whimsy.
Inspirational quote rocks, such as one reading “Bloom where you are planted,” work well near pathways or seating areas.
Seasonal and glow-in-the-dark designs make the garden change with the year or light up at night.
Heart-shaped stone arrangements create focal points for romantic or memorial spots.
How can you create DIY rock garden art on a budget?
Buy mixed bags of river rocks from a garden center; they are cheap and uniform.
Use basic outdoor acrylic paints and a clear sealer to protect designs like ladybugs or glow-in-the-dark paintings.
Repurpose broken tiles or driftwood for fairy garden bases instead of buying new supplies.
Place inspirational quote rocks on existing planters or edging to add impact without extra landscaping.
What is the distinction between a rockery and a simple rock garden?
A rockery is a constructed feature with stacked or terraced rocks and specific drainage for alpine plants.
It often includes grading, retaining stones, and plant beds built into the rockwork.
A simple rock garden uses scattered stones, gravel, and low-maintenance plants without engineered terraces.
You can create a simple garden by placing decorative rocks, painting a few, and adding groundcover.
What are the best practices for making rock landscaping visually appealing?
Group rocks by size and color to form intentional clusters and keep balance.
Use odd numbers (three or five stones) for natural-looking focal groups.
Mix textures—smooth painted stones, rough natural boulders, and gravel—to add contrast.
Use low plants or moss around rocks to soften edges and connect pieces with living elements.
Which types of rocks are most aesthetically pleasing for garden landscaping?
River rocks and pebbles offer smooth shapes and work well for painted designs and paths.
Flagstone and slate provide flat surfaces for seating areas and stepping stones.
Granite and basalt add dark, dramatic tones and hold up well in weather.
Lighter limestone or sandstone brings warm color and pairs nicely with bright paints.
What are effective techniques for showcasing rocks in a garden setting?
Place painted pieces like the ladybug rock and quote rocks near walkways and entry points for instant impact.
Elevate special pieces on a low pedestal or flat boulder to draw attention.
Use spot lighting or solar lights to highlight glow-in-the-dark paintings and sculptures at night.
Create small group displays—combine a fairy garden rock sculpture with tiny plants and a heart-shaped arrangement nearby.