How to Grow 16 Vegetables in a 4×4 Garden Bed (Beginner Guide)
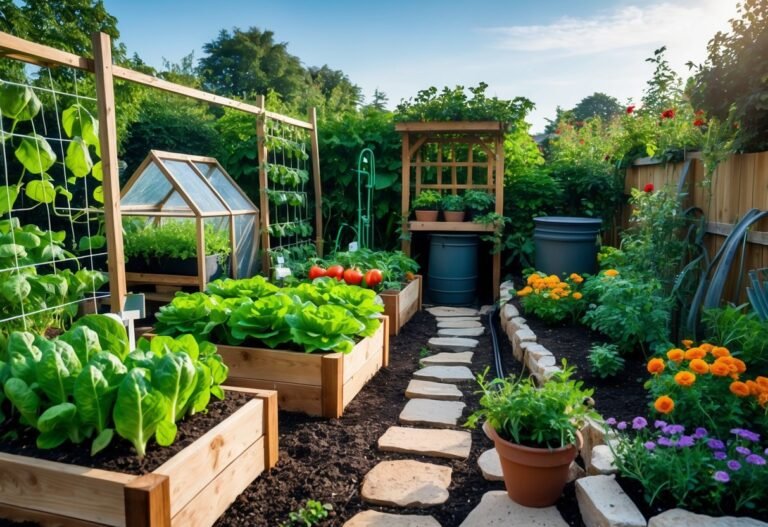
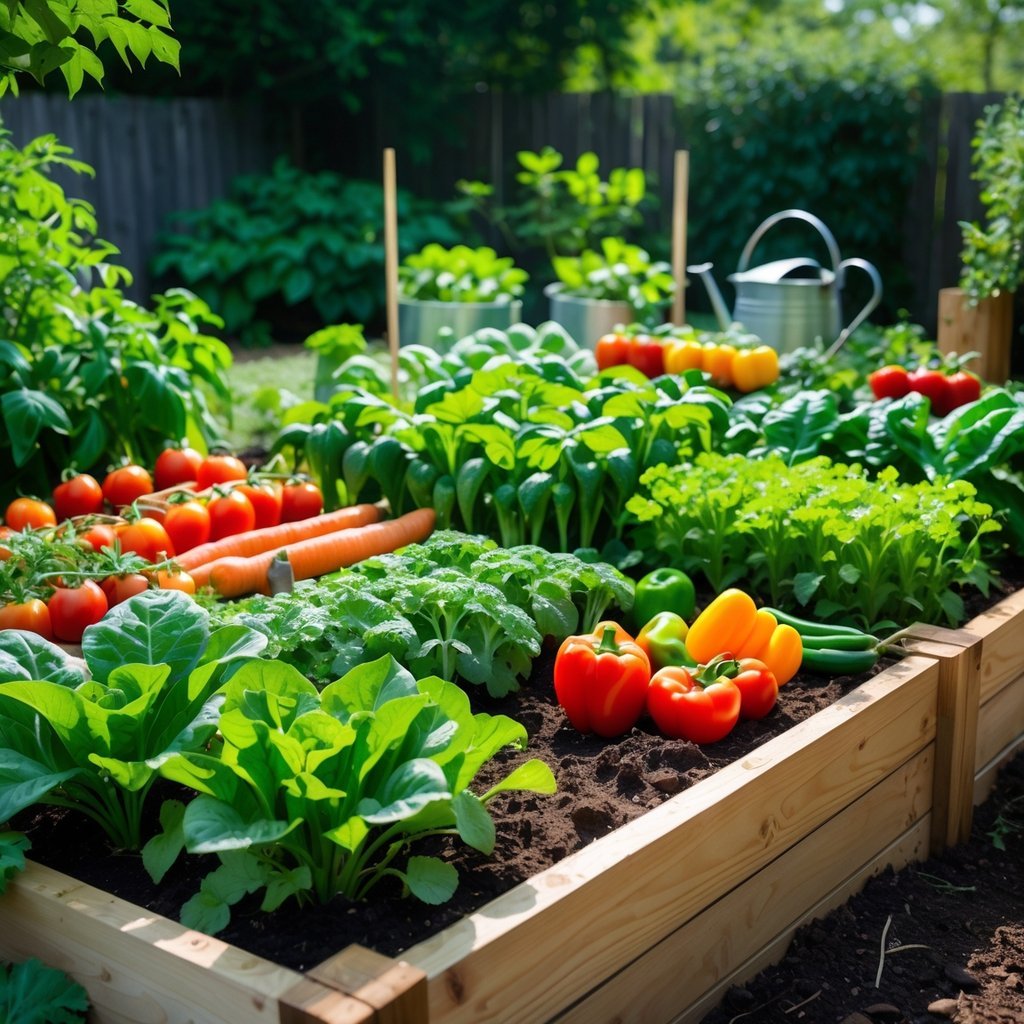
You can grow 16 different vegetables in a single 4×4 raised bed by using square-foot planting, choosing compact varieties, and adding a bit of vertical support for vining crops. This setup saves space, cuts down on weeding and watering, and gives you a wide mix of fresh produce from spring through fall.
Plan your bed with a simple grid, pick easy-to-grow vegetables, and space plants by their mature size to get the best yield from each square. With a 4×4 grid, a good soil mix, and steady care, you can harvest salad greens, herbs, root vegetables, and a few small vining or compact tomato plants all season.
Key Takeaways
- Use a 4×4 square-foot grid and compact varieties to fit 16 vegetables efficiently.
- Focus on good soil, correct spacing, and a little vertical support for top yields.
- Regular watering, feeding, and quick pest checks keep the garden productive.
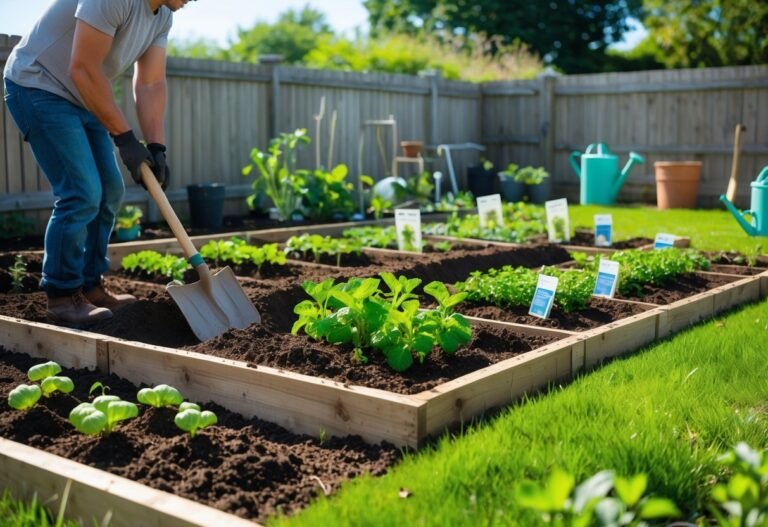
Planning Your 4×4 Garden Bed
Pick a sunny, level spot with easy access and prepare a rich, well-draining soil mix. Choose compact vegetable varieties and map a grid so each plant has proper spacing, vertical support, or succession planting as needed.
Choosing the Right Location
Place your bed where it gets at least 6–8 hours of direct sun each day. Most vegetables need full sun; leafy greens tolerate some afternoon shade, but tomatoes and peppers need the brightest spots.
Keep the bed within 10–15 feet of a water source to make watering quick and consistent. Avoid low, soggy areas and sites under large tree roots that will steal moisture and nutrients.
Make sure you can reach all sides easily for planting and harvest. If one side will face hot afternoon sun, plan heat-tolerant crops there.
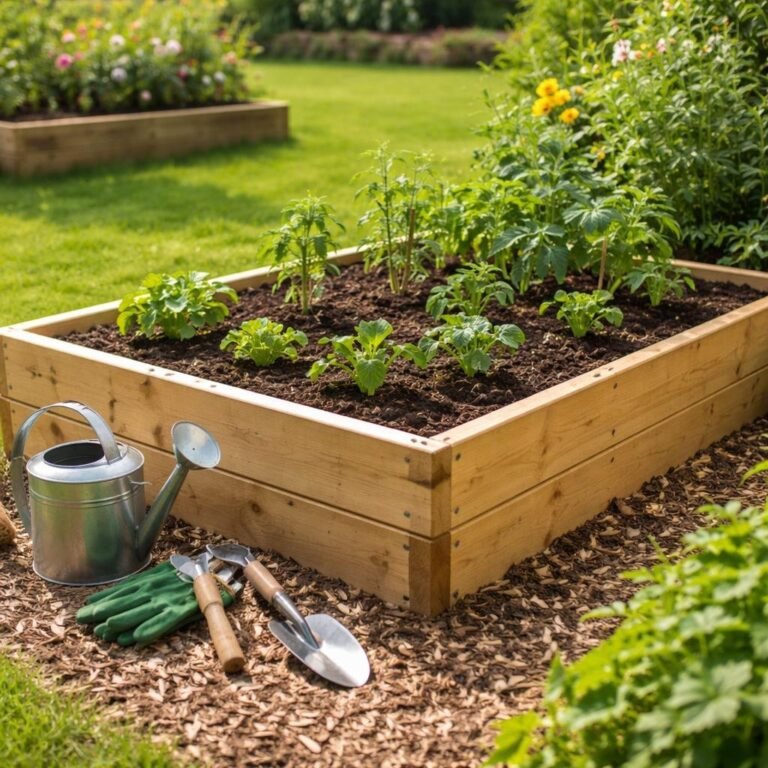
Soil Preparation and Amendments
Fill your 4×4 raised bed with a loose, fertile mix: 50% topsoil or screened garden soil, 30% compost, and 20% quality peat-free or coconut coir for moisture retention and structure. Aim for a depth of 10–12 inches at minimum; 12–18 inches is better for root crops.
Test your soil pH; most vegetables prefer pH 6.0–7.0. Add lime to raise pH or elemental sulfur to lower it, following package rates for the bed size. Work in 2–3 inches of compost before planting and side-dress with compost every 4–6 weeks.
Use a balanced organic fertilizer (e.g., 5-5-5) at planting, then switch to a nitrogen boost for leafy crops. Mulch with straw or shredded leaves to keep moisture steady and cut weeds.
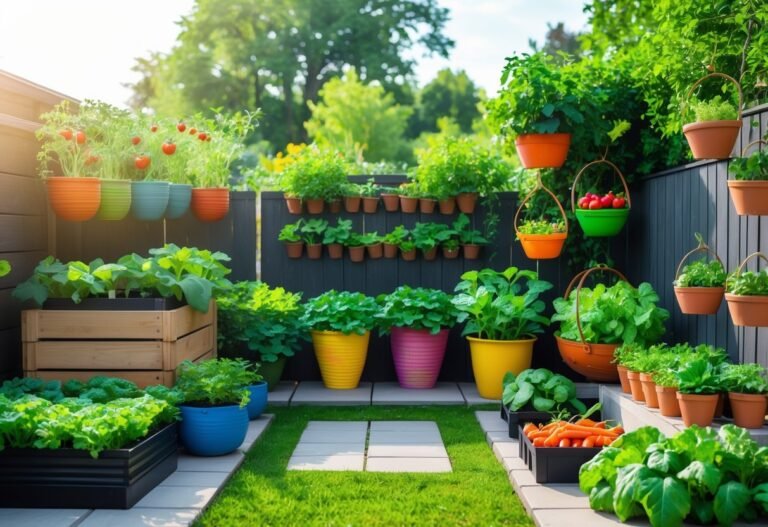
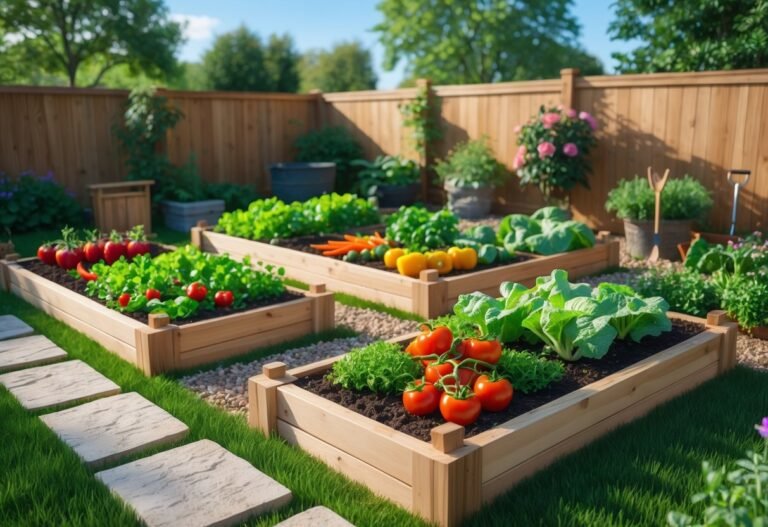
Selecting the 16 Best Vegetables for Small Spaces
Choose compact or bush varieties and a mix of quick and longer-season crops. Example list you can fit in a 4×4 bed:
- Leafy greens: lettuces (3–4 heads), spinach (4–6 plants), arugula (succession sowing)
- Brassicas: baby kale (4 plants), radishes (8–12), baby carrots (12–16)
- Fruiting: cherry tomato (1 determinate or patio variety), pepper (1–2 compact plants)
- Legumes & herbs: bush beans (6–8), bush peas (6), basil (1 plant)
- Alliums & extras: green onions (12), chives (1 clump)
Pick varieties labeled “bush,” “patio,” or “compact.” Stagger sowing for lettuce, radishes, and carrots to keep harvests steady. Replace spent crops with new plantings to maximize the small space.
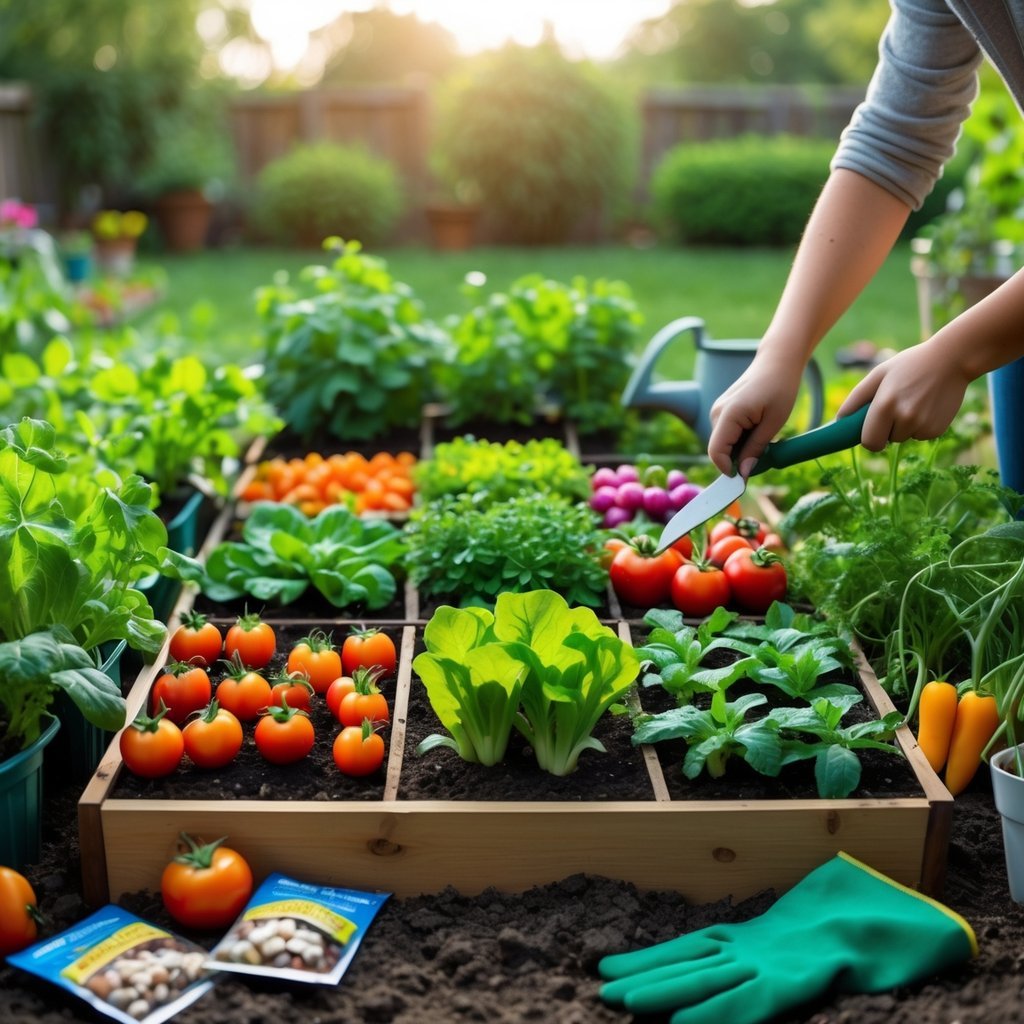
Designing an Efficient Planting Layout
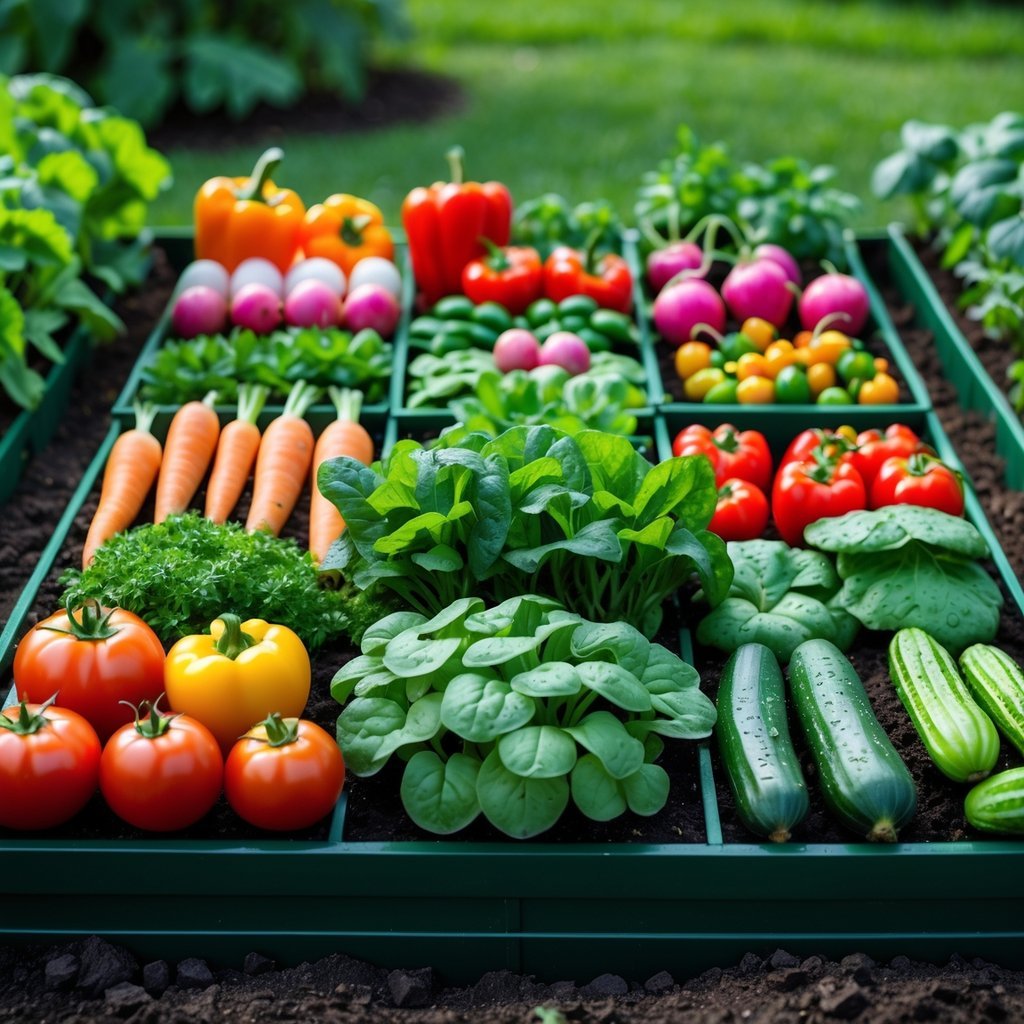
Use a 4×4 grid of sixteen 1×1 squares. Assign spacing by square: large plants get 4 squares, medium 1–2 squares, and small crops 1 per square. For example:
- 1 square: radishes, carrots, green onions
- 2 squares: basil, bush beans
- 4 squares: compact tomato or two pepper plants
Place tall plants like tomatoes on the north side to avoid shading shorter crops. Group water-needy plants together to reduce waste. Plan vertical supports (cages or trellises) on one edge for peas or vining beans.
Label each square, sketch your plan, and note planting dates. This simple map keeps spacing correct and helps you rotate crops next season to reduce pests and soil depletion.
Planting and Growing Techniques for High Yield
Focus on timing, spacing, and care to squeeze the most from each square foot. Use fast-maturing crops, stagger planting dates, place tall vines at one edge, and feed soil with compost and balanced fertilizer.
Succession Planting Strategies
Succession planting keeps your 4×4 bed producing without gaps. Sow quick crops like radishes and lettuce in the same square every 2–3 weeks. Harvest fast, then replace with a new crop such as carrots, beets, or a heat-tolerant green.
For slower crops, start transplants (tomatoes, peppers) off-bed in pots and set them in when neighbors finish. Use the square-foot grid: plant 16 radishes, 4 lettuces, or 1 tomato per square as timing allows. Track sowing dates on a simple calendar so you know when each square becomes free.
Stagger planting by crop maturity: early kale, then beans, then late spinach. This sequence reduces bare soil time and cuts pest buildup. Always amend the emptied square with a light dusting of compost before reseeding.
Companion Planting for Vegetable Health
Choose companions that boost yield and deter pests. Plant basil next to tomatoes to improve flavor and discourage flies. Put marigolds or nasturtiums at edges to repel nematodes and attract pollinators.
Avoid crowding incompatible plants. Keep heavy feeders (tomatoes, corn) away from light feeders (lettuce, herbs). Use deep-rooted plants like carrots next to shallow-rooted greens to share space without competing for root volume.
Use a simple layout: tall trellised beans or cucumbers on the north side, medium plants (tomatoes, peppers) in the center, and low greens or herbs at the front. This keeps light balanced and airflow good, cutting disease risk. Rotate families each season: Solanaceae (tomato, pepper) → Legumes → Brassicas to reduce soil-borne pests.
Watering Tips for Dense Plantings
Water deeply but less often to encourage strong roots. Aim for 1–1.5 inches of water per week, delivered at the soil line rather than overhead. Use a drip hose or soaker to target each square and reduce leaf wetness.
Water early in the morning to let foliage dry before night. Check moisture with your finger: the top inch should feel slightly dry while the next 2–3 inches stay moist. Mulch with 2–3 inches of straw or shredded leaves to cut evaporation and keep soil temperature steady.
Adjust frequency for containers or hot spells. When plants mature and fruits set, increase water slightly to prevent blossom drop and split fruit. Keep consistent moisture for root crops to avoid cracking.
Essential Care Through the Growing Season
Stay consistent with feeding, scouting for pests, and harvesting at the right time. Small daily checks save work later and keep your 4×4 bed productive.
Fertilizing for Optimal Growth
Feed your bed every 3–4 weeks with a balanced granular fertilizer (like 5-5-5) or a slow-release blend. Work a light layer into the top 1–2 inches of soil so nutrients reach roots without compacting the bed.
For leafy crops (lettuce, spinach, kale), give a higher nitrogen boost mid-season. Use a fish emulsion or a soluble 10-5-5 every 2–3 weeks for quick results. For fruiting crops (tomatoes, peppers, eggplants), switch to a fertilizer higher in phosphorus and potassium once flowers appear (look for formulations such as 5-10-10).
Avoid overfeeding: watch for burnt leaf edges or overly rapid, weak growth. If using compost tea or liquid feeds, apply in the morning to reduce foliage burn and to let plants dry during the day.
Managing Pests and Preventing Disease
Scout the bed twice weekly. Look under leaves and at stem bases for slugs, aphids, caterpillars, or early blight on tomatoes. Remove pests by hand when possible; drop them into soapy water.
Use barriers and traps: row covers protect young seedlings from cabbage moths; copper tape and diatomaceous earth reduce slugs. Introduce beneficials by planting marigolds, alyssum, or herbs to attract predatory insects.
Practice good airflow and sanitation. Space plants according to your square-foot plan, prune lower leaves on tomatoes, and remove diseased foliage immediately. Water at the soil line with a soaker hose or drip tape to keep leaves dry and lower fungal risk.
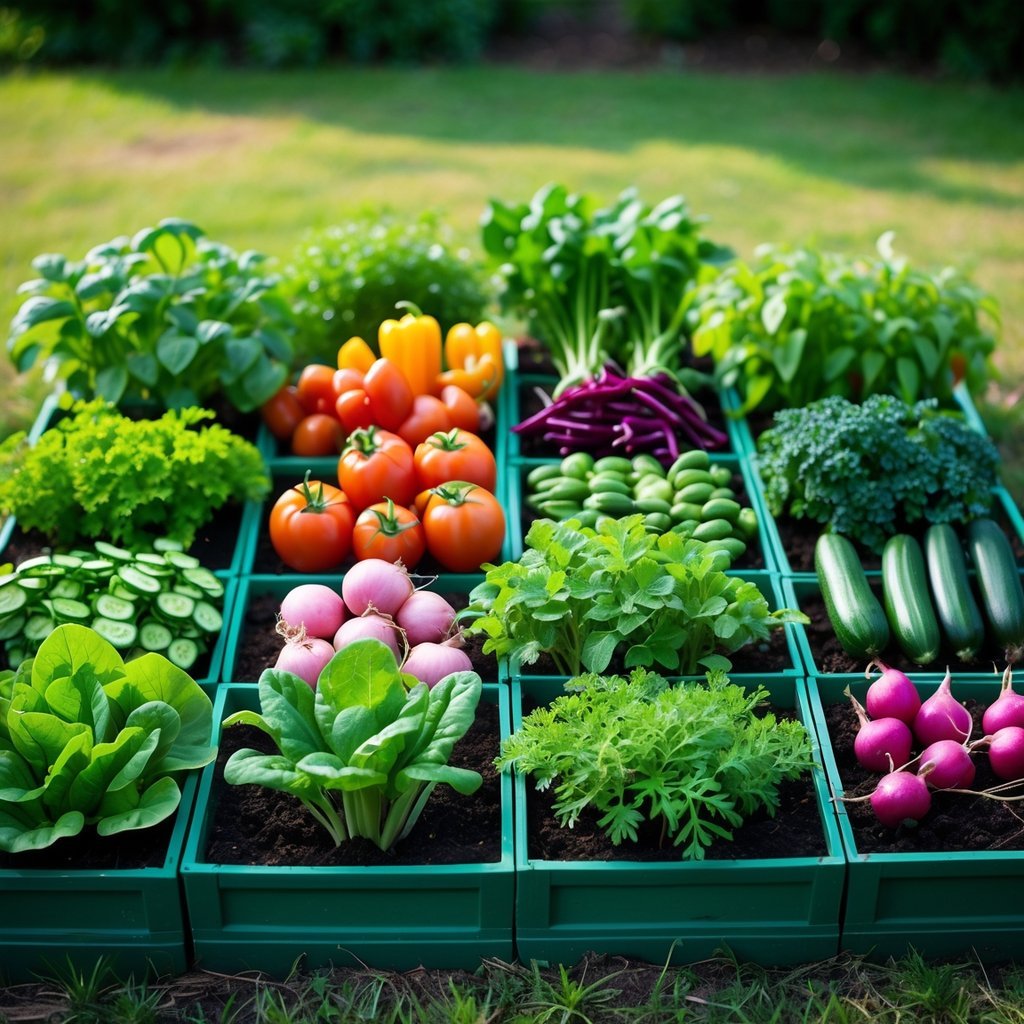
Harvest Timing for Each Vegetable
Harvest lettuce and spinach early and often. Pick outer leaves when 4–6 inches long to encourage regrowth. Cut-and-come-again works best for continuous salad greens.
Tomatoes ripen 50–85 days depending on variety; pick when color is even and fruit yields slightly to pressure. Peppers are ready when firm and reach their expected color; harvesting earlier increases yield over time.
Root crops: thin carrots and beets to recommended spacing; harvest baby carrots at 1/2–3/4 inch diameter or full-size at 60–80 days. Beans and peas taste best when pods are full but seeds are small—pick every 2–3 days to boost production.
Use a simple chart for timing:
- Greens: harvest in 30–45 days.
- Radishes: 20–30 days.
- Leaf herbs: 30–60 days, pinch tips.
- Fruit crops: follow variety days-to-maturity printed on seed packets.
Troubleshooting and Maximizing Success
Focus on quick fixes for pests, water, and soil, and use simple season-extending tools like row covers and cold frames to get more harvests from your 4×4 bed.
Addressing Common Problems in Small Beds
Pests can hit a small bed fast. Inspect leaves every few days. Remove beetles and caterpillars by hand and drop them in soapy water. Use sticky traps for flying pests and row covers to protect young plants.
Water issues show up quickly in tight soil. Stick a finger 2 inches down; water when dry. Water at the base, not overhead, to cut leaf disease. Mulch with straw or shredded leaves to keep soil moist and cool.
Soil health limits yield. Add a 2–3 inch layer of compost each season and mix it into the top 6–8 inches. Test pH if plants look pale; most vegetables prefer pH 6.0–7.0. Correct deficiencies with targeted amendments: lime for low pH, sulfur for high pH, and balanced organic fertilizer for weak growth.
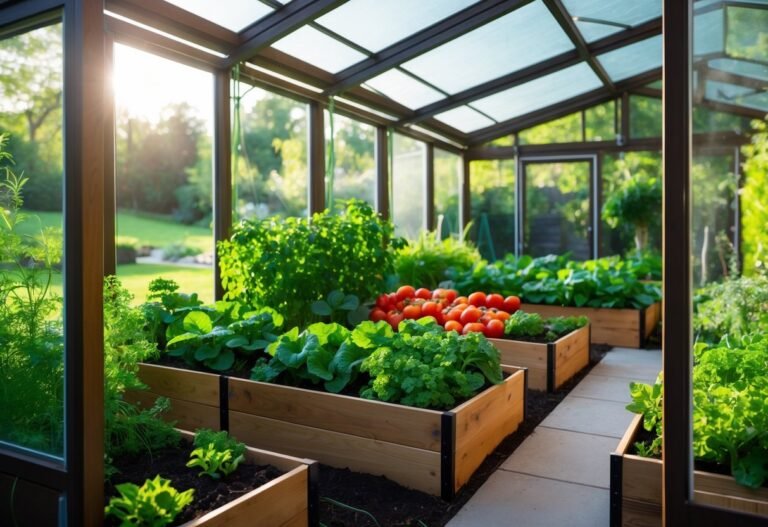
Extending Your Growing Season
Start with cold-hardy crops to get an early harvest. Plant spinach, kale, and peas 2–4 weeks before your usual last frost. Use quick-maturing varieties to squeeze in more crops.
Use simple covers to push the season both directions. Floating row covers raise soil temps 3–5°F and protect from frost and insects. Low tunnels with PVC and clear plastic add 10–14 days on each end of the season.
Moveable containers and transplants help, too. Start seedlings indoors 3–6 weeks early and harden them off before planting. In fall, switch to heat-tolerant greens or use a cold frame to keep lettuce and herbs producing into late fall.
Frequently Asked Questions
This section gives clear, practical answers about building a cheap raised bed, picking 16 good crops for a 4×4 bed, arranging plants, and preparing the soil and bed for planting.
What materials are needed to construct a budget-friendly raised garden bed?
Use untreated pine, cedar offcuts, or reclaimed pallet wood for the box. These woods resist rot enough for several years and cost less than new cedar.
Buy 4 boards cut to 4 feet for the sides and four corner screws or galvanized brackets. Line the bed with landscape fabric if you worry about soil loss or weeds.
Fill the bed with a mix of low-cost compost, topsoil, and peat-free alternatives like coconut coir or leaf mold to save money. Compost from a local municipal program or bulk garden soil often lowers cost.
Which vegetables are best suited for a 4×4 raised garden bed?
Pick compact, high-yield crops: salad greens, radishes, carrots, bush beans, and dwarf beets. These occupy small squares and grow fast, so you can harvest and replant.
Add a few space-fillers like herbs (basil, parsley) and compact tomatoes or peppers if you want fruiting plants. Train one small vining crop (a single dwarf cucumber or pole bean) at the bed edge to save space.
How can I maximize yield in a small 4×4 garden space?
Use square-foot spacing: divide the bed mentally into 16 one-foot squares and plant according to crop spacing. Plant fast-growing crops in the same square sequentially after early harvests.
Practice succession planting: after radishes or lettuce finish, replace them with slower crops like carrots or beets. Grow vertically where possible and rotate crops each season to reduce pests.
What is the ideal soil mixture for planting vegetables in a raised bed?
Aim for a loose, well-draining mix with good fertility. A common, effective ratio is 40% topsoil, 40% compost, and 20% drainage/organic matter such as coconut coir or aged bark.
Add a balanced slow-release organic fertilizer at planting and a light side-dress of compost midseason. Test pH if problems appear; most vegetables prefer pH 6.0–7.0.
Can you provide a basic layout plan for arranging multiple vegetables in a raised bed?
Use a 4×4 grid with one crop per square based on plant size. Example: 4 squares of lettuce, 4 of radishes/carrots, 3 of bush beans, 2 of herbs, 1 dwarf tomato, 1 pepper, and 1 square for a cucumber trained up a trellis.
Place taller or vining plants on the north side of the bed so they don’t shade low crops. Keep herbs near the edges for easy snipping.
What are the crucial steps for preparing a raised bed before planting?
Clear weeds and grass from the site and level the ground beneath the bed. Secure the frame, then fill it with your soil mix, leaving about an inch below the top to prevent overflow.
Water the bed thoroughly a day before planting to settle the soil. Mark your 1-foot grid, plan spacing, and plant seedlings or seeds at the recommended depths.