How to Design a Stylish Pebble Garden at Home — Easy Steps, Plant Picks, and Layout Tips
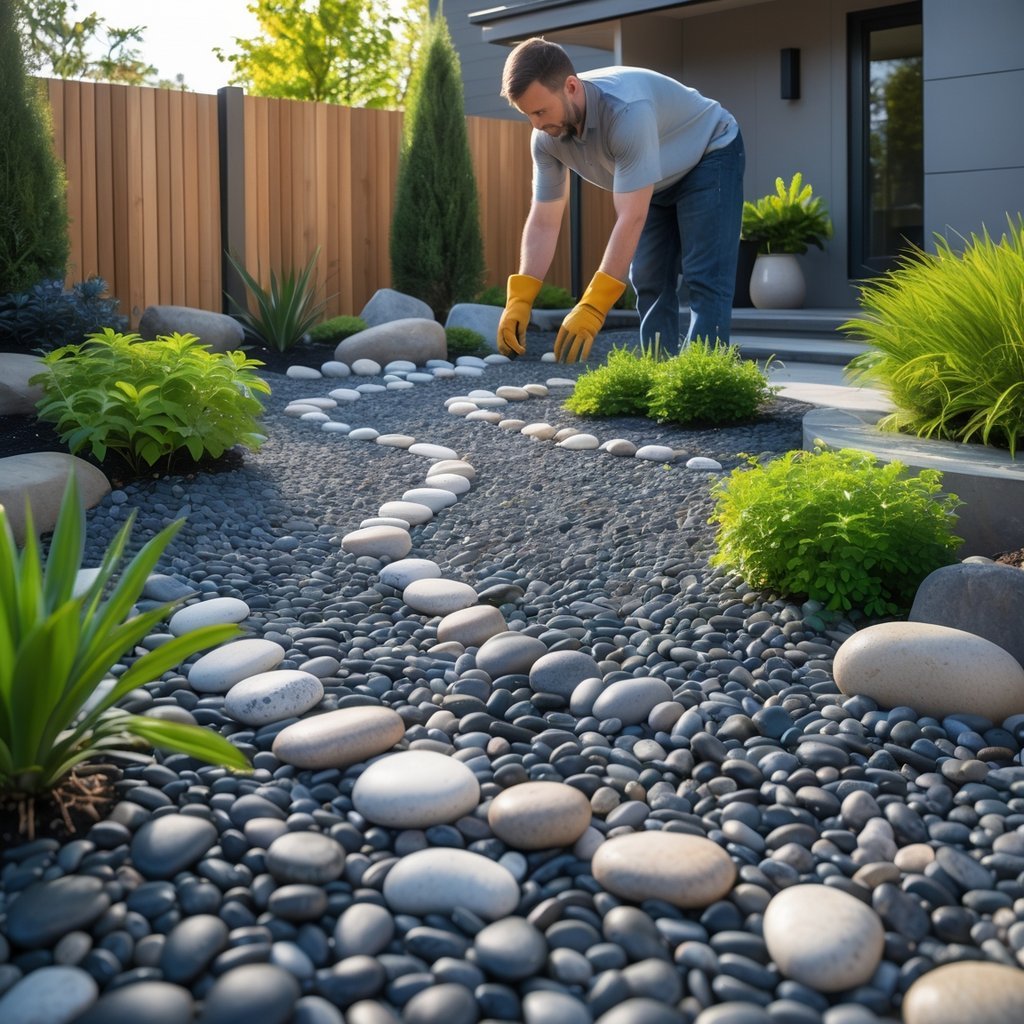
You can turn any patch of yard or a small balcony into a modern, low-maintenance pebble garden that looks intentional and crisp. A stylish pebble garden combines a clear layout, the right stones, and a few drought-tolerant plants to give you a neat, long-lasting landscape with minimal care.
Plan the shape and focal points to match your space and sun exposure, then use edging, varied pebble sizes, and simple plant groupings to create rhythm and contrast. Small details—paths, a trellis, or a planter—lift the design without adding much upkeep, so you enjoy the look without extra work.
Key Takeaways
- Start with a clear layout and match it to your light and space.
- Use varied pebbles, tidy edging, and hardy plants for a polished look.
- Simple installation and routine care keep the garden low-maintenance.
Essential Elements for a Pebble Garden
You will need the right stones, plants that handle dry, rocky soil, and basic soil work to keep the area tidy and healthy. Each part affects drainage, maintenance, and how the garden looks.
Choosing the Right Pebbles
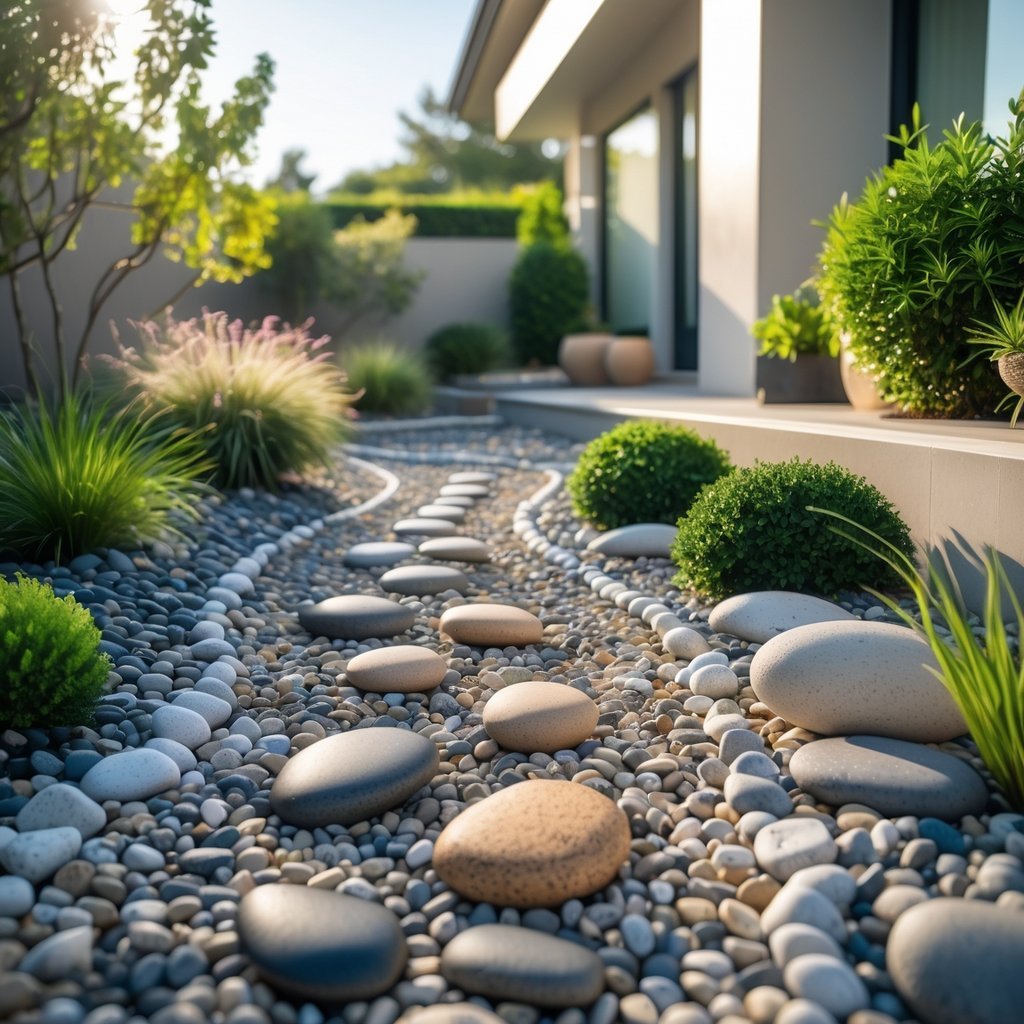
Pick pebble size and color for both form and function. Use 10–20 mm pea gravel for walking areas and 20–40 mm decorative pebbles for borders or focal spots. Mix two sizes for better compaction and fewer gaps.
Choose colors that match your home and plant palette. Neutral grays and whites suit modern styles; warm tans or river stones work with cottage or Mediterranean looks. Buy from a landscape supplier so stones are clean and consistent.
Lay a 50–75 mm crushed-rock base for drainage under pebble beds. Put down a permeable landscape fabric to limit weeds but allow water through. Compact each layer with a plate compactor for a stable surface.
Selecting Garden Plants
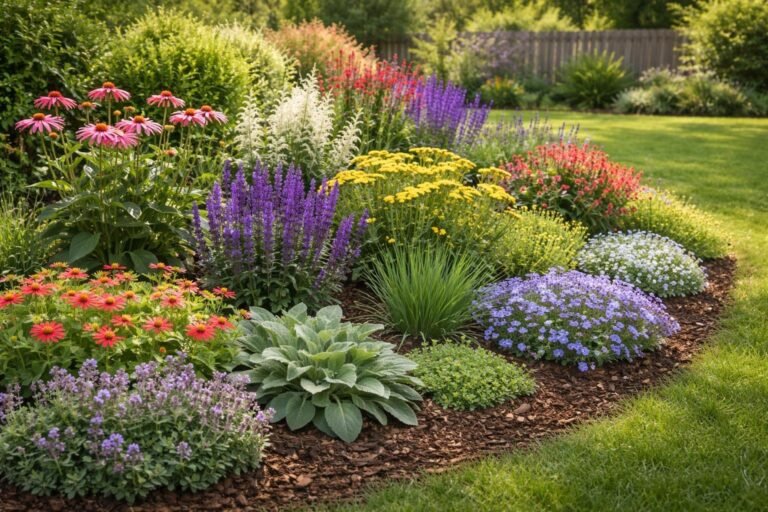
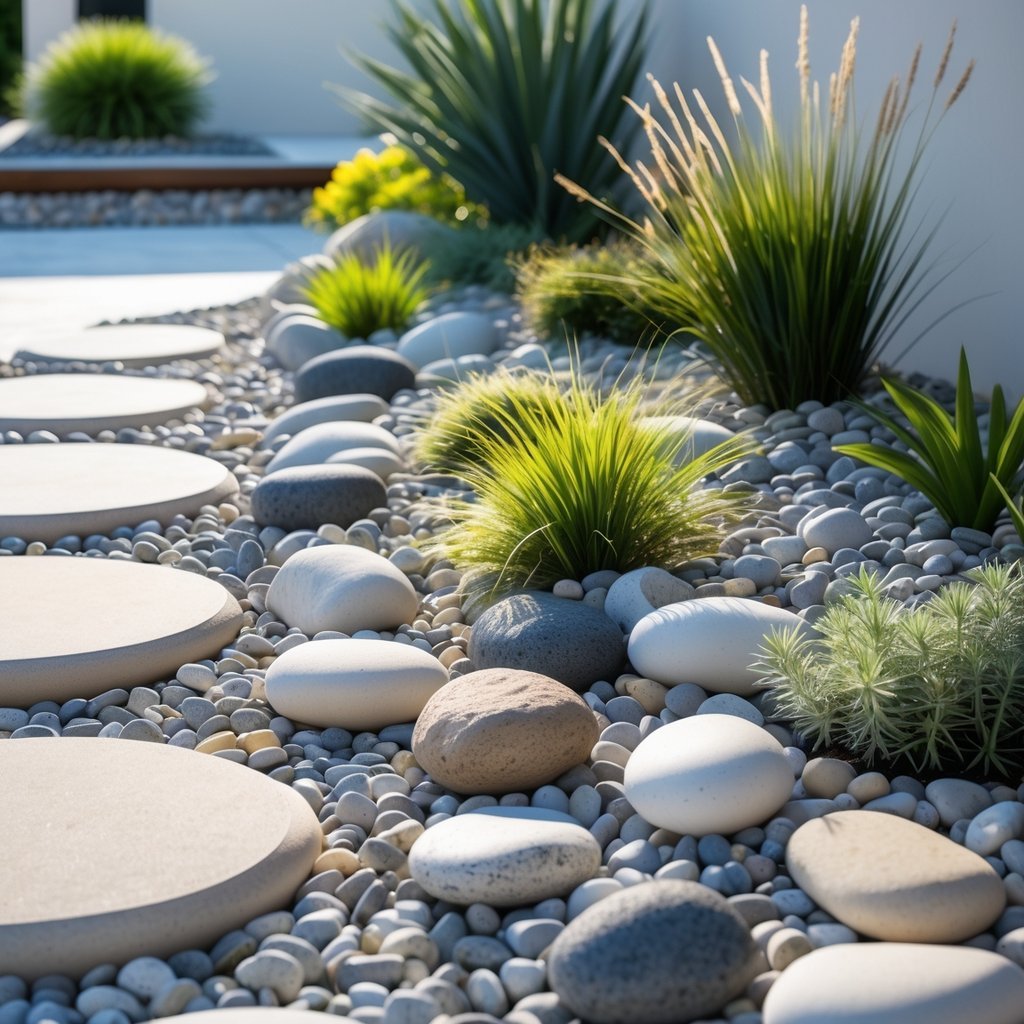
Choose drought-tolerant plants that like full sun and good drainage. Succulents (sedum, hens-and-chicks), lavender, thyme, and dwarf ornamental grasses perform well among pebbles. Pick plants with low root spread so they don’t displace stones.
Group plants by water needs and height. Place taller, clumping plants at the back or center and low groundcovers near paths. Use 300–500 mm spacing for shrubs and 100–300 mm for smaller perennials, depending on mature size.
Use containers or root barriers for species that spread aggressively. Add a slow-release granular fertilizer at planting time and mulch only with pebbles—organic mulch traps moisture and can rot under rock beds.
Soil Preparation
Start by removing turf and weeds to a depth of 150–200 mm. Excavate to create a level base and slope of at least 1–2% away from foundations for drainage. Clear roots and debris so the base sits evenly.
Loosen the native soil and mix in 25–50 mm of sharp sand or grit per 100 mm of topsoil to improve drainage. For poor soils, add 10–20% compost to give young plants nutrients without holding excess moisture.
Install a 50–75 mm crushed-rock subbase, then compact it. Lay permeable landscape fabric on top and cut holes where plants go. This layered approach prevents erosion, reduces weeds, and helps water move through the bed.
Planning Your Pebble Garden Layout
Decide where plants, pebbles, and paths will sit before you buy materials. Think in terms of zones: a planting zone, a pebble surface, and clear walking routes.
Mapping Out Design Patterns
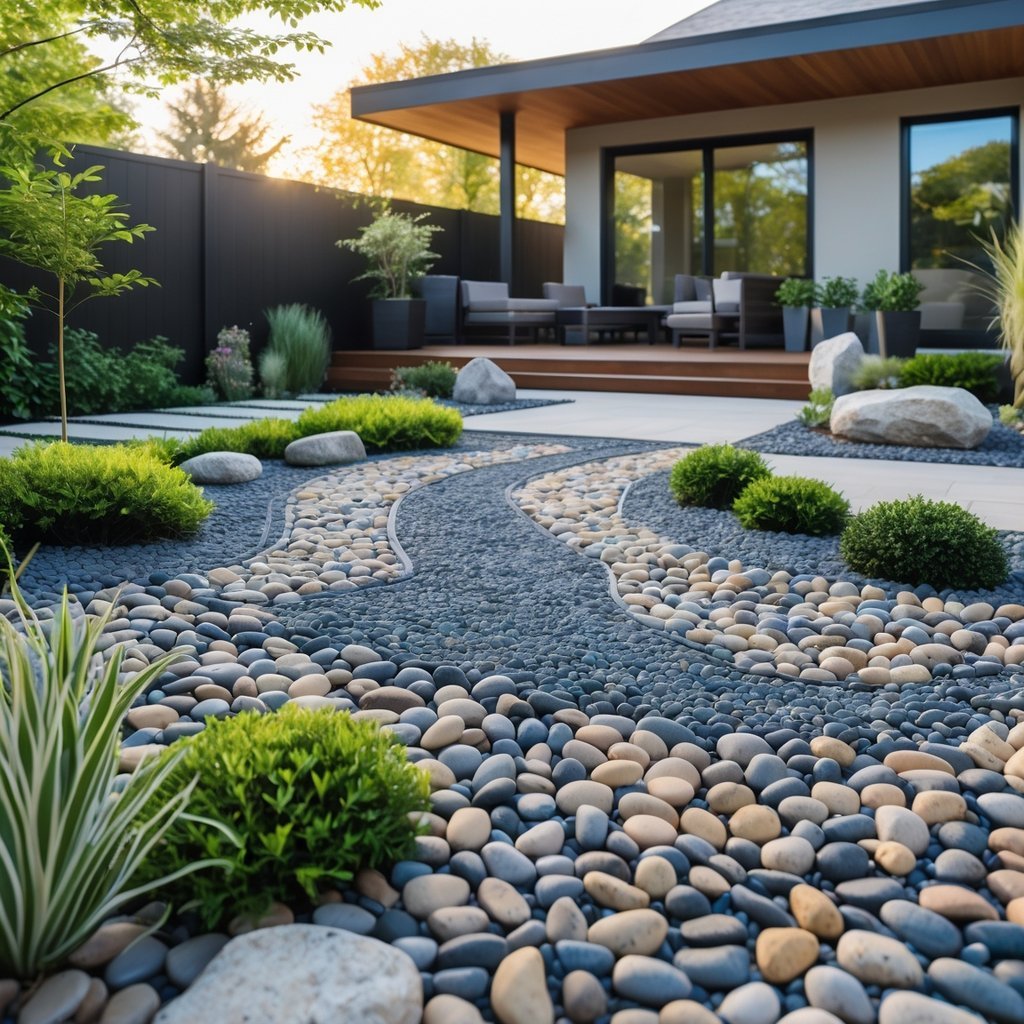
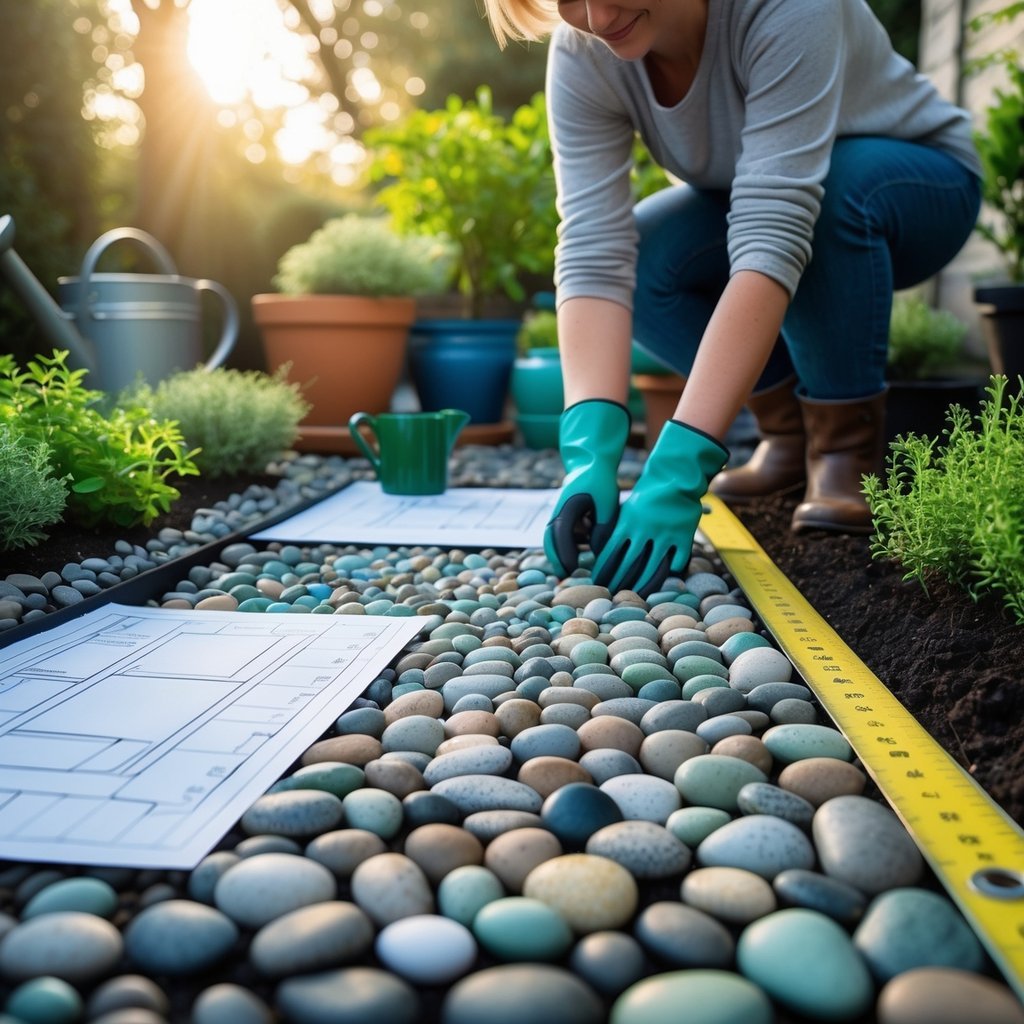
Sketch your space to scale on graph paper or use a simple app. Mark fixed features like trees, fences, and utility covers first. Draw the main shapes you want — circles for planting beds, rectangles for terraces, and flowing curves for natural areas.
Pick a focal point such as a large rock, sculpture, or group of larger stones. Arrange pebble patterns to lead the eye to that point. Use repeating shapes or radiating lines to create rhythm. For small yards, keep patterns simple: one or two bands of contrasting pebble color or a single curving path works best.
Plan planting pockets by size and sun exposure. Note where drought-tolerant plants will sit and where you’ll need soil amendments. Label each area with pebble size and color so installation goes quickly.
Incorporating Pathways and Edging
Choose paths based on how you walk through the space. Main routes should be at least 3 feet (0.9 m) wide for comfort; secondary paths can be 2 feet (0.6 m). Draw them on your plan, keeping lines smooth and avoiding tight turns.
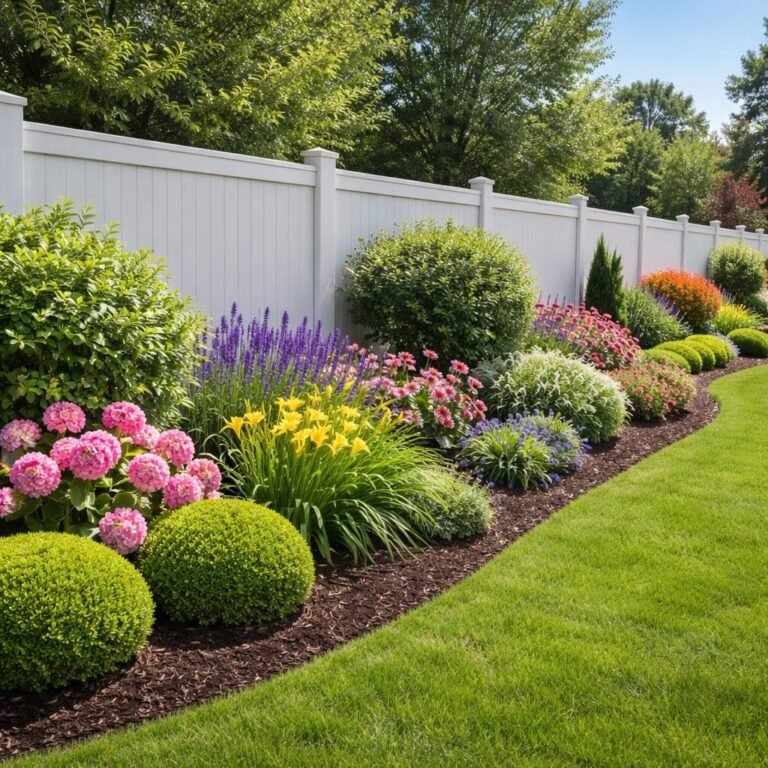
Select edging to separate pebbles from planting soil. Metal, brick, or narrow timber create clean lines and stop pebbles from migrating. For a low profile, use buried landscape edging; for accent, use raised stone or a shallow curb.
Decide on pebble depth: 2–3 inches for coverage, 3–4 inches when you want more stability on paths. Add a weed barrier under pathways but leave planting pockets open to root growth. Mark access points for maintenance and watering on your layout.
Balancing Colors and Textures
Choose two to three pebble colors to avoid a busy look. Pick one dominant color and one accent. For example, light gray as the base and dark charcoal for borders or focal bands.
Mix pebble sizes to add texture. Use 1–2 cm pebbles for general ground cover and larger stones or boulders as anchors. Place smoother pebbles in seating areas and rougher stones where you want a natural feel.
Coordinate plant textures with pebble texture. Fine-leaved grasses and succulents pair well with small, uniform pebbles. Bold-leaved plants like agave look strong against larger, rough stones. Create small swatches on your plan to test color and texture combinations before buying materials.
Installation and Maintenance
You will prepare the bed, set a stable base, place pebbles for even coverage, add accents where they will stay put, and keep the area clean to prevent weeds and staining.
Laying Pebbles Properly
Clear the area of plants, roots, and large debris. Dig down 2–3 inches for small beds or 4–6 inches for paths. Slope the bed slightly away from foundations for drainage.
Lay landscape fabric to limit weeds but cut X-shaped slits where plants will go. Add a 1–2 inch layer of coarse sand or crushed stone to level the base and prevent settling. Rake it smooth and compact with a hand tamper.
Spread pebbles to a 2–3 inch depth for beds and 3–4 inches for high-traffic paths. Use a broom or leaf blower on low to even the surface. Check edges and contain pebbles with metal, stone, or timber edging.
Integrating Decorative Accents
Place features before you spread pebbles to avoid shifting later. Position larger stones, stepping stones, or sculptures on a compacted base so they sit firmly.
Use smaller pebbles or a contrasting color to create borders, patterns, or a dry riverbed. For mosaics, glue pieces to a mortar bed or set them in a compacted sand layer. Keep spacing even; tight patterns look tidy and last longer.
Anchor pots and raised planters on level pads. Secure lightweight ornaments with ground anchors or edge trim to stop movement from wind or foot traffic.
Routine Cleaning and Upkeep
Remove leaves and debris weekly with a stiff broom or a leaf blower on low. This stops organic buildup that feeds weeds and causes stains.
Pull weeds by hand when they appear; use a weed barrier patch or a spot herbicide for stubborn roots. Replenish pebbles annually where depth drops below 2 inches. Add pebbles in thin layers and redistribute with a rake.
Wash pebbles with a garden hose or pressure washer on low to remove dust and algae. For stains, scrub with a solution of mild detergent and water, rinse well, and test cleaners on a small area first. Maintain edging and fix dips promptly to keep a neat, stable surface.
Frequently Asked Questions
This section gives clear, practical answers for building and styling a pebble garden. You will find steps for low maintenance, small-space tips, décor trends, budget options, pebble selection, and creative layout ideas.
What are some simple steps to create a low-maintenance pebble garden?
Clear the area of weeds and topsoil before you start. Lay landscape fabric to stop weed growth and improve drainage.
Spread a 2–3 inch layer of pebbles over the fabric. Use edging to keep pebbles in place and create neat lines.
Choose drought-tolerant plants like sedum, lavender, or ornamental grasses. Group plants by water need to cut down on watering and care.
How can I incorporate pebbles into a small garden design effectively?
Use pebbles as a ground cover instead of lawn to save space and reduce mowing. Create a simple path with different pebble colors to guide the eye and add structure.
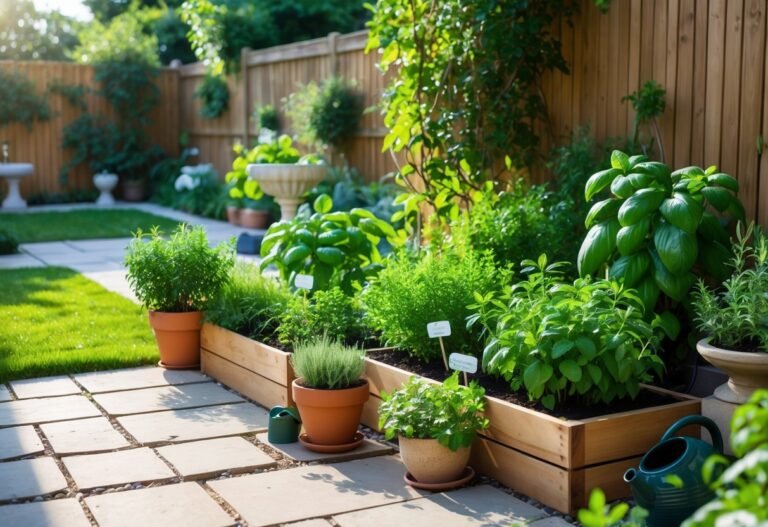
Place compact plants and low shrubs in gravel beds to keep sightlines open. Use raised beds or containers with pebble mulch to add height without crowding.
What are trending garden decor ideas that integrate pebbles?
Mix pebble sizes and colors to form geometric patterns or stripes. Add a pebble mosaic or a focal stone circle near a seating area for visual interest.
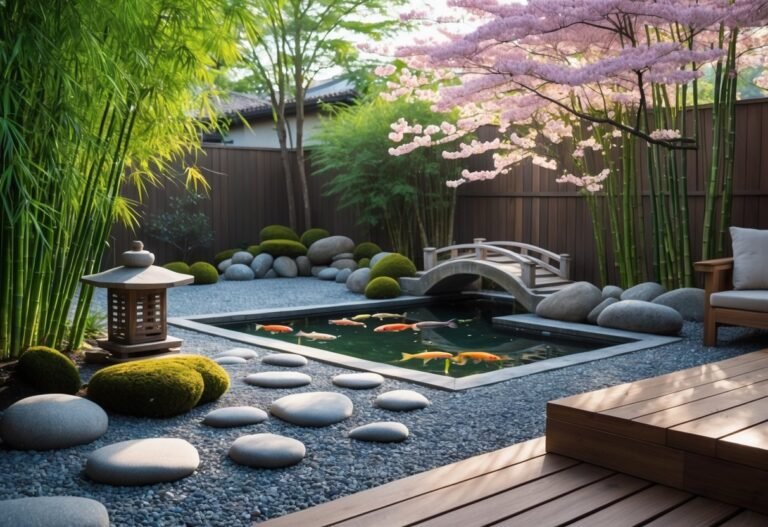
Combine pebbles with wood or concrete pavers for modern contrast. Include a shallow water feature or sand-and-pebble Zen area for a calm focal point.
Can you suggest budget-friendly pebble garden designs?
Use local gravel or recycled crushed stone to lower material costs. Limit the planted areas and concentrate plants in small islands to save on soil and plants.
Combine pebbles with inexpensive edging like treated timber or simple steel strips. Do the installation yourself in stages to spread costs over time.
How do I choose the right pebbles for my garden aesthetic?
Match pebble color to nearby materials—light pebbles brighten a shady spot, while dark pebbles complement bold plant colors. Pick a consistent size range for a clean look; mix sizes only for natural or rustic styles.
Consider texture and finish: smooth, polished pebbles feel modern; rougher gravel reads more natural. Order a small sample first to check how the color looks in daylight.
What are some creative pebble design ideas for garden landscaping?
Create a winding pebble path edged with low plants to draw movement through the space. Lay pebbles in concentric rings or a spiral around a focal plant to highlight it.
Use pebbles to fill gaps between larger stepping stones for a stable, decorative surface. Combine pebbles with native rocks and succulents for a layered, low-water landscape.