Raised Garden Beds Design Ideas: Space-Saving Layouts and Planting Plans for Every Yard
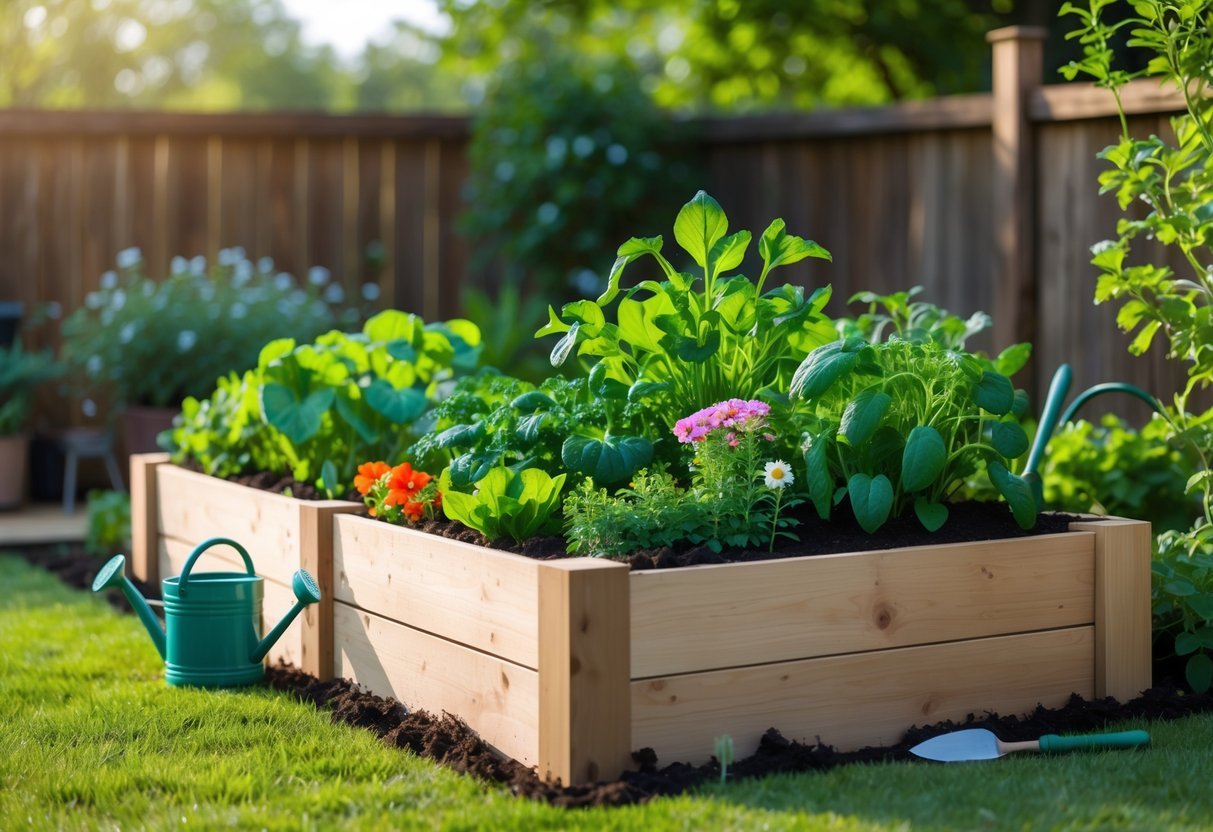
Designing raised garden beds makes planting easier, improves drainage, and lets you shape a garden that fits your space and style. You can pick simple rectangular beds for veggies, circular or tiered shapes for visual interest, or repurpose materials like wood, metal, or stone to match your budget and look. Choose a size, shape, and material that suit your space and the plants you want, and you’ll get better soil control, fewer weeds, and easier maintenance.
Add functional touches like wide tops for sitting, built-in irrigation, or removable covers for season extension. Small changes—pathways, edging, and plant groupings—can boost both use and curb appeal without a big build.
Key Takeaways
- Start with a design that fits your space and gardening goals.
- Use durable, affordable materials and simple construction for long-lasting beds.
- Add practical features and small landscape touches to improve function and look.
Fundamental Raised Garden Bed Designs
These designs show how shape, height, and access change what you can grow and how you care for plants. Pick a layout that fits the space, your reach, and the types of crops you want.
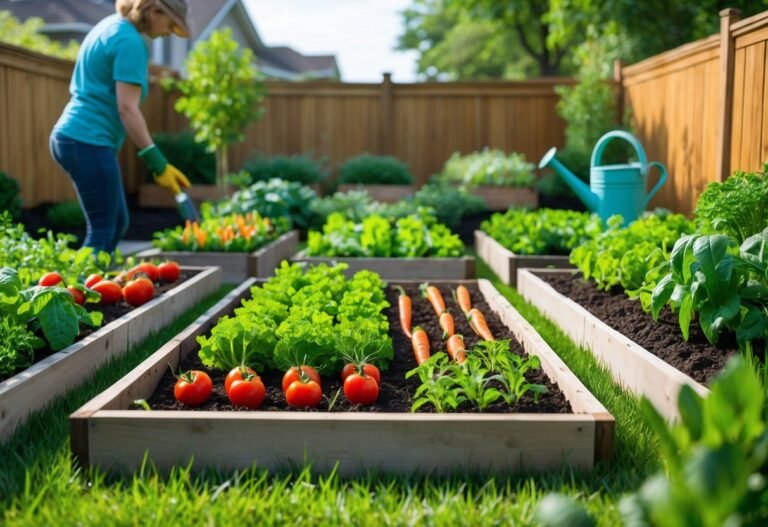
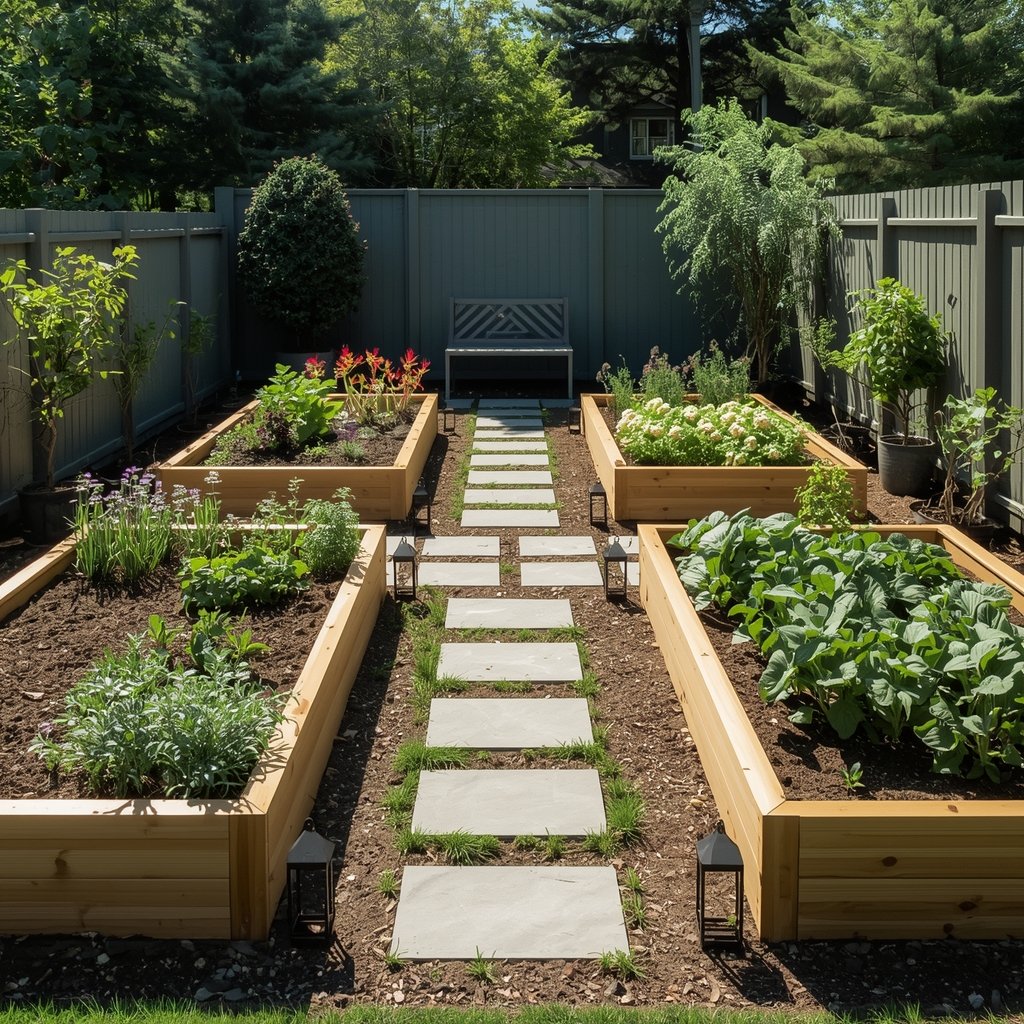
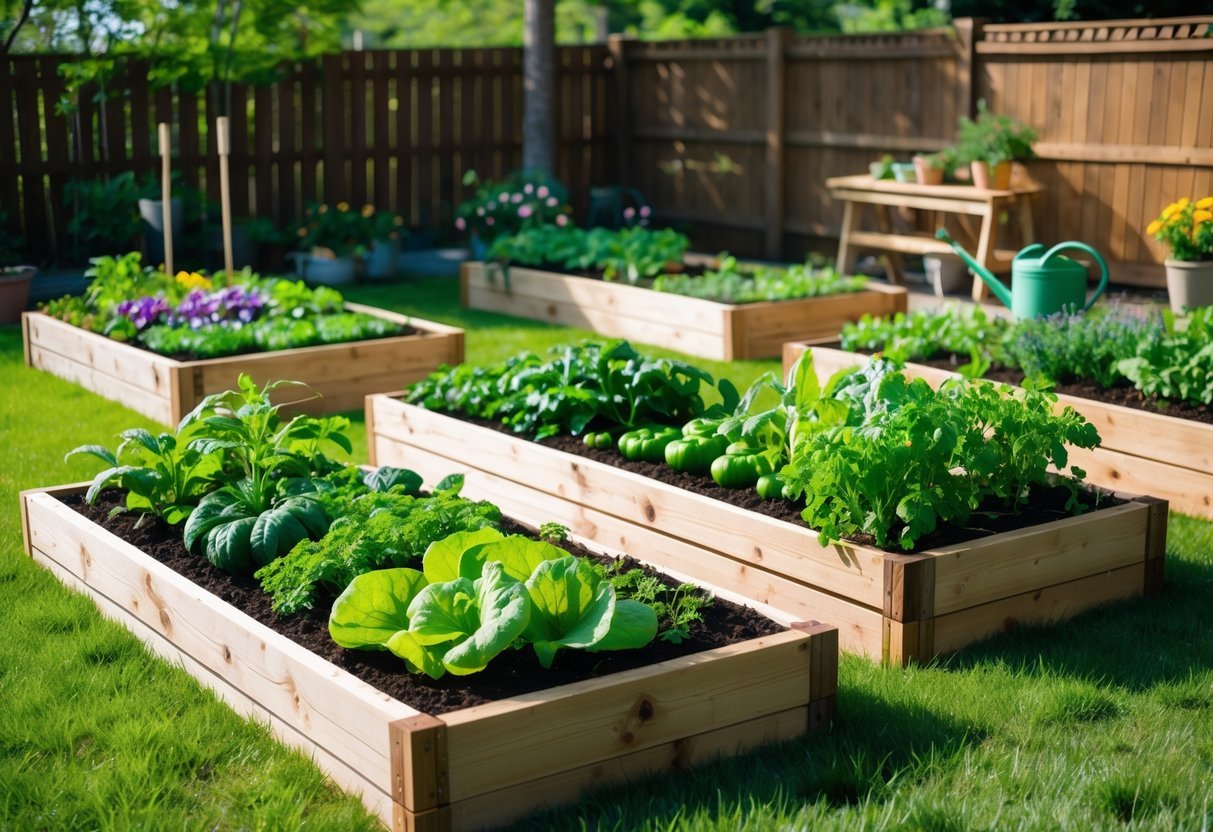
Classic Rectangular Beds
Rectangular beds are the easiest to plan and build. They work well for rows of vegetables, herbs, and flowers. Standard sizes are 4 ft wide so you can reach the center from either side, and 6–12 inches deep for most vegetables; increase depth to 12–24 inches for root crops or heavy feeders.
Use straight boards, concrete block, or metal panels for the sides. Place beds in full sun if you grow vegetables; orient long sides north–south to reduce shading. Add a path at least 2 ft wide for wheelbarrow access. Consider thicker lumber or corner brackets to hold soil as you fill deeper beds.
Benefits: better soil control, fewer weeds, clearer bed organization. Drawbacks: cost of materials, need to refill soil over time. You can stagger multiple rectangular beds to create aisles and a tidy layout.
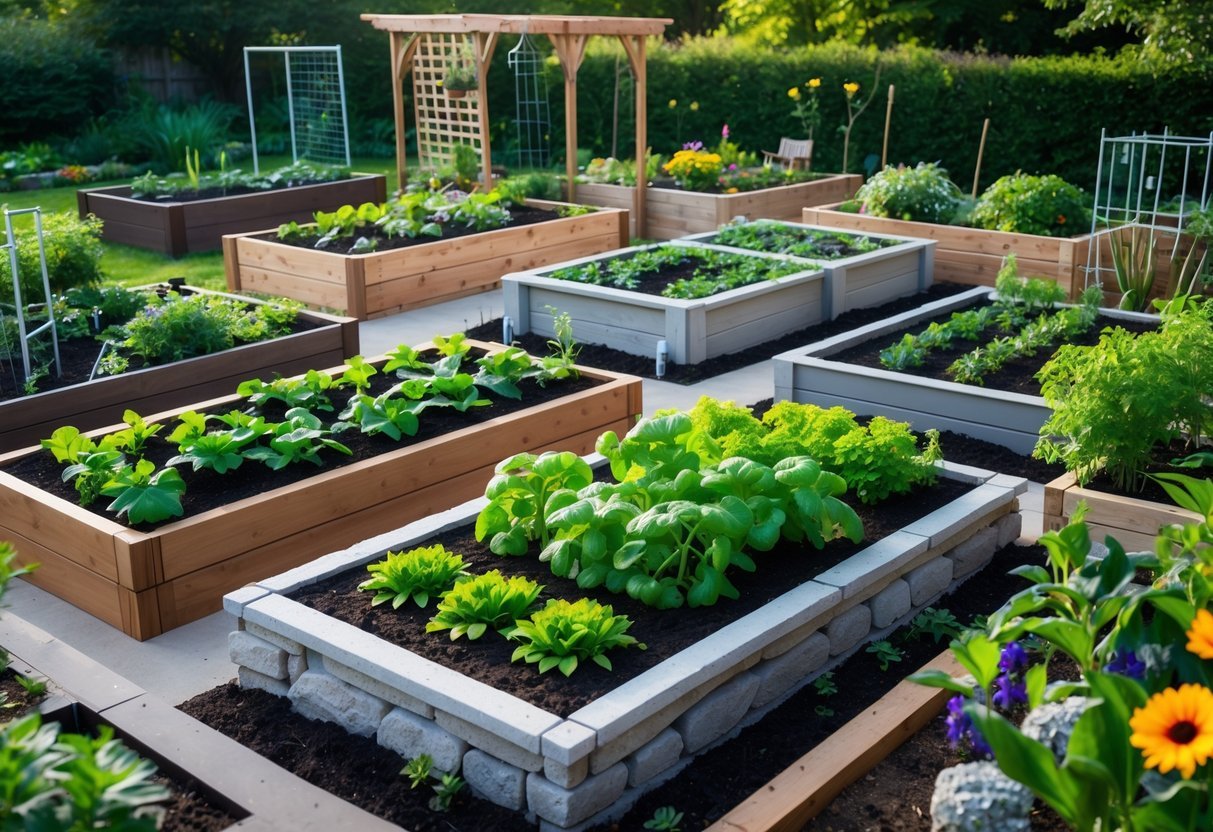
Tiered Raised Beds
Tiered beds stack levels or step up a slope to give you multiple planting zones. Use 2–3 tiers with the lowest tier about 8–12 inches high and the top tier 18–24 inches for easier harvest. This design suits small yards, slopes, or when you want separate soil mixes for different crops.
Build tiers with sturdy retaining walls, railway sleepers, or staggered stone. Use coarser fill lower down (gravel or broken rock) for drainage and lighter topsoil above. Plant shallow-rooted herbs on upper tiers and deeper-rooted vegetables below. Watering differs by level; top tiers dry faster so plan irrigation or mulch accordingly.
Tiered beds make the most of vertical space and create visual interest. They need stronger construction and careful watering plans.
U-Shaped Layouts
U-shaped beds wrap around three sides, leaving an open center for you to stand or kneel. This layout gives close access to every plant without stepping on soil, helping soil structure and root health. Make the arms long enough to reach the center—typically 3–4 ft wide per arm with a 2–3 ft central walkway.
U-shapes work well for intensive planting like salad mixes, cut flowers, or succession crops. Place taller crops at the back of each arm so shorter plants get sun. You can build them as single-level beds or combine with raised edges for seating or tool storage.
Plan for drip irrigation or soaker hoses around the inner edge to keep all rows evenly moist. The open center provides space for a small workbench or compost bin to speed up daily tasks.
Creative Materials and Construction Ideas
Choose materials that last, fit your budget, and match the look you want. Think about rot resistance, soil volume, weight, and whether you need a liner or drainage.
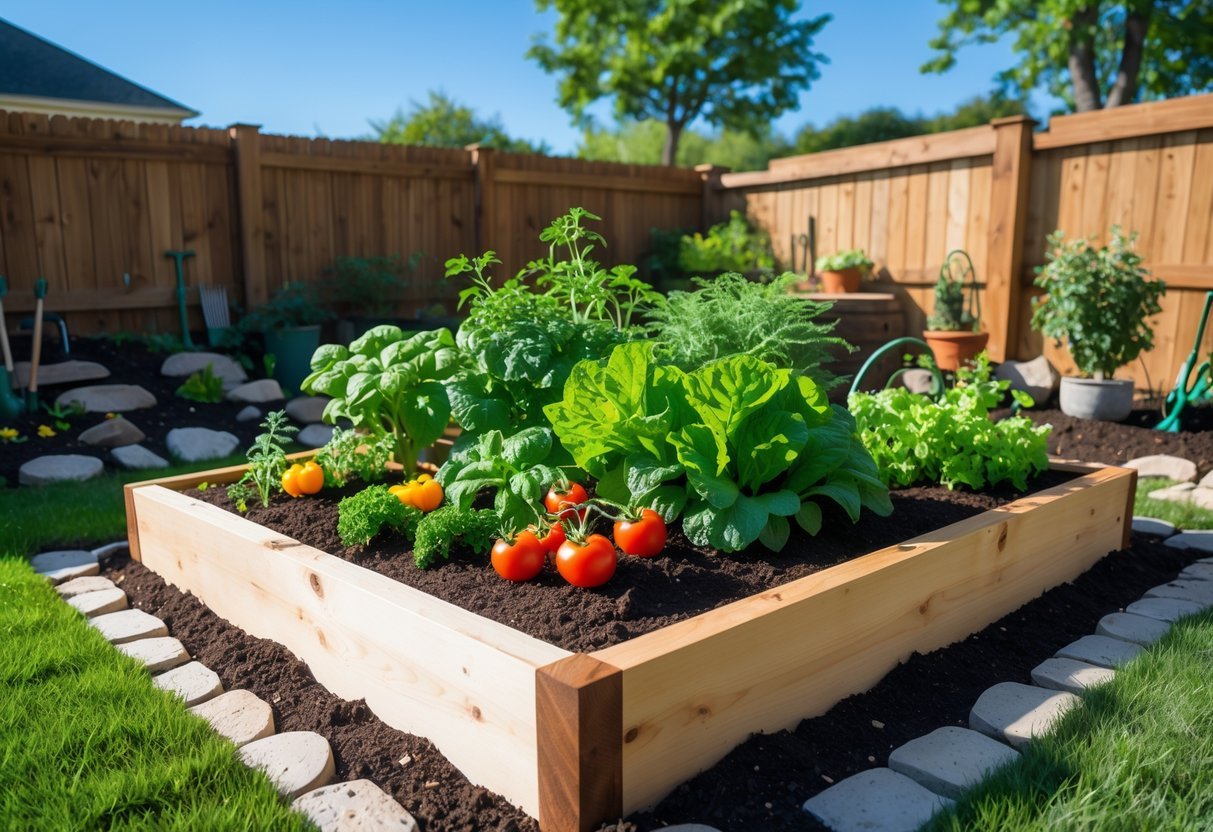
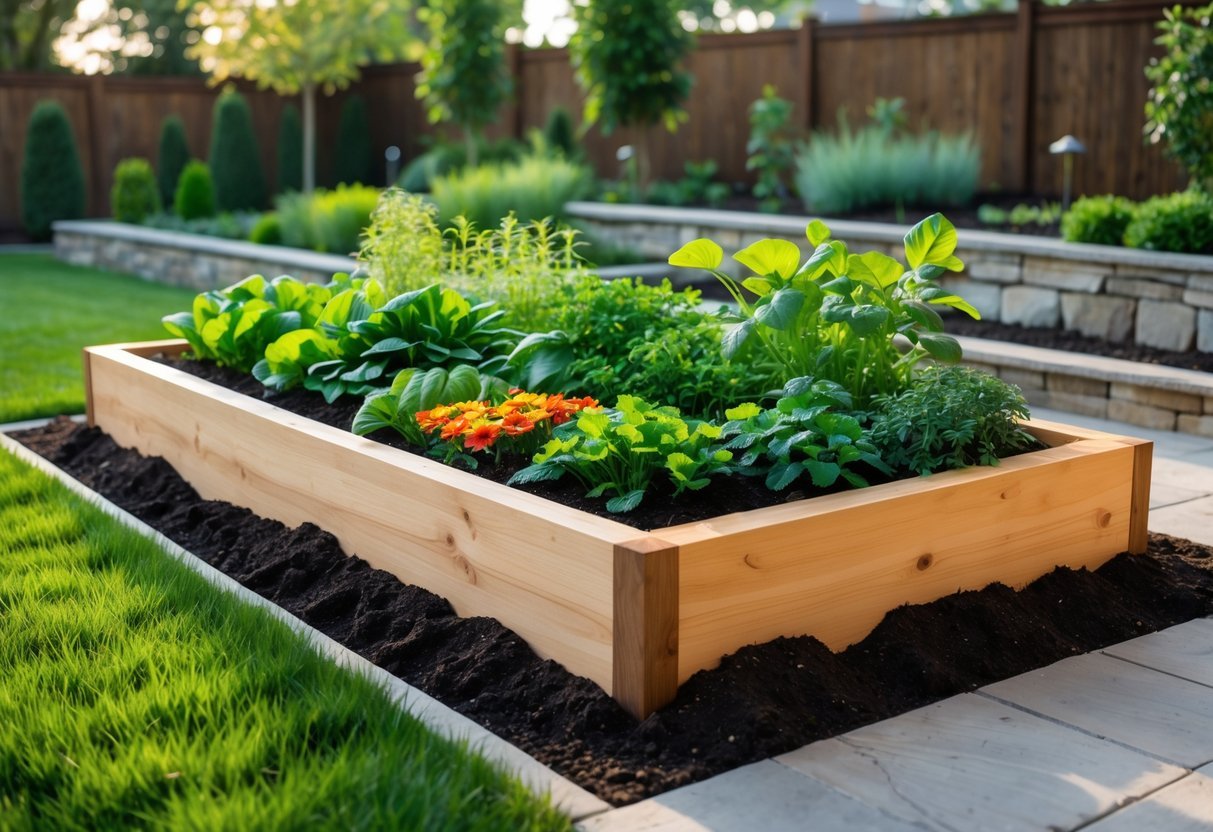
Wood and Timber Beds
Wood gives a warm, natural look and is easy to cut and join. Choose rot-resistant species like cedar or redwood for untreated beds. If you use pine or fir, plan to line the inside with heavy-duty landscape fabric or food-safe plastic to slow decay and protect soil from preservatives.
Build walls 8–12 inches high for shallow vegetables and herbs, or 18–24 inches for deep-rooted plants and less bending. Use exterior-grade screws and corner braces for strength. Add a simple base of landscape fabric to suppress weeds and improve drainage. For longer life, elevate the bed slightly on gravel or pavers to keep wood off wet soil.
If you want a modern look, use box joints or metal corner brackets and stain or oil the wood. Avoid pressure-treated wood that contains harmful chemicals unless you use a proper barrier.
Metal and Corrugated Steel Designs
Metal beds give a crisp, modern edge and resist rot. Corrugated steel panels are common; they bend into rectangles or circles and attach to treated timber or metal posts. Use galvanized or corten steel to reduce rusting. Expect metal to heat up in full sun; line the interior with shade fabric or plant heat-tolerant crops on hot sides.
Welded steel frames are very durable and slim, saving space. Secure short posts every 2–4 feet to prevent bowing under soil pressure. For tall metal beds, add internal bracing or a compost core to reduce cost and add insulation. If you worry about soil pH changes, test yearly; metal rarely affects pH but can interact with certain soils over time.
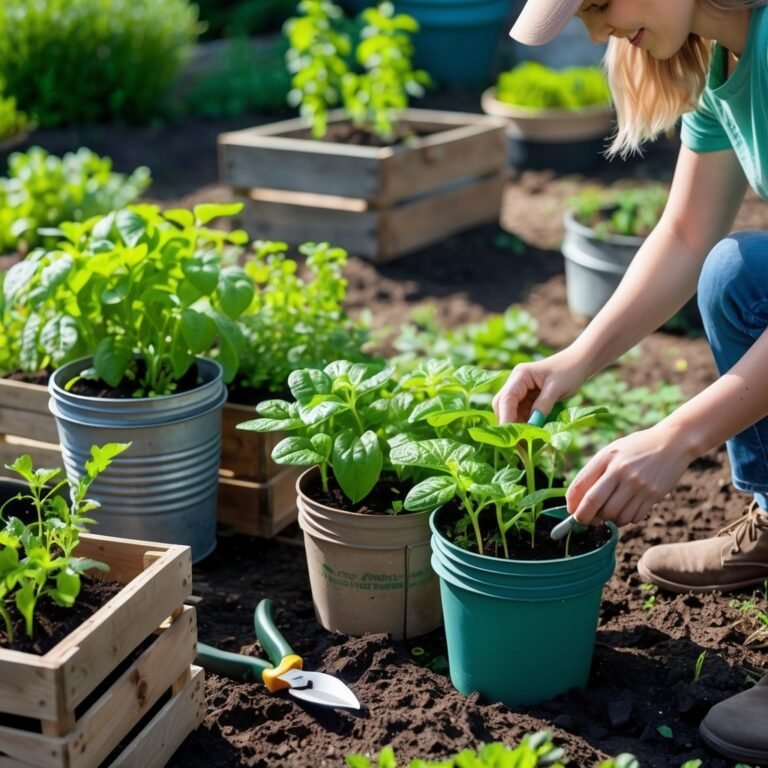
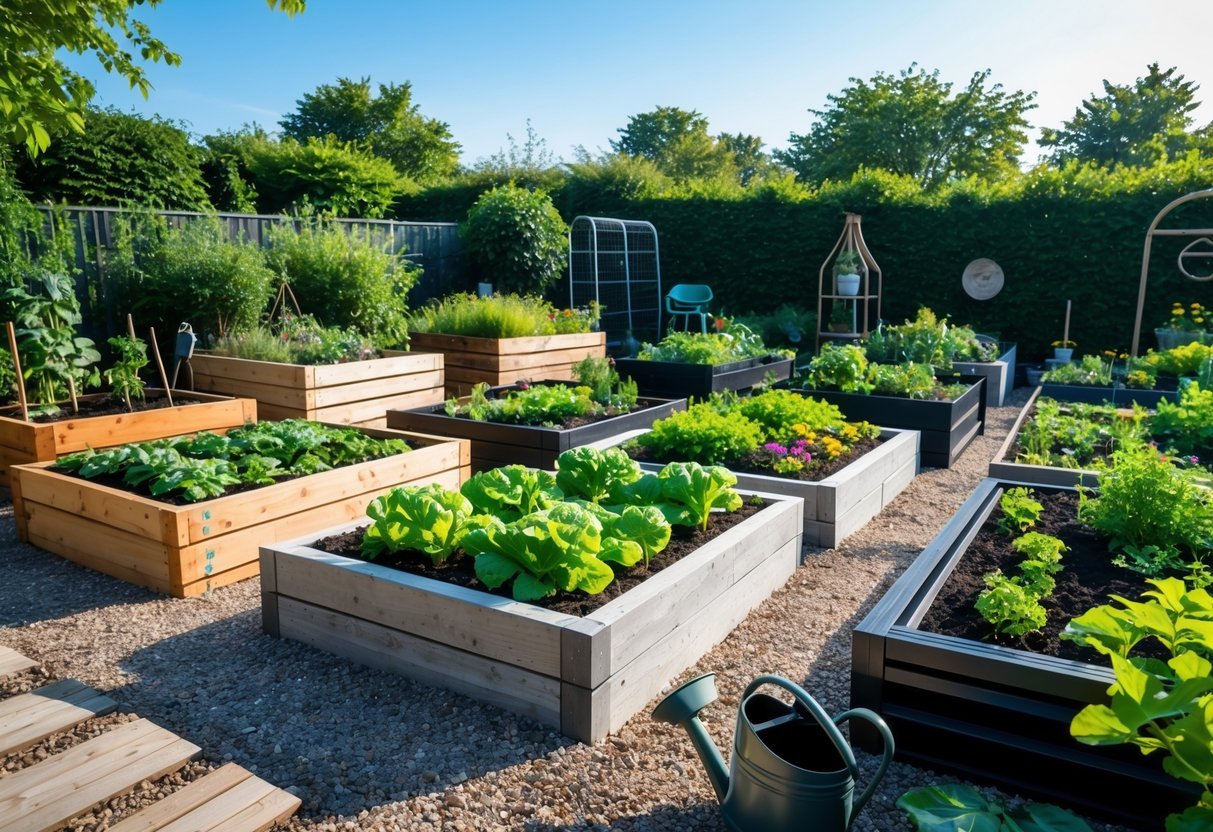
Recycled and Upcycled Materials
Upcycling cuts costs and keeps waste out of landfills. Use old pallets, reclaimed brick, concrete blocks, or wine barrels. Pallets must be heat-treated (look for HT stamp) and sanded; nail removal prevents splinters. Stack cinderblocks in a running-bond pattern and fill cavities with soil or gravel for thermal mass and root space.
Avoid treated lumber with unknown chemicals. Clean and seal food-grade barrels before planting. Tires are cheap but can leach chemicals; avoid them for edibles. Creative touches like repurposed gutters for narrow beds or broken concrete for raised edges save money and add character.
When using varied materials, ensure all surfaces touching soil are safe for edibles. Add a weed barrier and check drainage paths to prevent soggy spots.
Functional Features and Customization
Choose features that match your water needs, comfort, and space. Add systems that cut watering, built-in seating for ease of work, or vertical layers to grow more in a small footprint.
Self-Watering Systems
A self-watering bed uses a water reservoir below the soil to supply roots by capillary action. You can add a simple PVC pipe fill tube and a sealed reservoir lined with landscape fabric. This limits surface evaporation and reduces how often you must water.
Use coarse gravel or a commercial water-holding insert to keep the reservoir clear. Include an overflow hole 2–3 inches below the soil line to avoid waterlogging. For vegetables, aim for a reservoir that holds water for 5–10 days between fills, depending on heat and plant needs.
A basic float valve lets you connect a garden hose or rain barrel for automatic top-ups. Monitor soil moisture for the first few weeks to dial in reservoir depth and planting mix. Self-watering works best for tomatoes, peppers, and leafy greens.
Integrated Seating
Built-in seating around a raised bed makes planting and harvesting easier and reduces bending. Standard seat height is 16–18 inches; match that to your comfort. A 12–18 inch wide bench along one side gives a place to rest and sets a clear work edge.
Use rot-resistant wood, composite decking, or metal for the bench. Attach it to the bed frame with corrosion-resistant brackets or build it as a freestanding unit for future changes. Consider hinged bench tops with storage for tools and gloves under the seat.
Add armrests or a short backrest for longer comfort while weeding. If space is limited, use fold-down or removable benches. Ensure seating does not block sunlight or airflow to plants.
Vertical and Multi-Level Options
Vertical systems multiply growing area without expanding ground footprint. Install trellises, netting, or A-frame supports for peas, beans, cucumbers, and indeterminate tomatoes. Use 6–8 foot trellises on the north side of beds to avoid shading lower plants.
Multi-level beds stack tiers or use stepped beds to grow different crops at optimal depths. Shallow tiers (6–8 inches) suit herbs and lettuce; deeper tiers (12–18 inches) fit root crops. Secure tiers with internal bracing to resist soil pressure.
Use modular planters or attach hanging pockets to bed sides for strawberries and herbs. For heavy vining crops, reinforce frames and anchor them into ground or bed posts. Match irrigation and soil mixes to each level to keep moisture consistent.
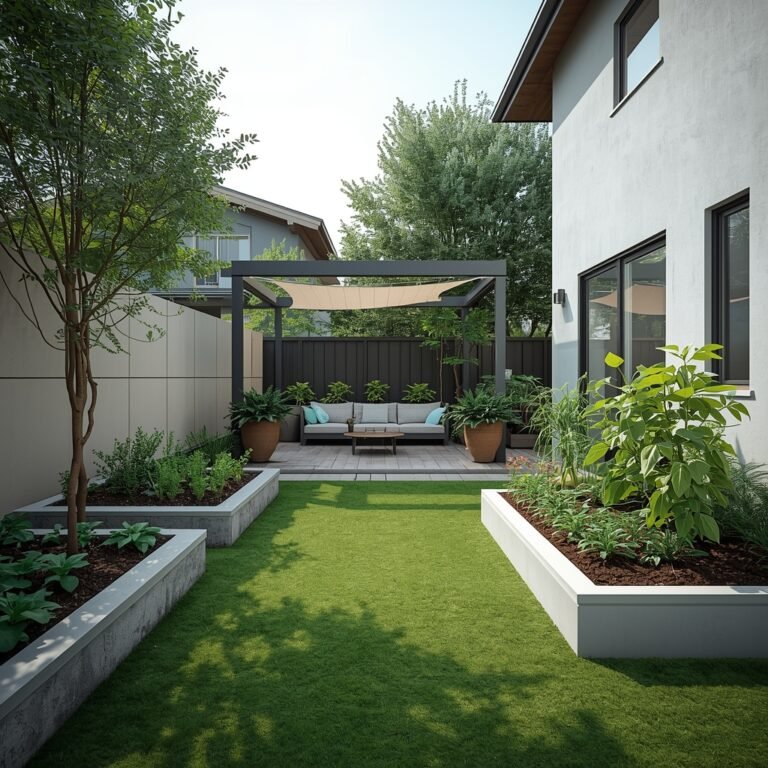
Aesthetic Enhancements and Landscaping
Focus on clear edges, plant contrast, and easy paths to make your beds both beautiful and usable. Small details like edging material, plant height, and path width change how your garden looks and how you work in it.
Incorporating Decorative Edging
Choose edging that matches the style and budget of your yard. Options like reclaimed brick, corten steel, or pressure-treated lumber each give a different look and last different amounts of time.
- Brick or pavers: create a neat, classic border and keep soil in place. Lay them tightly for a clean line or with gaps for moss and low groundcover.
- Corten steel or metal: gives a modern, crisp edge and resists rot. Use 4–8 inch heights for flower beds, 12–18 inches for vegetable beds to aid soil depth.
- Wood (treated or cedar): warm, natural look. Replace or seal every few years; anchor corners to avoid bowing.
- Natural stone or gravel: good for cottage-style gardens and informal curves.
Install edging at the same grade as the bed top for clear definition. Stake materials with galvanized spikes or concrete anchors for stability. Add a 2–3 inch gravel or mulch buffer against the edge to reduce erosion and simplify mowing.
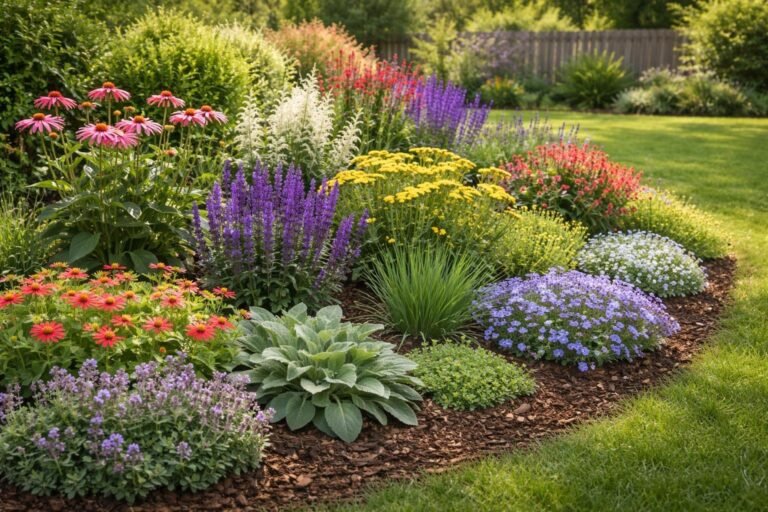
Mixing Plant Types for Visual Appeal
Pair plants by height, texture, and bloom time to keep interest through the season. Use tall structural plants like hollyhocks or trellised beans at the back, medium shrubs or bush tomatoes in the middle, and low groundcovers or herbs like thyme at the front.
- Contrast leaf shape and color: combine serrated leaves with round ones and mix variegated foliage with solid greens.
- Vary bloom timing: plant early bulbs, mid-season perennials, and late-season asters so something flowers most months.
- Include edibles: intersperse lettuce, herbs, and dwarf fruiting plants to add both color and function.
- Keep spacing and scale consistent: avoid tiny plants against large shrubs; group odd numbers (3–5) for a natural look.
Use repeat planting to create rhythm. Leave small gaps for seasonal annuals to change color blocks without reworking the bed.
Pathways and Surroundings
Plan paths that let you reach bed centers without stepping on soil. Aim for 18–36 inch wide paths depending on the tools you use and whether you need a wheelbarrow.
- Material choices: mulch paths are soft and cheap; compact gravel gives firm footing; simple pavers or poured concrete are low-maintenance.
- Edging and slope: slope paths slightly away from beds for drainage. Edge paths with timber or stone to stop material shifting.
- Functional additions: add a 2–3 foot working ledge or low bench at one end for potting. Place a drip irrigation line beneath paths for neat watering.
- Surrounding planting: use low borders of lavender or oregano to deter pests and add scent. Keep tall ornamentals clear of path sightlines to maintain openness.
Lay paths in simple grids or gentle curves that match your garden’s style. Mark turning points with a focal plant or a small seat to guide movement and give resting spots.
Frequently Asked Questions
This section gives practical answers you can use right away: low-cost materials that hold up, layout tricks to grow more plants per square foot, exact measurements for waist-high beds, sources for free plans, budget-building tips, and repeatable design ideas you can copy.
What are some cost-effective materials to use for DIY raised garden beds?
Reclaimed wood from pallets or old fencing is cheap and widely available. Choose hardwoods or rot-resistant softwoods and avoid chemically treated wood for edibles.
Cinder blocks and concrete pavers last a long time and need no framing. They stack easily and let you tuck herbs into the hollow cores.
Corrugated metal or galvanized troughs make durable beds that warm quickly in spring. Line the inside with landscape fabric if you worry about soil contact with metal.
Recycled plastic lumber and composite decking resist rot and require almost no maintenance. They cost more up front but often save time and replacement costs later.
How can I maximize space in my raised garden bed layout?
Use square-foot gardening: divide each bed into 1-foot squares and plant densely with compatible crops. This increases yield per bed and reduces bare soil.
Add vertical supports like trellises, obelisks, or cattle panels for vining crops. You free up bed surface and grow tomatoes, cucumbers, or beans upward.
Place taller plants on the north side of beds to avoid shading smaller ones. Also stagger planting times so successive crops replace harvested ones.
Interplant fast growers (radishes, lettuce) between slower root crops (carrots, beets). You’ll get more continuous harvests from the same area.
What are the best dimensions for a waist-high raised garden bed?
Aim for 30–36 inches tall for a comfortable waist-high bed that reduces bending. Thirty inches works for most people; taller works if you use a stool.
Keep bed widths at 3–4 feet so you can reach the center from either side without stepping in. Narrow beds also need less soil and warm up faster.
Lengths vary by space; common options are 4, 6, or 8 feet. Shorter beds are easier to manage and move; longer beds maximize planting runs.
Where can I find free raised garden bed plans?
University extension sites and master gardener programs often publish tested, free plans with measurements. Search for “[your state] extension raised bed plans” to find local guides.
Many gardening blogs and community garden groups post step-by-step plans with parts lists and photos. Look for plans that include soil volume and lumber sizes.
Public libraries and local garden centers sometimes offer printed plans or host free workshops. Ask at community centers or check bulletin boards for upcoming classes.
Can you provide tips for creating a raised garden bed on a tight budget?
Use salvaged materials like old bricks, cinder blocks, or clean pallets to cut costs. Confirm any reclaimed wood is not treated with toxic chemicals if you’ll grow food.
Fill beds with a layered mix: lower-cost bulk material (aged compost, local topsoil) on the bottom and a smaller volume of richer “top” mix above. This saves on premium soil.
Start small with a single bed and expand as you save time and money. Grow high-value crops like herbs, salad greens, and cherry tomatoes for quick returns.
What are some creative raised garden bed designs that I can replicate?
Circle beds made from stacked stone or timber create a focal point and allow planting around a central feature. They suit herbs and small flowers.
Tiered or stepped beds work well on slopes and create microclimates for different crops. Use treated posts or retaining blocks to form levels.
Vertical pocket planters or pallet gardens are ideal for tiny yards and balconies. Mount them against a wall and plant shallow-rooted herbs and lettuces.