Roof Garden Azotea Design Ideas: Confident, Practical Layouts and Planting Guides
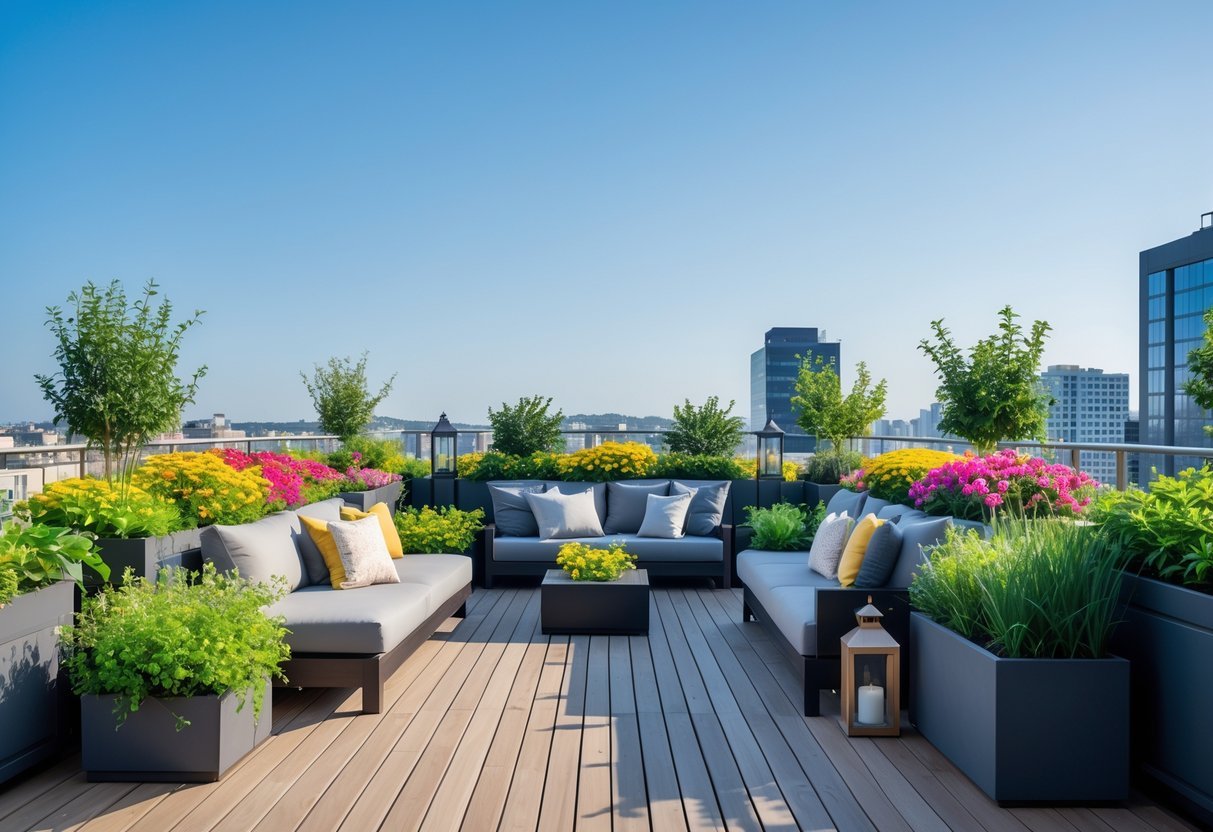
Turn your flat roof into a calm retreat or lively hangout with smart azotea design choices that fit your space and budget. Focus on durable materials, weather-ready plants, and simple layouts so your rooftop feels useful and beautiful without constant upkeep. A well-planned roof garden balances weight, drainage, plant selection, and seating to deliver a safe, low-maintenance, and inviting outdoor room.
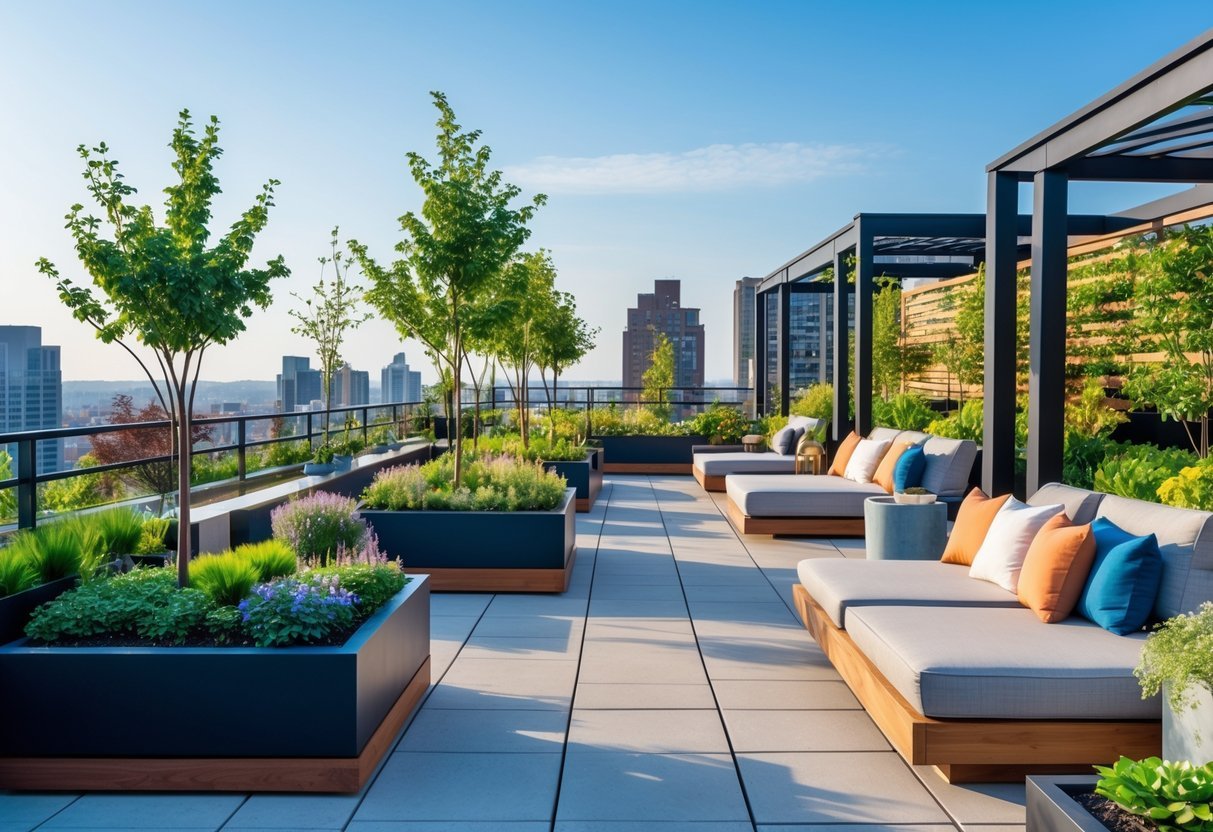
You can pick a style that matches your home—minimal, lush, or mixed-use—while adding raised planters, vertical green walls, and compact furniture to save space. Small water features, shade structures, and drip irrigation boost comfort and cut maintenance, and choosing hardy, drought-tolerant plants keeps the garden thriving with less work.
Key Takeaways
- Plan for structure, drainage, and low upkeep before you design.
- Use compact layouts, vertical planting, and durable furniture to maximize space.
- Add water-wise plants and efficient irrigation for long-term ease.
Principles of Roof Garden Azotea Design
Focus on usable layout, safe structure, and smart light control. Plan for plant types, weight limits, and where people will sit or walk.
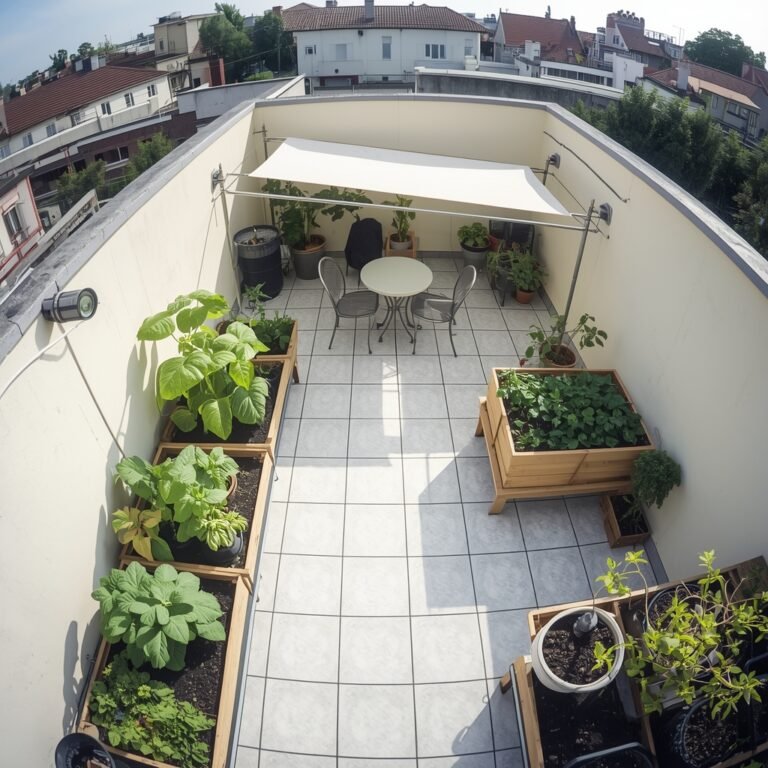
Maximizing Limited Space
Use vertical layers to add green without crowding the floor. Install wall planters, trellises, and stacked containers to grow vines, herbs, and small shrubs upward. Keep paths clear with narrow, sturdy decking or stepping stones so you can move and access plants easily.
Pick multi-use furniture like benches with built-in planters or storage. Arrange seating along edges to leave the center open for containers or a small lawn. Group plants by water needs in clusters to save space and make irrigation simpler.
Plan for container sizes: shallow trays for succulents, medium pots for herbs, and large, deep planters for small trees or citrus. Label containers and keep walkways at least 60–80 cm wide for safe circulation.
Structural Considerations
Confirm your roof’s load capacity before adding soil, pots, furniture, or paving. Ask a structural engineer for a load calculation that shows the maximum uniformly distributed load (UDL) and point loads where heavy planters or furniture will sit.
Use lightweight materials: engineered soil mixes, foam drainage layers, and fibrous planters reduce weight. Spread heavy items across structural beams rather than concentrating them in one spot.
Plan drainage and waterproofing early. Install a root-resistant membrane, slope surfaces to drains, and add overflow paths. Use removable planters or trays so maintenance and inspections are easier without damaging the roof.
Sunlight and Shade Management
Map sunlight patterns across seasons to place sun-loving and shade-tolerant plants correctly. Note hours of direct sun on different roof zones at mid-summer and mid-winter.
Create shade with pergolas, retractable awnings, or shade sails where people sit. Use deciduous trees or climbing vines on trellises to give seasonal shade and let winter sun through.
Choose plants that match each microclimate: drought-tolerant species for exposed spots, moisture-loving plants near water sources, and wind-resistant varieties for edges. Position windbreaks like glass panels or hedges to protect fragile plants and improve comfort for people.
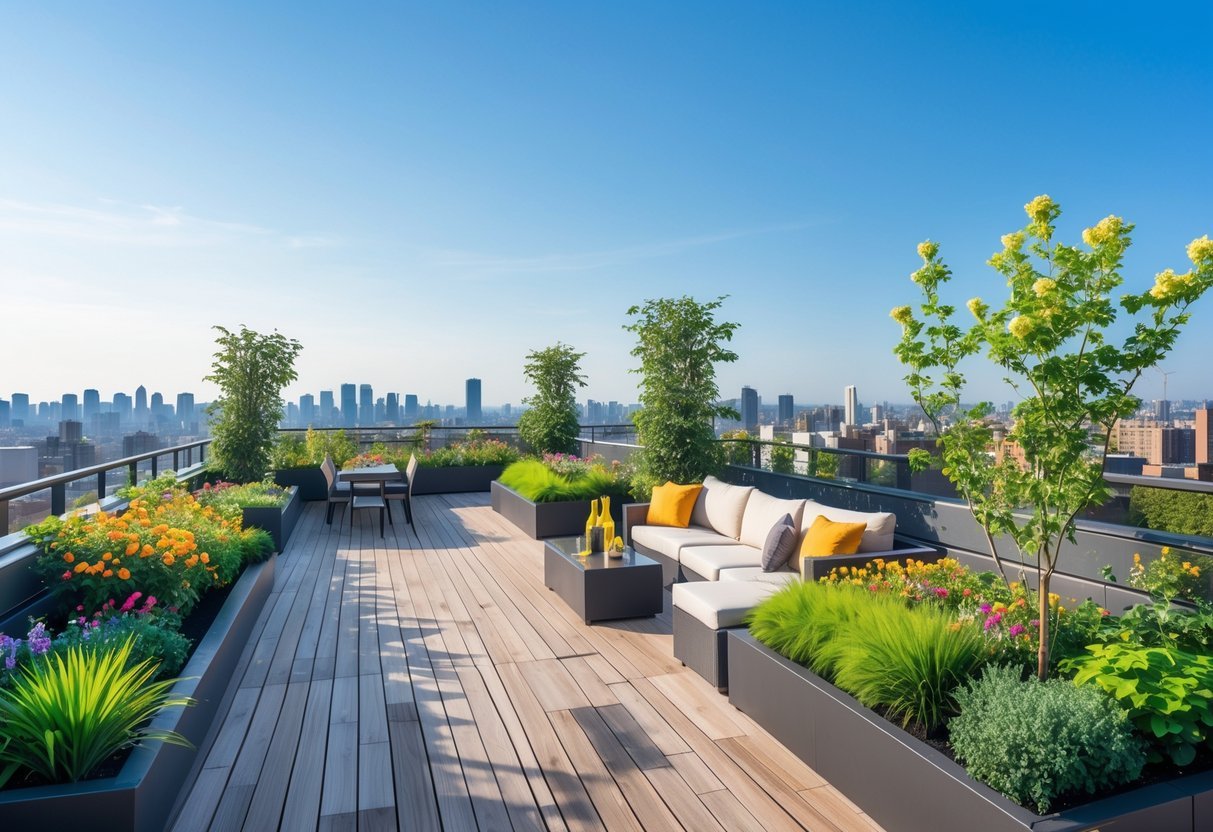
Stylish Layout Ideas for Azotea Spaces
Plan for how you will use the azotea, where plants, seating, and walkways belong, and pick materials that suit wind and sun exposure. Focus on clear circulation, privacy, and maintenance to keep the space attractive and usable.
Multi-Level Terraces
Create at least two levels to separate functions—an upper planting zone and a lower seating or dining area. Use steps no taller than 6–7 inches for comfort and add low risers or planters as visual barriers so each level feels distinct.
Choose durable materials like composite decking or sealed concrete for walking surfaces. Keep planting beds shallow on higher levels to reduce weight, and reserve deeper soil near structural supports for trees or large shrubs. Add built-in seating along edges to save space and anchor each tier.
Plan lighting at each level: step lights, uplights for specimen plants, and string lights over seating. These layers improve safety and create atmosphere. Include a simple railing or glass screen where needed to meet safety codes without blocking views.
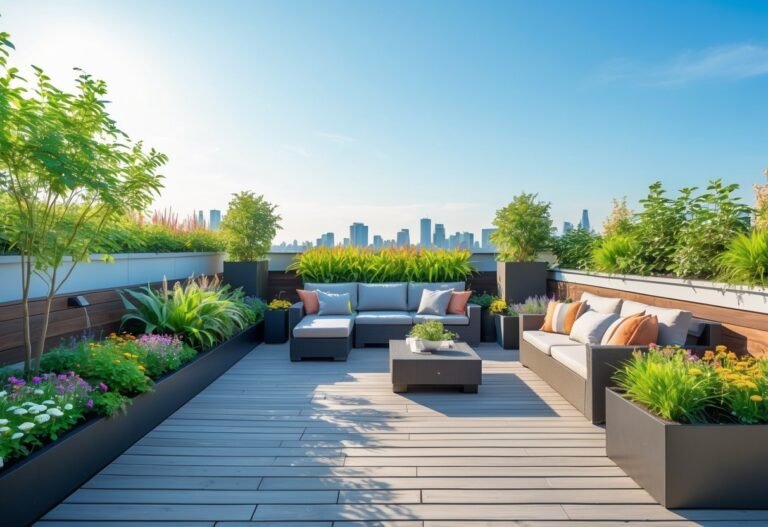
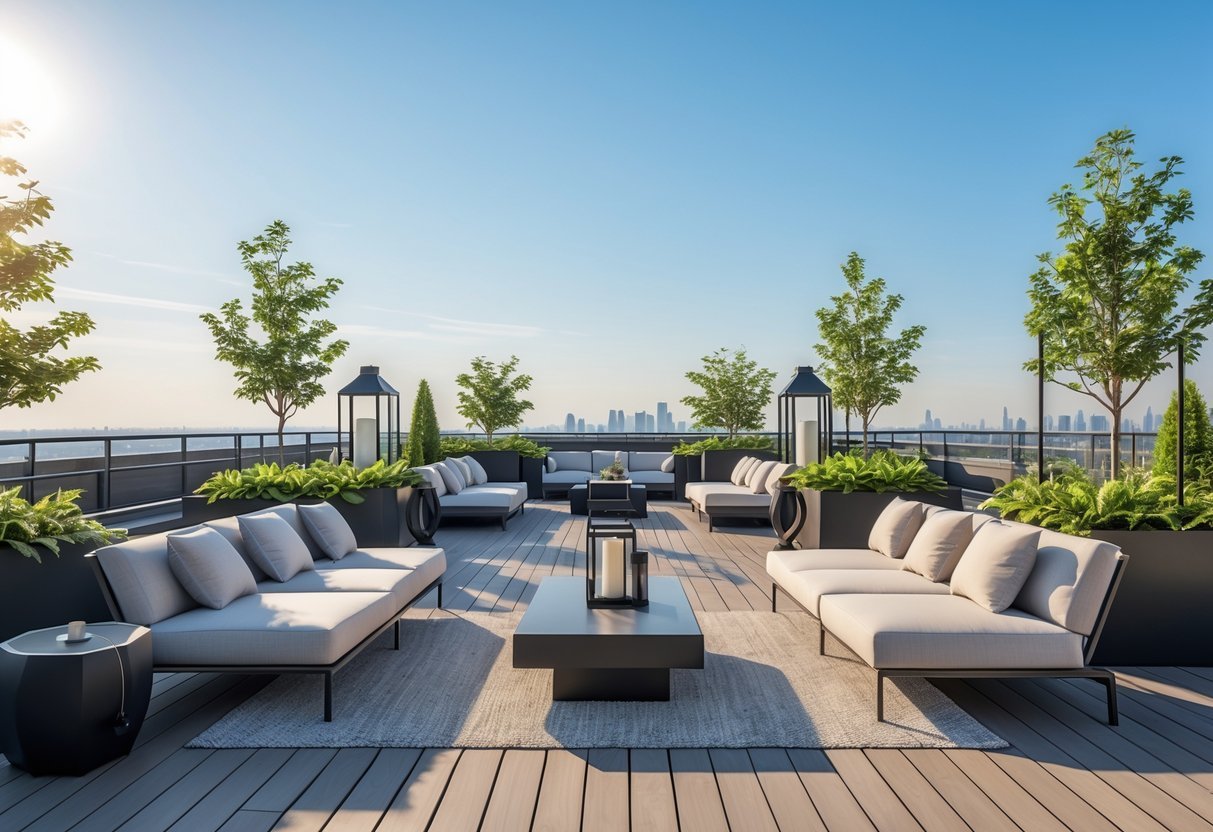
Open-Plan Lounging Areas
Design an open lounge zone that can hold a sofa set, small dining table, and a grill or bar cart. Define the area with an outdoor rug and a pergola or shade sail to reduce sun and wind. Keep the layout flexible so you can move furniture for parties or quiet evenings.
Anchor the lounge with a focal point such as a fire table, coffee table, or tall planter cluster. Place the seating to face views and to allow a clear path behind chairs. Use weatherproof cushions and storage benches to protect textiles and hide cushions when not in use.
Add modular furniture so you can adapt seating capacity. Position speakers and lighting with weatherproof ratings and route wiring in conduit or under decking to avoid exposed cords. Leave at least 30–36 inches of clearance for walkways around the lounge.
Incorporating Pathways
Lay pathways to connect zones and guide movement without wasted space. Aim for 36–48 inches wide for main routes and 24–30 inches for secondary paths. Use straight runs where possible to make the roof feel larger and curves to create interest.
Select slip-resistant surfaces like textured pavers, poured concrete with a broom finish, or non-slip tiles. Break up long stretches with planting pockets or a bench to create rest points. Consider drainage: slope paths slightly toward drains and avoid planting that will clog drainage channels.
Use low edging or shallow planters to keep soil off paths and protect finishes. Integrate lighting along paths—recessed step lights or low bollards—to improve night use. Finally, label irrigation zones so paths aren’t flooded during automatic watering cycles.
Greenery and Plant Selection
Choose plants that handle wind, sun, and shallow soil. Pick species that match how much time you will spend caring for them and the roof’s light and water limits.
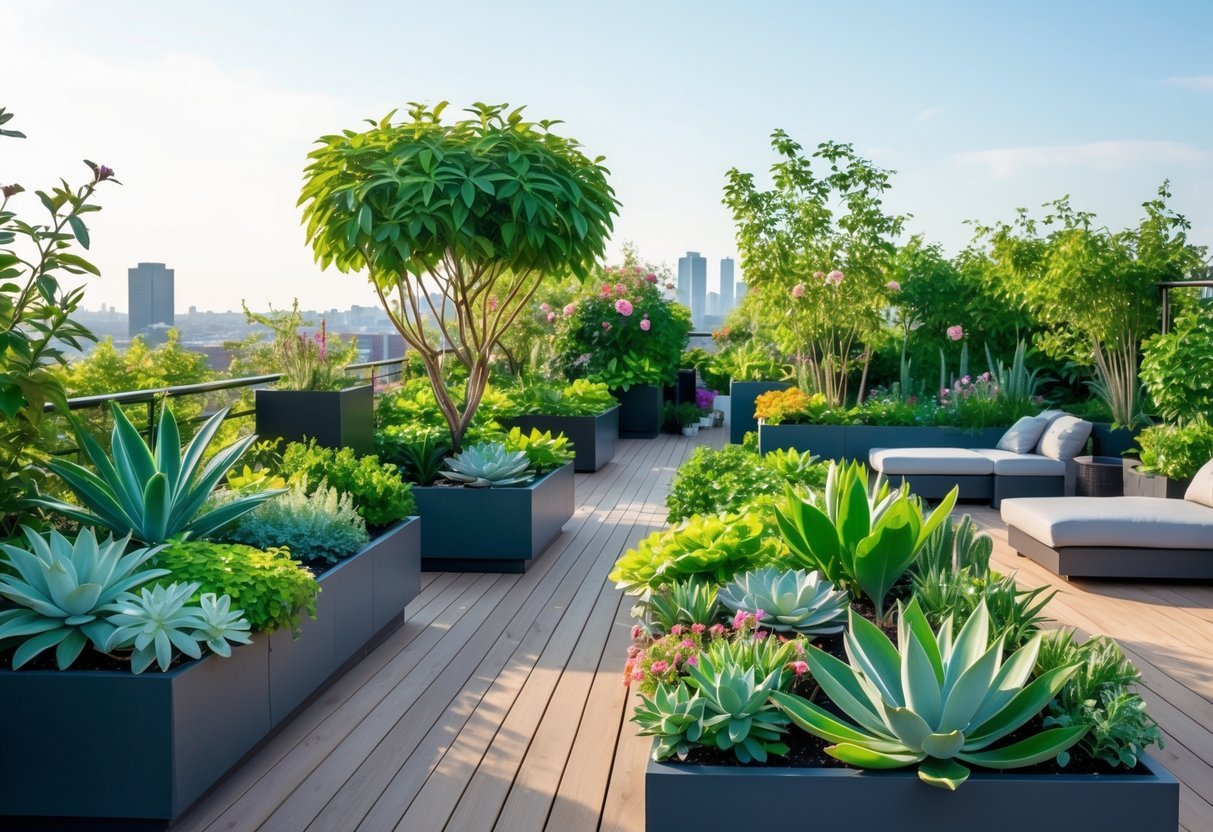
Low-Maintenance Plants
Pick drought-tolerant, salt-tolerant, or slow-growing plants if you visit the roof only sometimes. Good options include sedum, hens-and-chicks (Sempervivum), lavender, rosemary, and ornamental grasses like Festuca. These need little water and do well in shallow planters.
Use lightweight, well-draining potting mix and add a layer of gravel or pumice for drainage. Mulch with coarse bark to reduce watering. Water deeply but infrequently, and set up drip irrigation with a timer to avoid under- or overwatering.
Place heavier pots near parapets and lighter containers where wind is strong. Choose plants with fibrous roots rather than large taproots to protect waterproof membranes.
Vertical Gardens
Vertical gardens save space and add green walls that block wind and noise. Use modular panels, pocket planters, or trellises anchored to the structure. Choose climbing plants like jasmine, clematis, or vines such as Trachelospermum for quick coverage. For a low-maintenance wall, use ferns and pothos in modular slots.
Irrigation is critical: install a specific drip line or capillary mat system for vertical modules. Ensure the wall has an access panel to check the structure behind the green wall and to prevent water damage. Use lightweight planting media or foam-based substrates to lower load on the roof.
Group plants by water need on the wall to avoid uneven moisture. Consider removable planters for seasonal replacement and easier maintenance.
Edible Plant Choices
Grow herbs and compact vegetables that thrive in containers and partial sun. Try basil, thyme, chives, mint (in pots to contain spread), cherry tomatoes, peppers, lettuce mixes, and dwarf beans or peas. These fit shallow beds and give quick harvests.
Use 12–18 inch deep containers for most vegetables; herbs often do well in 6–8 inch pots. Feed regularly with a balanced, slow-release fertilizer or weekly liquid feed during the growing season. Rotate crops and refresh soil each season to avoid pest build-up.
Place edibles where you can reach them easily for harvesting and watering. Combine pollinator-friendly flowers like marigolds or borage to boost yields and deter pests.
Outdoor Furniture and Decor Concepts
Choose pieces that stand up to sun, wind, and water, and add lighting and accents that make the space usable at night. Prioritize durable materials, layered lighting, and a few well-chosen decorative items to create comfort and personality without clutter.
Weather-Resistant Furnishings
Pick materials that resist moisture and UV damage like powder-coated aluminum, teak, stainless steel, and high-density polyethylene (HDPE). These last longer on roofs and need less frequent replacement.
Use quick-dry cushions with removable covers made from solution-dyed acrylic or polyester. Store cushions in a small waterproof box when storms hit to extend life.
Anchor lightweight pieces with non-slip pads or hidden weights to prevent blow-aways. Consider modular seating so you can reconfigure for parties or small gatherings. For small azoteas, choose folding or stackable chairs and a slimline table to save space.
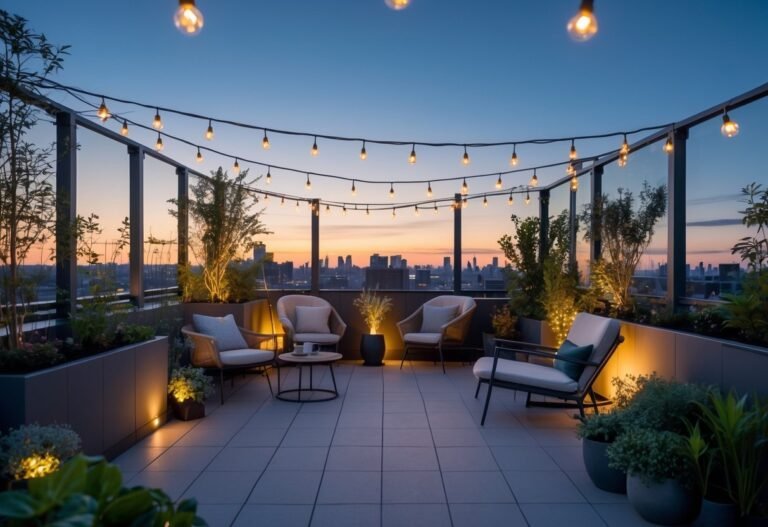
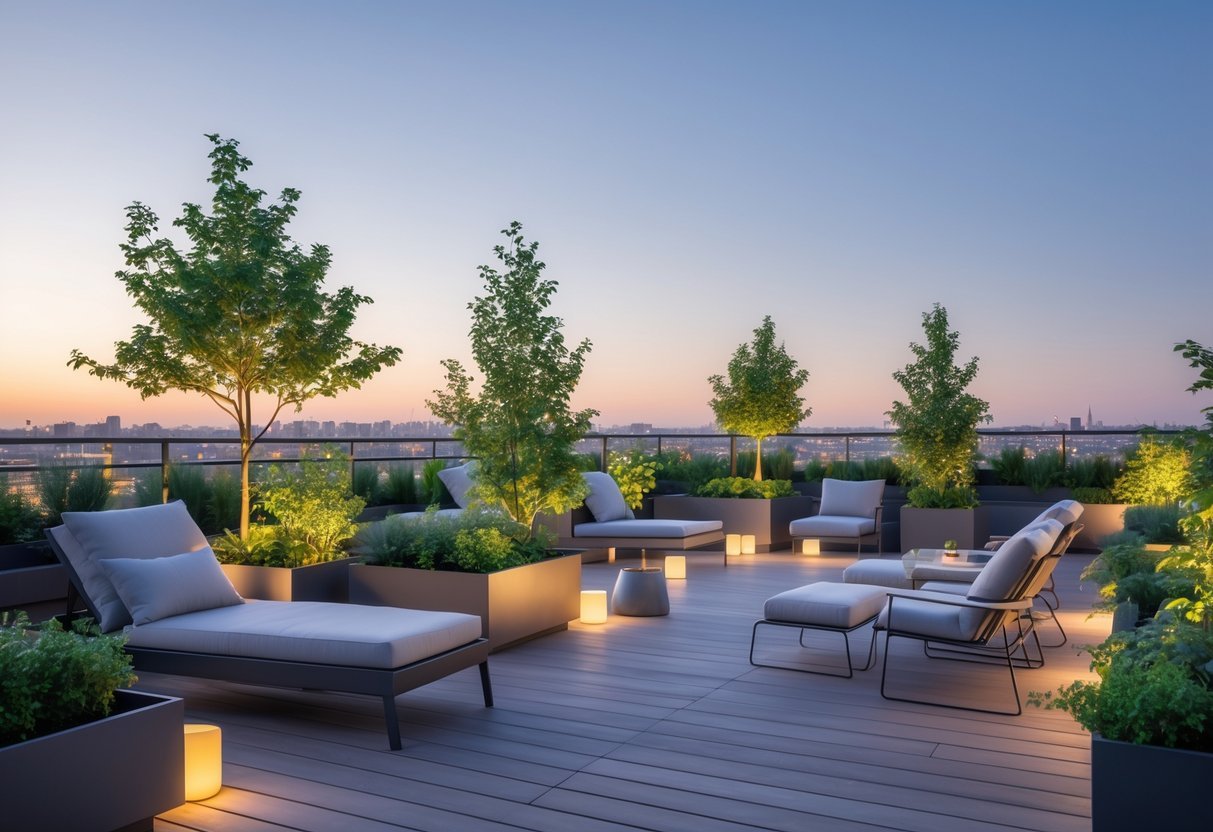
Lighting Design
Plan three layers: task, ambient, and accent. Task lighting covers cooking or dining — a focused pendant over a table or adjustable LED flood for a grill works well.
Ambient lighting makes the whole rooftop usable — string lights, LED strips under benches, or low bollards along walkways provide even glow. Choose warm color temperatures (2700K–3000K) for a relaxed feel.
Use accent lights to highlight plants, architectural details, or a water feature. Small spotlights or in-ground uplights create depth. Pick low-voltage or solar LED fixtures for energy efficiency and easier installation.
Accent Pieces and Accessories
Limit decorative items to a few durable pieces: a weatherproof rug, ceramic or fibreglass planters, and a sculptural lantern or two. These add texture and color without adding maintenance.
Choose planters with built-in drainage and saucers to avoid water pooling on the roof. Select a mix of heights for visual interest: tall planters for screening, medium pots for focal plants, and small pots for herbs.
Add functional accents like side tables, an outdoor mirror to reflect light, and a compact storage bench. Use materials that match your furniture finishes to keep the look cohesive.
Sustainable and Eco-Friendly Features

Use water wisely, cut energy use, and give old items new purpose to make your azotea greener and cheaper to run. The tips below show practical steps you can take, with specific components and simple installation ideas.
Rainwater Harvesting
Capture roof runoff with a gutter-to-tank system sized for your roof area and local rainfall. Install a first-flush diverter to keep debris out of storage and a mesh screen at downspouts to block leaves. A 500–1,000 L cistern works well for small to medium azoteas; larger spaces may need multiple tanks.
Add a gravity-fed drip line or a small pump with a pressure switch to irrigate planters and containers. Use a separate hose or valve for edible beds to avoid cross-contamination. Label taps for non-potable use and include an overflow route tied into storm drains to prevent ponding on the roof.
Regularly clean gutters and tanks every 6–12 months and check seals for leaks. Install a simple water meter or use a clear sight tube to monitor levels so you can adjust watering during dry spells.
Energy-Efficient Lighting
Choose LED fixtures built for outdoor use (IP65 or higher) to cut electricity and reduce heat. Use warm-white LEDs (2700–3000K) for seating areas and cooler white (4000K) for task lighting near workbenches or vegetable beds.
Place lights on motion sensors or timers tied to dusk-to-dawn photocells. That prevents lights from running all night and extends bulb life. Use low-voltage (12V) systems where possible; they’re safer on roofs and pair well with small solar panels.
For solar options, mount compact panels on a south-facing frame and wire them to rechargeable lithium battery packs that power LEDs. Keep wiring in UV-rated conduit and secure fixtures to reduce wind lift. Label breaker switches and include a simple fuse or breaker at the panel for maintenance safety.
Upcycled Materials
Repurpose wooden pallets, reclaimed timber, and old metal containers as planters and seating to save money and reduce waste. Line wooden planters with pond liner and add drainage holes to prevent rot. Paint metal tins with rust-resistant primer and drill drainage to make durable pots.
Salvaged concrete blocks or bricks work as raised-bed walls and thermal mass to moderate soil temperature. Use food-safe containers for edibles and avoid treated woods that leach chemicals. When sourcing materials, ask for clean, untreated pieces and sanitize where needed.
Fasten reused items with stainless-steel brackets and exterior screws to resist corrosion. Keep a list of local salvage yards and community reuse centers—they often have low-cost, serviceable materials you can test before committing to larger builds.
Frequently Asked Questions
This section gives specific, practical answers you can use when planning an azotea. It covers cost-saving moves, drainage steps, privacy options, insulation benefits, safety checks, and sustainable features.
How can I create a rooftop garden on a budget?
Start with lightweight container plants and recycled or low-cost planters. Use pallet wood or reclaimed materials for benches and raised beds to cut furniture and planter costs.
Choose drought-tolerant, low-maintenance plants to lower water and care expenses. Group plants with similar needs so you simplify irrigation and reduce waste.
Buy soil and compost in bulk and mix your own potting media to save money. Propagate from cuttings or swap plants with neighbors to expand your collection cheaply.
What are the best practices for drainage in a rooftop garden?
Install a root barrier and a proper waterproof membrane before adding soil to protect the roof. Add a protective layer, such as a drainage board or gravel tray, to guide excess water to drains.
Slope the surface slightly toward the existing roof drains to prevent standing water. Include overflow outlets higher than the drain level to avoid backup during heavy rain.
Use lightweight, free-draining soil mixes and place filter fabric above drainage layers to stop fines from clogging the system. Check drains regularly and clean gutters and scuppers each season.
How does one maintain privacy in a rooftop garden design?
Place tall planters, trellises with vines, or bamboo screens along exposed edges to block sightlines. Arrange seating and activity zones away from neighboring windows to create private pockets.
Use lattice panels with climbing plants for a green screen that still allows air flow. Add retractable shades or outdoor curtains for temporary privacy when you need it.
Can rooftop gardens help with building insulation?
Yes. A planted roof layer reduces heat gain in summer by shading the roof surface. In winter, soil and plant layers add thermal mass that can slow heat loss.
Choose a green roof-depth appropriate to your insulation goals: extensive (shallow) layers add some benefit, while deeper substrate with shrubs offers stronger insulation. Work with an engineer to confirm structural and thermal outcomes.
What safety considerations should be taken into account when designing a rooftop garden?
Confirm roof load limits with a structural engineer before adding soil, planters, or hardscape. Use lightweight materials and distribute weight evenly to avoid overloading any point.
Install guardrails or parapets that meet local building codes and provide secure anchoring for planters near edges. Plan safe access for maintenance, including non-slip surfaces, secure ladders or doors, and clear paths.
Add proper lighting for evening use and place fire-safe plants and materials to reduce risk. Keep irrigation and electrical systems professionally installed to prevent water-related hazards.
How can a rooftop garden incorporate sustainable features?
Capture rainwater with a cistern or barrels and use it for irrigation through drip systems to save mains water. Choose native and drought-tolerant plants to reduce watering and chemical needs.
Use composting to recycle organic waste into soil amendments and select recycled or sustainably sourced materials for planters and decking. Add pollinator-friendly plants to support local biodiversity and select energy-efficient LED lighting on timers or sensors.