Backyard Vegetable Garden Design ideas: Practical Layouts and Planting Plans for Small Spaces
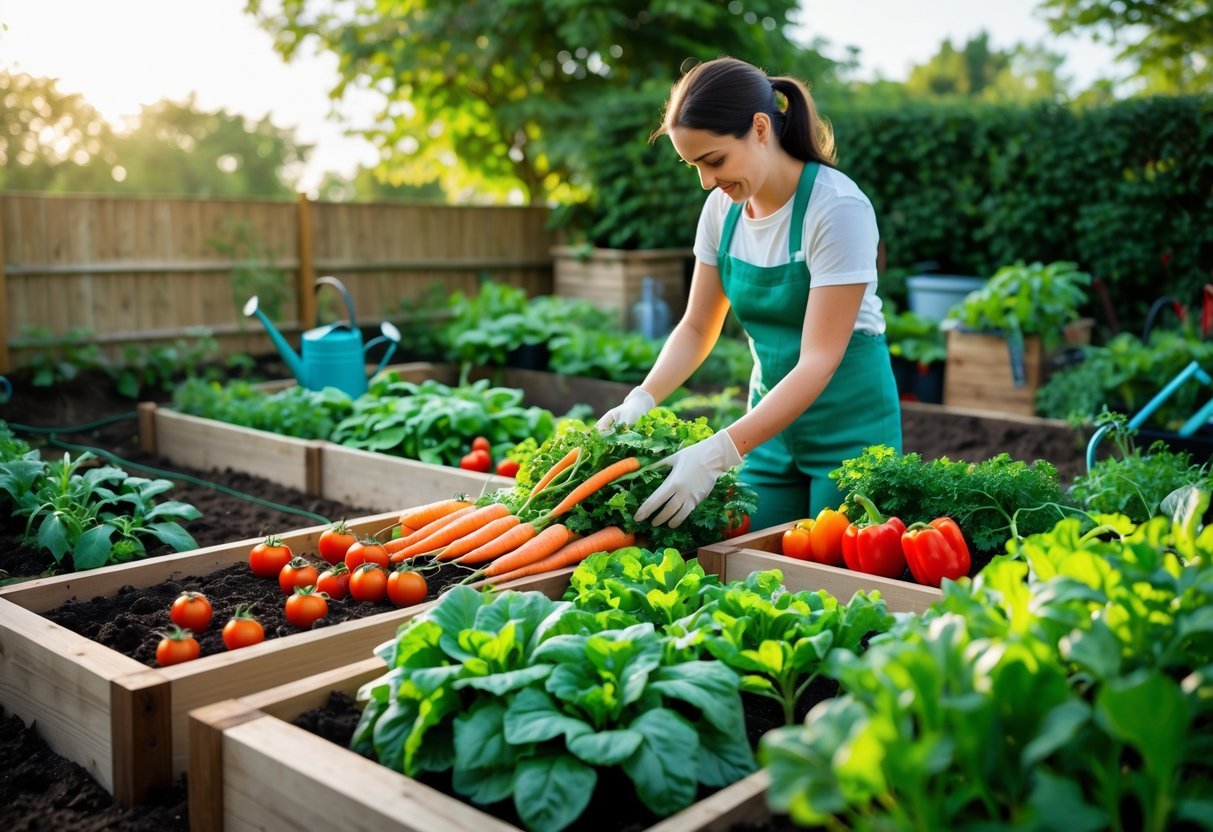
Designing a backyard vegetable garden starts with one simple goal: make it easy for you to grow more food with less hassle. Place beds where they get at least six hours of sun, plan paths for easy access, and pick a mix of plants that fit your space and schedule. With those basics, you set yourself up for steady harvests and fewer problems.
You can shape the garden to match your yard and style—use raised beds, containers, or rows—and add trellises for climbing crops to save space. Think about watering, soil quality, and plant groupings now so you spend more time enjoying fresh vegetables and less time fixing mistakes.
Key Takeaways
- Choose a sunny, accessible spot and design paths for easy care.
- Match plant choices and bed types to your space and time.
- Plan soil, water, and vertical supports to boost productivity.
Planning Your Backyard Vegetable Garden
Pick a spot that gets strong sun, has good drainage, and fits how much time you can spend planting and harvesting. Think about access to water, ease of weeding, and where you’ll place paths, beds, and any trellises.
Selecting the Ideal Location
Choose a level area near a water source to make daily watering simple. Aim for a place within 25–50 feet of an outdoor faucet or rain barrel so you won’t haul hoses long distances.
Avoid low spots that collect cold air or standing water. Keep your garden at least 6–10 feet from large trees to reduce root competition and shade. Also place beds where you can reach all plants without stepping on soil; a max 3‑ to 4‑foot bed width works well.
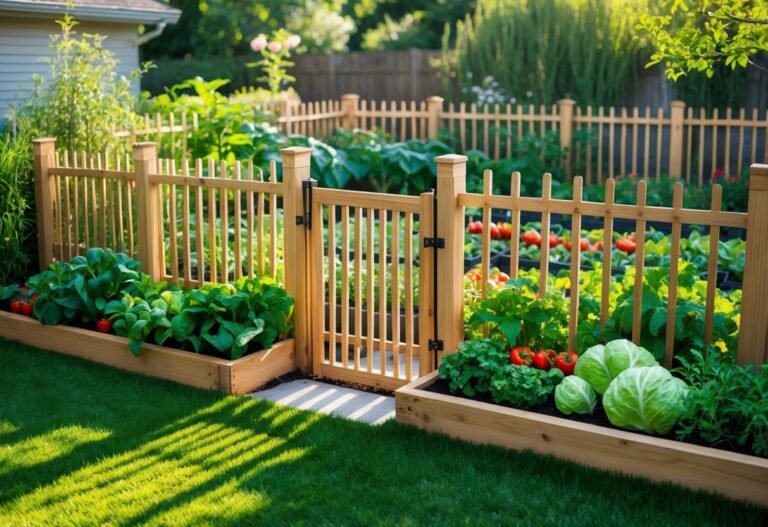
Think about convenience: a spot near the kitchen encourages harvesting, while a fenced area stops rabbits and dogs. Mark the space with string before building beds to confirm it fits walkways and sun paths.
Assessing Sunlight and Soil Conditions
Track sunlight for a week to confirm hours of direct sun. Most vegetables need 6–8 hours of full sun; tomatoes, peppers, and eggplants prefer 8 hours or more.
Test soil texture by squeezing a damp handful: it should form a loose ball and crumble. Check pH with a kit; most veggies prefer pH 6.0–7.0. If pH is off, add lime to raise it or sulfur to lower it, following product directions.
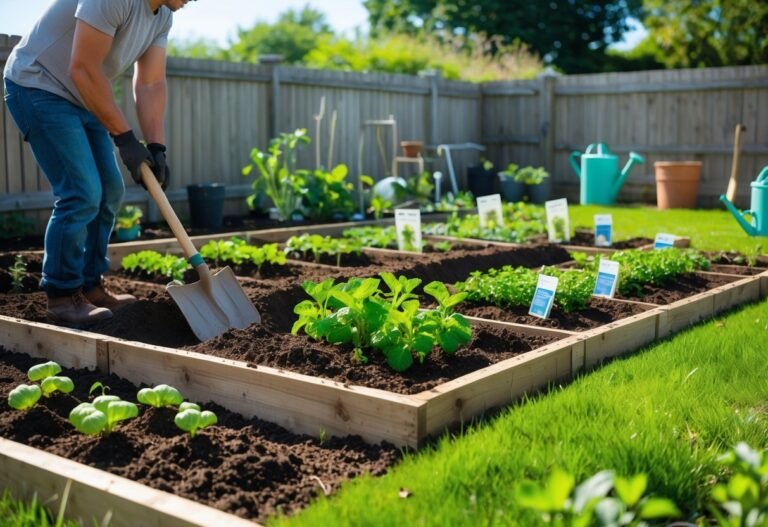
Send a soil sample to your local extension for nutrient analysis if possible. Improve structure with 2–4 inches of compost mixed into the top 6–8 inches of soil. For heavy clay or poor drainage, build raised beds filled with a blend of topsoil and compost.
Determining Garden Size and Layout
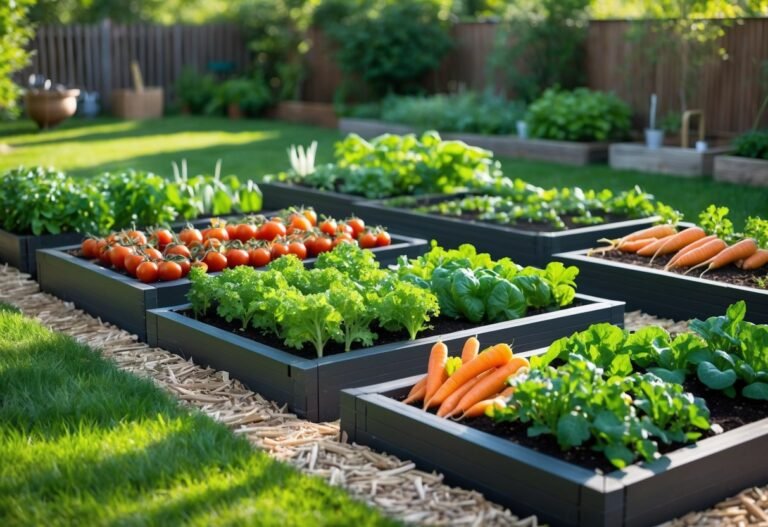
Base size on how much time you have and how many people you plan to feed. A 4×8 foot raised bed yields well for a small family and fits common spacing patterns.
Lay out beds with 2–3 foot paths for easy access and wheelbarrow space. Use narrow beds (3–4 feet) so you can reach the center from either side. Place taller crops (corn, trellised beans, sunflowers) on the north side of beds to avoid shading lower plants.
Decide on planting style: rows for long stretches, square‑foot for intensive small plots, or containers for patios. Sketch a simple plan showing bed sizes, path widths, water source, and a few crop placements before you plant.
Design Principles for Productive Gardens

Good garden design saves time and boosts yields. Focus on soil depth, sun exposure, and easy access so plants grow well and you can care for them without strain.
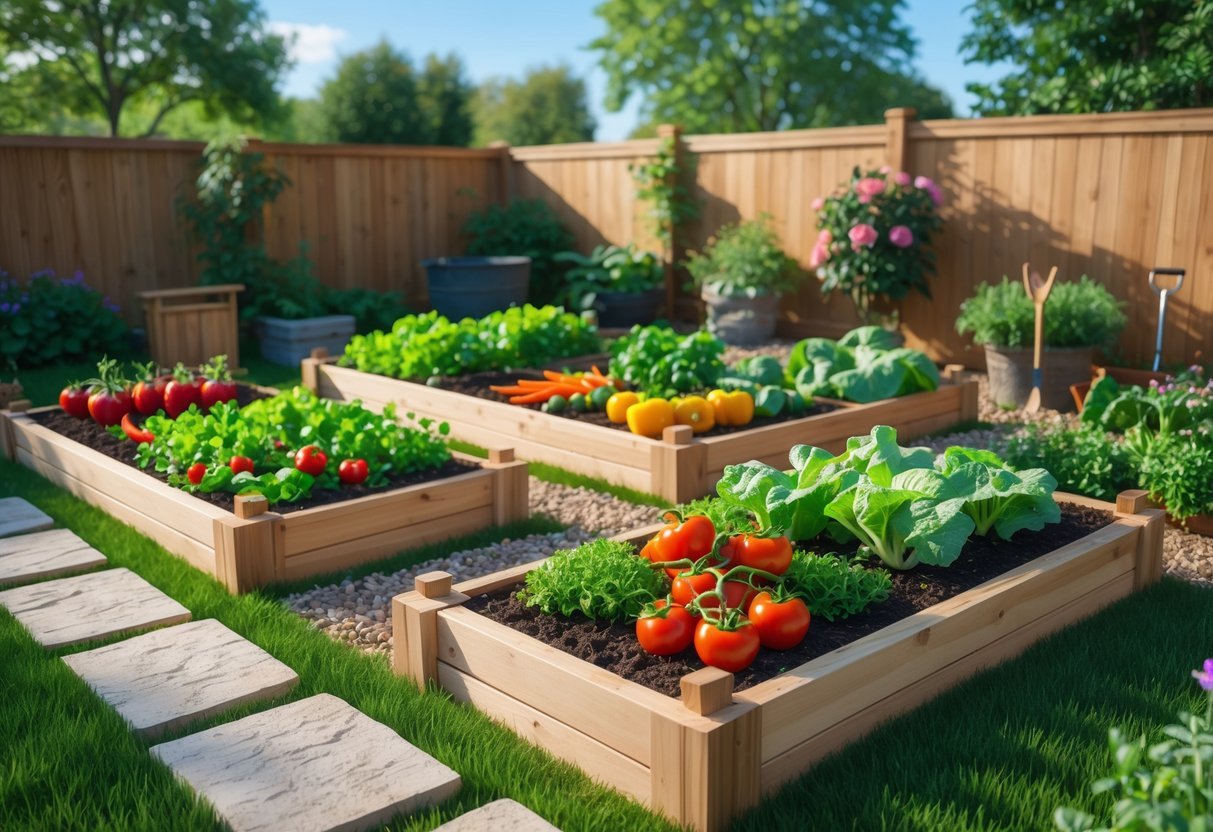
Choosing Raised Beds vs. In-Ground Gardens
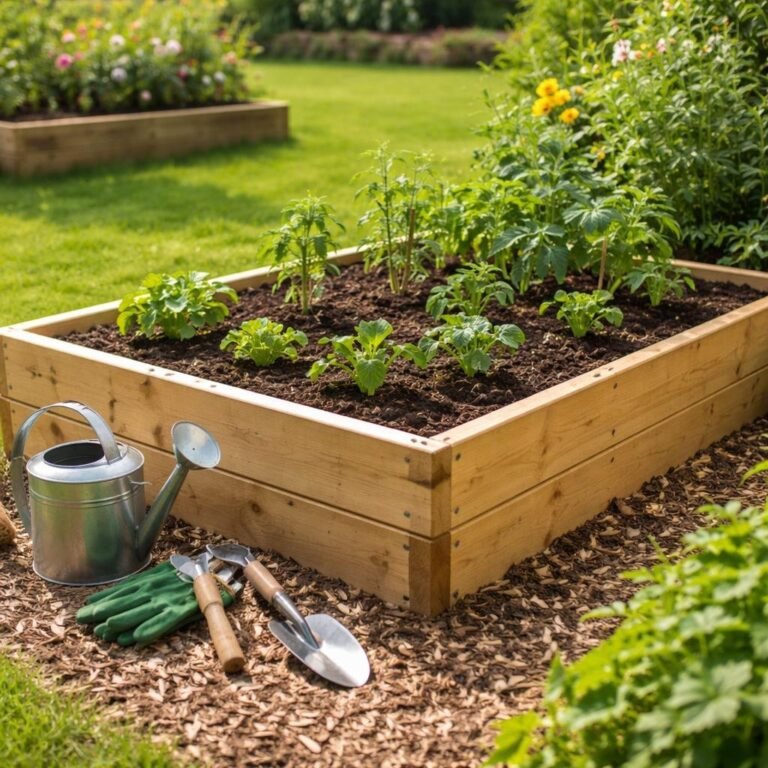
Raised beds give you control over soil quality and drainage. If your soil is rocky, compacted, or contaminated, build beds 8–12 inches deep for shallow roots and 12–18 inches for larger crops like tomatoes and potatoes. Use a mix of topsoil, compost, and a little sand for good structure.
In-ground planting works if your native soil is fertile and drains well. Test pH and amend with compost before planting. Space beds 3–4 feet wide so you can reach the center from either side without stepping on soil.
Consider materials and cost. Cedar or composite lasts long; untreated wood and concrete blocks cost less. Make beds narrow enough to reach across, long enough to fit crop rotations, and leave room for irrigation lines or soaker hoses.
Incorporating Pathways and Access
Plan paths that let you reach every bed without stepping on growing soil. Paths should be 18–24 inches for single-side access and 30–36 inches for wheelbarrows or two people.
Choose hard surfaces for high-traffic areas: compact gravel, mulch, pavers, or stepped wood. Mulch is cheap and soft but needs replenishing; gravel and pavers last longer and help keep weeds down.
Place tool storage and compost close to your main beds to cut walking time. Design gates, turning spaces, and straight runs for easier mowing, hauling, and seasonal bed changes.
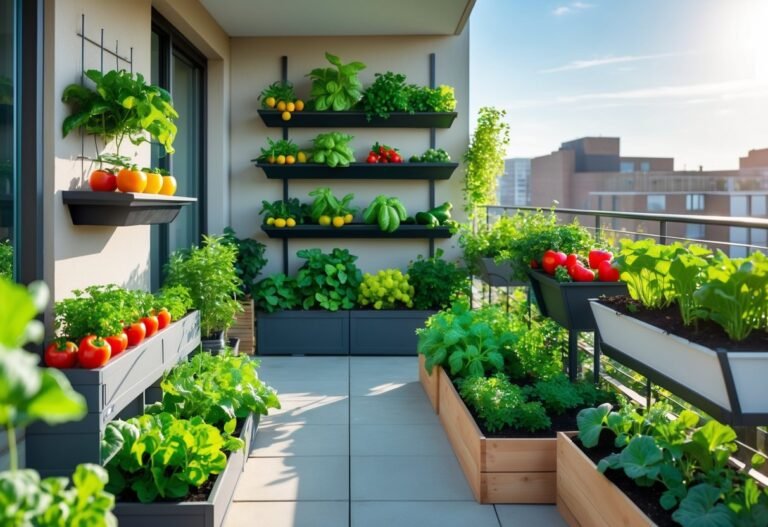
Utilizing Vertical Spaces
Use trellises, cages, and netting to grow vining crops upward and save ground space. Train peas, beans, cucumbers, and indeterminate tomatoes on supports 4–8 feet tall to increase yield per square foot.
Position vertical supports on the north side of lower crops so they don’t cast shade where you need sun. Use strong posts for heavy fruit and lightweight mesh for climbers.
Combine vertical growing with container plantings for flexible layouts. Attach hooks or shelves to fences to grow herbs and lettuces in small pockets, making use of unused vertical surfaces.
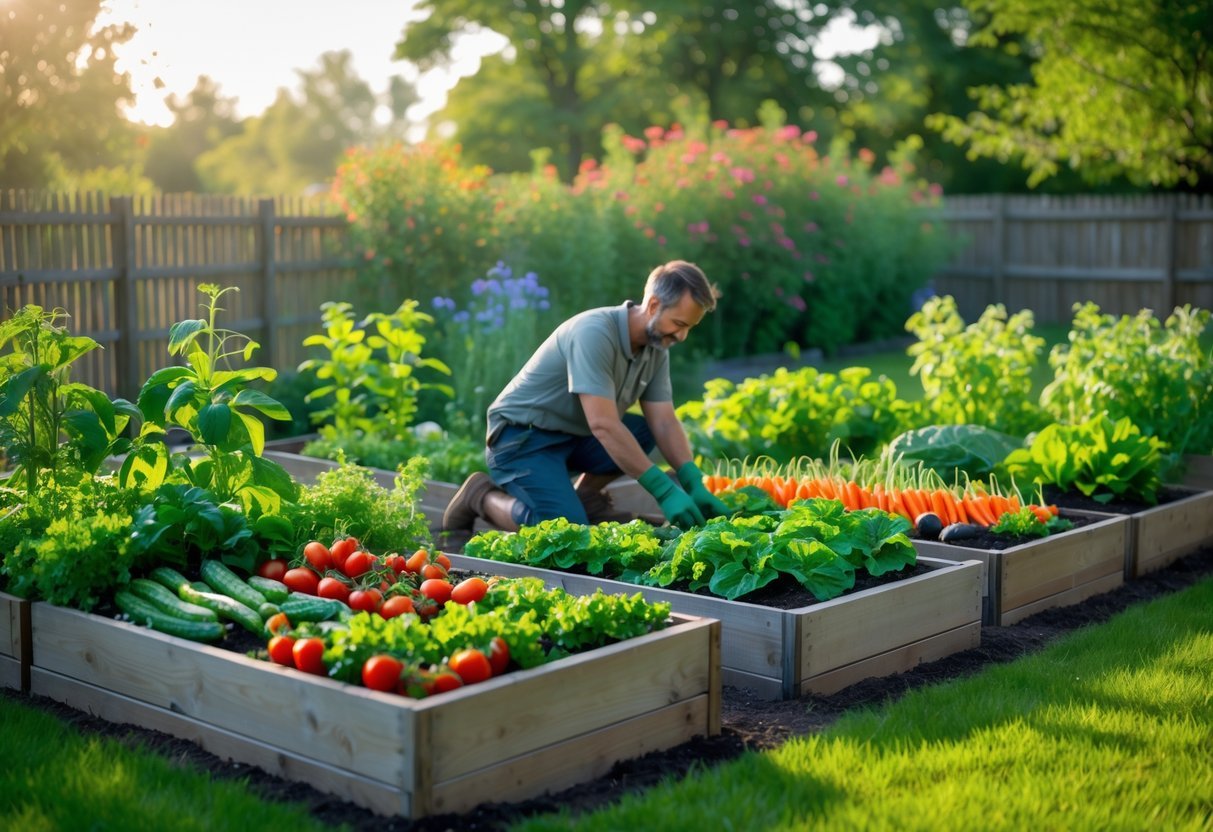
Selecting and Organizing Vegetables
Decide which crops match your space, sunlight, and how often you want to harvest. Group plants by water needs, height, and harvest timing so you can water, prune, and pick efficiently.
Companion Planting Strategies
Use companion planting to reduce pests, improve pollination, and save space. Plant basil and tomatoes together to improve tomato flavor and deter thrips and tomato hornworms. Marigolds near beans and squash can help repel nematodes and some beetles.
Match root depth and canopy size. Put shallow-rooted lettuce or radishes next to deep-rooted carrots to avoid root competition. Use tall supports (trellises) for peas and pole beans, and grow low crops like Swiss chard at their base to capture unused space.
Avoid harmful pairings. Keep alliums (onions, garlic) away from peas and beans because they can stunt nitrogen-fixing bacteria. Use a simple chart at your plot edge listing good and bad pairings so you don’t forget what works.
Crop Rotation for Soil Health
Rotate plant families each year to break pest and disease cycles. Move nightshades (tomatoes, peppers, eggplants) to a new bed after harvest and avoid planting them in the same spot for at least three years if you’ve had disease problems.
Rotate by nutrient use and replenishment. Follow heavy feeders (corn, cabbage) with legumes (peas, beans) to add nitrogen. After legumes, plant light feeders like root crops or herbs to balance nutrient demands.
Keep records. Mark beds on a calendar or map with what you planted and where. A simple 4-bed rotation plan covers most backyards: heavy feeders → legumes → light feeders → cover crop or rest.
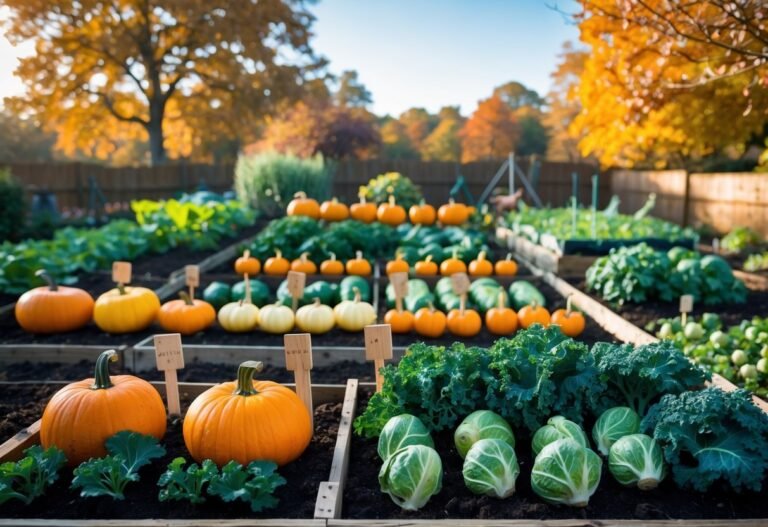
Seasonal Plant Selection
Match crops to your frost dates and sun hours. Plant cool-season greens (spinach, kale) in early spring and late fall, and warm-season crops (tomatoes, cucumbers) after the last spring frost when soil warms.
Stagger plantings to extend harvests. Sow lettuce and radishes every two to three weeks for a steady supply. For tomatoes and peppers, choose determinate types for a single big harvest and indeterminate for ongoing fruit.
Choose varieties by space and purpose. Pick compact or patio varieties for small beds and high-yield heirlooms if you want large harvests. Label each row with variety name and planting date so you know what to expect.
Enhancing Garden Aesthetics and Functionality
Use plant placement, watering systems, and decorative touches to make your garden both productive and pleasing. Focus on year-round interest, easy access, and water efficiency so the space looks good and runs smoothly.
Integrating Edible Landscaping
Mix vegetables with flowering herbs and small fruiting shrubs to create a garden that feeds you and attracts pollinators. Plant rosemary, nasturtiums, and marigolds along bed edges to add color and deter pests while keeping pathways clear for harvest.
Place taller crops (corn, sunflowers) at the north edge so they don’t shade lower plants. Use repeated plant groupings—three to five of the same species—to create visual rhythm. Include pathways of 18–24 inches so you can reach beds without stepping on soil.
Use containers and raised beds to define rooms and add height. Put dwarf fruit trees in patio corners and espalier apples along a sunny wall to save space and add structure.
Watering and Irrigation Solutions
Pick a system that matches your bed layout and water needs: soaker hoses for long raised beds, drip lines for row crops, and a timer for hands-free watering. Drip irrigation reduces evaporation and delivers water to the root zone.
Group plants by water needs—salad greens together, peppers together—to avoid over- or under-watering. Use a rain barrel with a simple gravity-fed spigot for watering containers and seedlings. Check soil moisture with your finger 2–3 inches down; water only when that layer feels dry.
Mulch 2–3 inches around plants to retain moisture and cut weeds. Install a simple moisture sensor or smart controller if you want more precise scheduling and to save water during cool or rainy periods.
Adding Decorative Elements
Choose a consistent palette for furniture, plant labels, and containers so the space feels intentional. Use natural materials like weathered wood, stone pavers, or corten steel for raised beds to blend with the garden.
Add these practical decorative items:
- Trellises and obelisks for vining crops that double as vertical accents.
- Pathway lighting for safe evening access and a cozy look.
- Painted wooden signs or metal plant markers for clear identification.
Keep ornamentation functional: benches that store tools, arbors that support beans, or birdbaths that attract pollinators. Limit high-maintenance decor to avoid extra work during peak season.
Frequently Asked Questions
This section gives clear, practical answers about budget, simple layouts, space-saving designs, spacing rules, free planning tools, and ways to make your garden look good while staying productive.
How can I design a vegetable garden on a tight budget?
Use recycled or low-cost materials like pallets, salvaged wood, and concrete block raised beds instead of buying new lumber. Start small with a few beds or containers to limit soil and seed costs.
Grow from seed rather than buying many transplants. Share seeds or cuttings with neighbors and join local plant swaps to save money.
Focus on soil health with compost you make from kitchen scraps and yard waste. Good soil reduces the need to buy fertilizers and improves yields.
What are some simple designs for a beginner’s backyard vegetable garden?
Try a single raised bed 4 feet wide so you can reach the center from either side. Keep the bed length to fit your space; 8–12 feet is common.
Use container gardening on a patio or balcony with large pots for tomatoes, peppers, and lettuce. Containers let you control soil and move plants for sun.
Square-foot gardening works well for beginners. Divide a bed into 1-foot squares and plant densely using a simple spacing chart.
Which layout is the most efficient for maximizing vegetable production in a small space?
Square-foot or intensive planting layouts maximize yield by reducing wasted space and using vertical layers. Plant in grids and include trellises for beans, cucumbers, and peas.
Combine companion planting and succession planting to keep beds productive all season. After early crops finish, plant fast-growing greens or legumes in the same spot.
Use staggered planting dates and mix short-, medium-, and tall-growing crops to share light and soil resources effectively.
How should I plan the spacing in my vegetable garden to ensure healthy growth?
Follow seed packet and transplant tag spacing as your baseline; those recommendations match each crop’s mature size. Measure spacing on your planting layout before you plant.
Group plants by height and sun needs, placing tall crops on the north side of beds so they don’t shade shorter crops. Leave walking paths at least 18–24 inches wide to avoid compacting soil.
Allow room for airflow to cut disease risk. For vining crops, give vertical supports to reduce ground footprint.
Can you suggest resources for finding vegetable garden layout planners that are free?
Use online garden planner tools like the Old Farmer’s Almanac planner or free versions from gardening sites to create scaled layouts. Many let you drag and drop common vegetables and set bed sizes.
Look for printable grid paper and square-foot gardening templates to sketch layouts by hand. Local extension services often provide free planting calendars and crop spacing guides.
What are some tips for creating a beautiful yet functional vegetable garden?
Mix edible plants with flowering herbs and annuals to add color and attract pollinators. Plant marigolds, nasturtiums, or basil at bed edges for both beauty and pest control.
Use uniform bed shapes and tidy paths to create order. Mulch paths and beds for a neat look and to reduce weeds.
Choose container styles and fencing that match your yard’s style. Simple painted beds, matching pots, and straight lines make the space look planned and cared for.